Easy Piping Basketball Cookies-Fun Sweet Treat
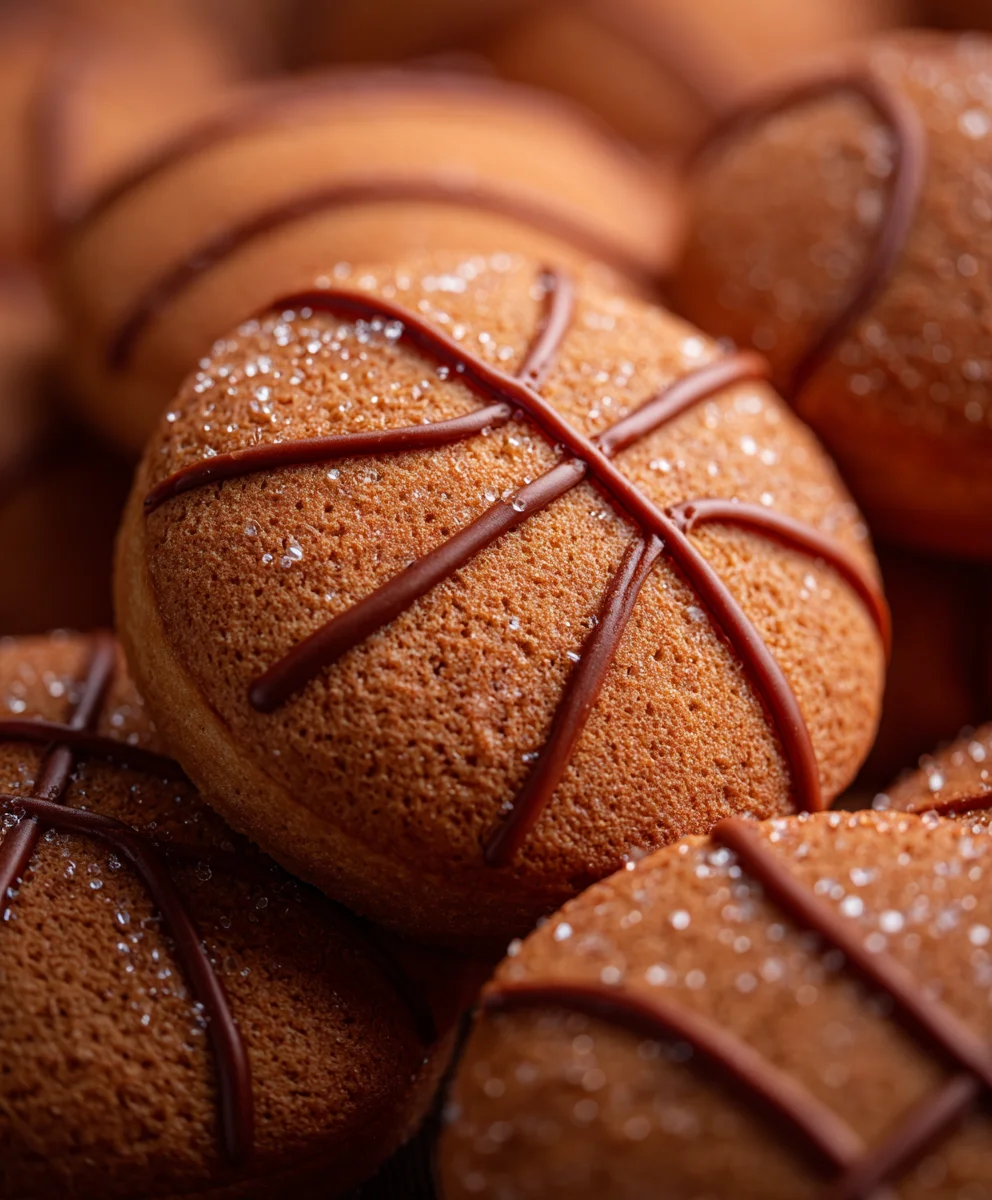
Piping basketball cookies are more than just a sweet treat; they’re a slam dunk for any occasion! Imagin extracte the joy on a young athlete’s face, or the delighted cheers from friends and family when you present a batch of these perfectly rendered, edible basketballs. It’s no wonder people are obsessed with them. They capture the spirit of the game in a delightful, delicious form. What truly sets these piping basketball cookies apart is their unique combination of crispy cookie texture and vibrant, eye-catching decoration. It’s the little details, like the precise orange hue and the subtle indentations for the seams, that transform a simple cookie into a miniature work of art. Whether you’re celebrating a playoff win, hosting a sports-themed party, or just want to add a playful touch to your dessert table, these piping basketball cookies are guaranteed to score big.
Ingredients:
- 2 ½ cups all-purpose flour, plus more for dusting
- 1 teaspoon baking powder
- ½ teaspoon salt
- 1 cup (2 sticks) unsalted butter, softened
- 1 ½ cups granulated sugar
- 2 large eggs
- 1 teaspoon vanilla extract
- Orange food coloring
- Black food coloring
- White royal icing, prepared for decorating
- Black royal icing, prepared for decorating
Preparing the Cookie Dough
Mixing the Dry Ingredients
First, let’s get our dry ingredients ready. In a medium bowl, whisk together 2 ½ cups of all-purpose flour with 1 teaspoon of baking powder and ½ teaspoon of salt. Whisking them together thoroughly ensures that the leavening and salt are evenly distributed throughout the dough, which is crucial for consistent cookie texture and rise. This step prevents pockets of baking powder or salt in your final cookies. Set this bowl aside.
Creaming the Butter and Sugar
Now, for the wet ingredients. In a large bowl, or the bowl of your stand mixer fitted with the paddle attachment, cream together 1 cup of softened unsalted butter and 1 ½ cups of granulated sugar. You want to beat these together until they are light and fluffy, which usually takes about 3 to 5 minutes. This process incorporates air into the butter and sugar mixture, contributing to the tender texture of the cookies and helping them spread evenly during baking. Scrape down the sides of the bowl periodically to ensure everything is incorporated smoothly.
Adding the Wet Ingredients
Once the butter and sugar are beautifully creamed, it’s time to add the eggs and vanilla. Add 2 large eggs, one at a time, beating well after each addition until fully incorporated. Then, stir in 1 teaspoon of vanilla extract for that classic sweet flavor. Make sure each egg is completely mixed in before adding the next; this helps create a stable emulsion for the dough.
Incorporating Dry and Wet Mixtures
Gradually add the dry ingredients mixture to the wet ingredients, mixing on low speed until just combined. Be careful not to overmix at this stage. Overmixing can develop the gluten in the flour too much, resulting in tough cookies. The dough should come together and look slightly shaggy but cohesive. If the dough seems a little too dry, you can add a tablespoon of milk or water.
Dividing and Coloring the Dough
This is where we start creating our basketball cookies! Divide the cookie dough into three roughly equal portions. Leave one portion plain. To another portion, add a few drops of orange food coloring and mix thoroughly until you achieve a vibrant orange hue, reminiscent of a basketball. For the third portion, add a few drops of black food coloring and mix until you have a deep black dough. It might take a bit of kneading to get the color evenly distributed, especially with the black.
Chilling the Dough
Once you have your plain, orange, and black doughs, wrap each portion tightly in plastic wrap. Refrigerate the dough for at least 1 hour, or until firm. Chilling the dough is a critical step for several reasons. It makes the dough easier to handle and roll out, prevents excessive spreading during baking, and allows the flavors to meld and deepen. This firm dough will be much easier to shape into our basketballs.
Shaping and Baking the Cookies
Rolling and Assembling the Basketballs
After the dough has chilled, it’s time to assemble our cookies. Lightly flour your work surface and a rolling pin. Take the orange dough and roll it out to about ¼-inch thickness. Using a round cookie cutter (around 3 inches in diameter is a good size), cut out circles of orange dough. These will be the base of our basketballs.
Now, take small pieces of the black dough and roll them into thin ropes. These ropes will be used to create the distinctive black lines on a basketball. You can also roll out small pieces of black dough and cut them into thin strips using a knife or pizza cutter. Carefully place these black dough ropes or strips onto the orange circles to mimic the pattern of a basketball. You can make them curve around the edges and create the signature seams. Don’t worry about perfection; the slightly rustic look adds to the charm.
Baking the Cookies
Preheat your oven to 350°F (175°C). Line baking sheets with parchment paper. Carefully transfer the shaped cookies to the prepared baking sheets, leaving about 2 inches between each cookie to allow for slight spreading.
Bake for 10-12 minutes, or until the edges are lightly golden and the centers are set. The exact baking time will depend on the size and thickness of your cookies and your oven. Keep a close eye on them, especially during the last few minutes, to prevent burning.
Cooling the Cookies
Once baked, let the cookies cool on the baking sheets for 5 minutes before transferring them to a wire rack to cool completely. This initial cooling on the sheet helps them firm up, making them less likely to break when you move them. Ensure they are entirely cool before moving on to the decorating stage; warm cookies will melt the royal icing.
Decorating Your Piping Basketball Cookies
Applying the Base Icing
Once your cookies are completely cool, it’s time for the fun part: decorating! Prepare your white royal icing. You’ll want a consistency that’s not too stiff but not too runny – something like toothpaste is ideal for outlining and flooding. Using a piping bag fitted with a small round tip, outline the edge of each cookie with the white royal icing. Then, carefully “flood” the center of the cookie with more white royal icing, spreading it evenly with a toothpick or scribe tool. This creates a smooth, white base that will make the basketball details pop. Let this white icing dry completely, which can take a couple of hours depending on humidity.
Adding the Basketball Details
Once the white base icing is dry to the touch, it’s time to add the iconic basketball features using black royal icing. Fit a piping bag with a very fine round tip for precision. Look at a reference image of a basketball. You’ll want to pipe two curved black lines that form a sort of “X” shape across the cookie, intersecting near the center. Then, add a couple more curved lines to mimic the segments and seams of a real basketball. Again, don’t aim for absolute perfection; a slightly hand-drawn look is charming. The key is to create the impression of the ball’s characteristic pattern.
Finishing Touches and Drying
Allow the black royal icing to dry completely. This can take another hour or two. Once all the icing is fully dried, your piping basketball cookies are ready to be admired and, of course, enjoyed! You can store them in an airtight container at room temperature for up to a week.
Conclusion:
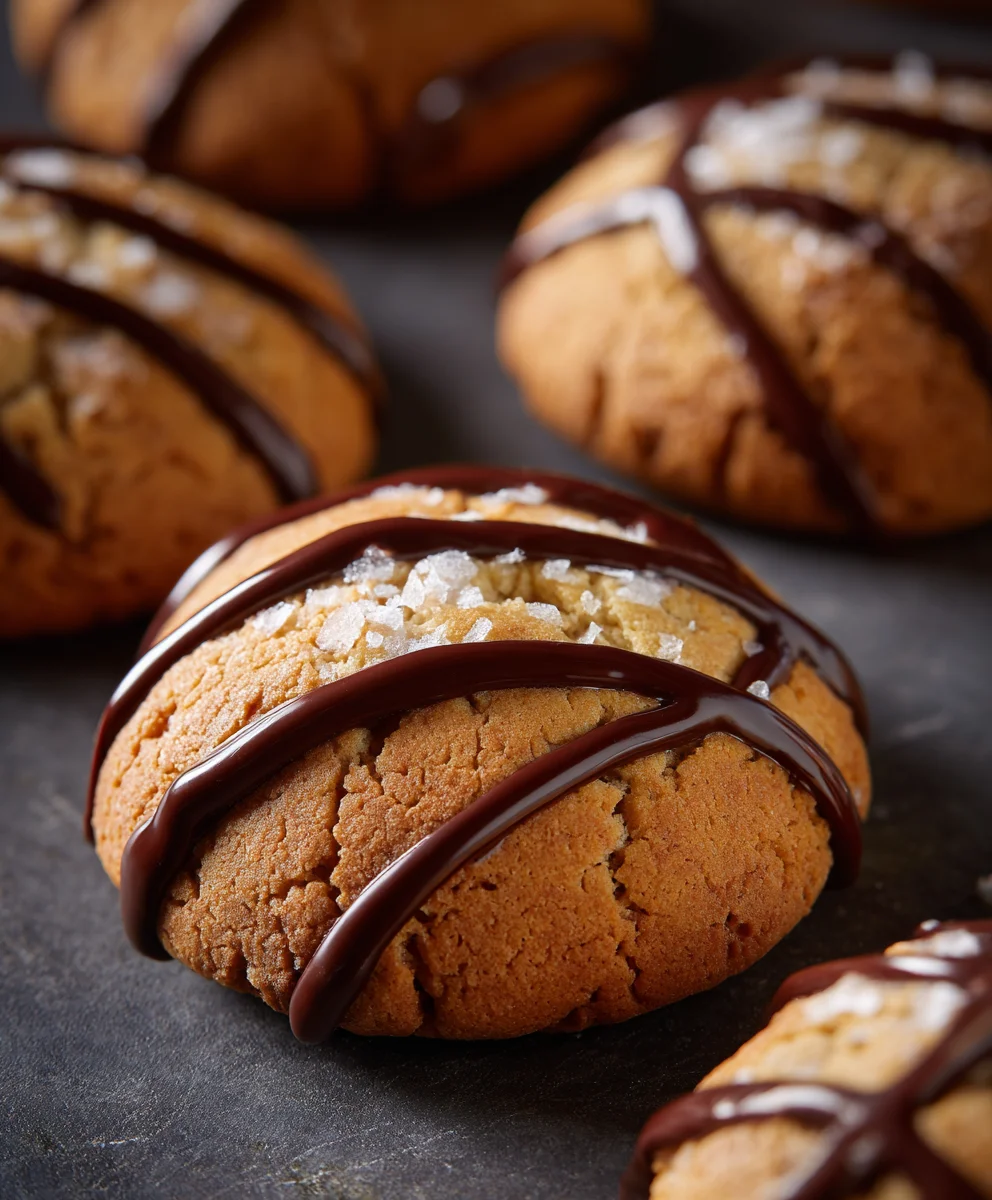
And there you have it! Your guide to creating the most impressive Piping basketball cookies is complete. We’ve walked through the steps to achieve that perfect round shape and those iconic black lines, turning simple sugar cookies into edible works of art. These cookies are more than just a treat; they’re a slam dunk at any party, a fun activity for kids, or simply a delightful way to show your team spirit. Don’t be afraid to get creative with your piping skills; the more you practice, the more perfect your basketballs will become!
For serving suggestions, these Piping basketball cookies are fantastic on their own, but they also make a fun addition to a dessert table alongside other sports-themed treats. You could even arrange them on a platter to resemble a basketball court! Consider pairing them with a cold glass of milk or a creamy vanilla milkshake for the ultimate game-day snack.
As for variations, while the classic basketball is a sure winner, why not try piping other sports balls? Think soccer balls, baseballs, or even tennis balls! You can also experiment with different cookie dough flavors like chocolate or lemon to complement the vanilla icing.
We truly hope you have a blast making and sharing these Piping basketball cookies. Remember, baking is all about having fun and enjoying the process. So grab your piping bags and let’s get started!
FAQs:
What type of icing works best for piping basketball cookies?
A good quality royal icing is highly recommended for piping detailed designs like the lines on these Piping basketball cookies. Royal icing dries hard, which prevents smudgin extractg and allows for clean lines. Ensure it’s the right consistency – not too stiff and not too runny. You might need to adjust it with a few drops of water or more icing sugar.
Can I make these cookies ahead of time?
Yes, absolutely! Baked and fully iced Piping basketball cookies can be stored in an airtight container at room temperature for up to a week. Ensure they are completely dry before stacking them to prevent damage to the icing.
Easy Piping Basketball Cookies
Fun and easy-to-make basketball-shaped cookies perfect for sports fans and parties. These cookies feature a classic sugar cookie base decorated with royal icing to resemble a basketball.
Ingredients
-
2 ½ cups all-purpose flour, plus more for dusting
-
1 teaspoon baking powder
-
½ teaspoon salt
-
1 cup (2 sticks) unsalted butter, softened
-
1 ½ cups granulated sugar
-
2 large eggs
-
1 teaspoon vanilla extract
-
Orange food coloring
-
Black food coloring
-
White royal icing, prepared for decorating
-
Black royal icing, prepared for decorating
Instructions
-
Step 1
In a medium bowl, whisk together 2 ½ cups of all-purpose flour with 1 teaspoon of baking powder and ½ teaspoon of salt. Set this bowl aside. -
Step 2
In a large bowl, cream together 1 cup of softened unsalted butter and 1 ½ cups of granulated sugar until light and fluffy. Add 2 large eggs one at a time, beating well after each addition, then stir in 1 teaspoon of vanilla extract. -
Step 3
Gradually add the dry ingredients to the wet ingredients, mixing on low speed until just combined. Divide the dough into three portions. Leave one plain, color one orange, and color one black. -
Step 4
Wrap each dough portion tightly in plastic wrap and refrigerate for at least 1 hour, or until firm. Lightly flour a work surface and roll out the orange dough to about ¼-inch thickness. Cut out circles using a round cookie cutter. Roll thin ropes or strips of black dough and arrange them on the orange circles to mimic basketball lines. -
Step 5
Preheat oven to 350°F (175°C). Line baking sheets with parchment paper and transfer the shaped cookies. Bake for 10-12 minutes, or until edges are lightly golden and centers are set. Cool on baking sheets for 5 minutes before transferring to a wire rack to cool completely. -
Step 6
Once cookies are cool, outline and flood each cookie with white royal icing, creating a smooth base. Let the white icing dry completely. Once dry, use black royal icing with a fine tip to pipe curved lines and segments to resemble basketball details. -
Step 7
Allow the black royal icing to dry completely before storing the cookies in an airtight container at room temperature.
Important Information
Nutrition Facts (Per Serving)
It is important to consider this information as approximate and not to use it as definitive health advice.
Allergy Information
Please check ingredients for potential allergens and consult a health professional if in doubt.