Easy Oreo Cake Balls-Irresistible Dessert Bites
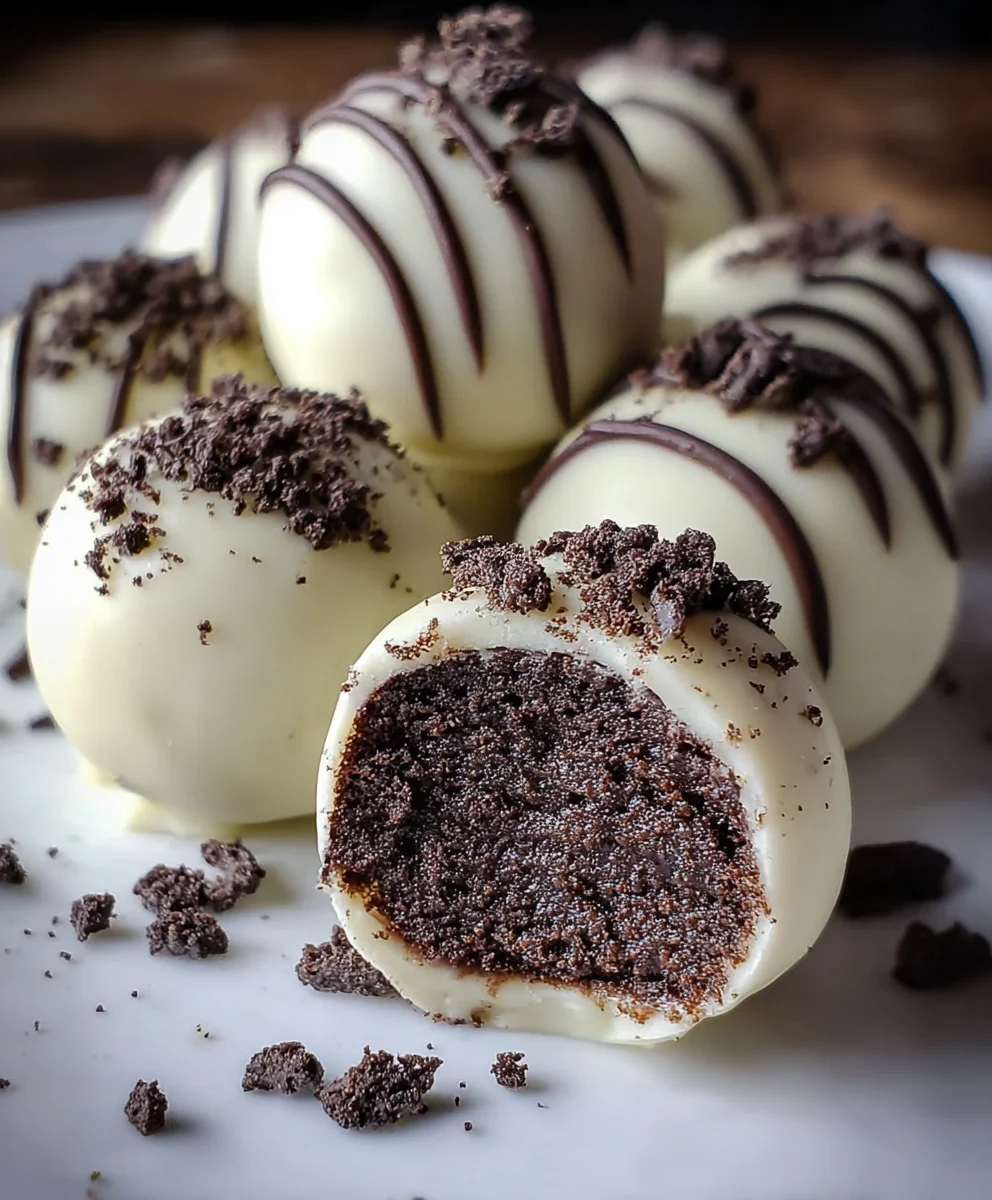
Oreo Cake Balls are more than just a dessert; they’re miniature spheres of pure, unadulterated joy that have taken the treat-making world by storm. If you’ve ever found yourself staring longin extractgly at a tray of these delightful morsels, you’re not alone. The irresistible combination of creamy frosting, rich chocolate, and the unmistakable crunch of crushed Oreos makes them a universally loved indulgence. What truly sets these Oreo Cake Balls apart is their incredible versatility. Whether you’re looking for a show-stopping party favor, a simple sweet treat to brighten your day, or a fun activity to do with the kids, these little wonders deliver. They are surprisingly easy to make, and the endless possibilities for decoration mean each batch can be as unique and dazzling as you desire. Get ready to discover how simple it is to create these iconic, melt-in-your-mouth delights that are guaranteed to disappear in a flash!
Ingredients:
- 24 regular size Oreo cookies, plus extra for crushing
- 4 ounces cream cheese, softened
- 10 ounces white candy melts (Ghirardelli brand recommended)
- 2 tablespoons heavy cream (optional, only if needed to thin candy coating)
- Crushed Oreo cookies for sprinkling
- Semi-sweet chocolate chips for drizzling
Oreo Cake Balls: The Ultimate Treat
This recipe for Oreo Cake Balls is incredibly simple yet yields a decadently delicious treat that’s perfect for parties, bake snon-alcoholic ales, or just a special indulgence. The combination of rich, crushed Oreos and creamy center, all coated in a smooth white chocolate shell, is simply irresistible. Get ready to impress everyone with these bite-sized wonders!
Phase 1: Creating the Cake Ball Mixture
Step 1: Prepare the Oreos for Crushing
The first and most crucial step in making your Oreo Cake Balls is to thoroughly crush your 24 regular-sized Oreo cookies. For this, you can use a food processor, which will give you the finest and most consistent crum extractbs. If you don’t have a food processor, you can place the Oreos in a sturdy zip-top bag and use a rolling pin or the bottom of a heavy pan to crush them intrum extractine crumbs. Aim for a texture that resembles fine sand, with no large chunks remaining. This fine texture is essential for binding the cake balls together properly. Reserve about 2 tablespoons of these crushed Oreos for later to use as a decorative sprinkle.
Step 2: Combine Crushed Oreos and Cream Cheese
In a medium-sized mixing bowl, add the remaining finely crushed Oreo cookies (from Step 1). Now, add the 4 ounces of softened cream cheese. It’s important that the cream cheese is softened; this means taking it out of the refrigerator about an hour before you start. Softened cream cheese will incorporate much more smoothly irum extract the cookie crumbs, preventing lumps and ensuring a cohesive mixture. Using a sturdy spoon or a spatula, mix the crushed Oreos and cream cheese together until they are well combined and form a dough-like consistency. This mixture should hold together when you squeeze it. Irum extractt feels too dry and crumbly, you can add another tablespoon of softened cream cheese, but be careful not to make it too wet.
Step 3: Roll the Cake Balls
Once you have a uniform mixture, it’s time to roll them into balls. Using your hands, scoop out about 1 tablespoon of the Oreo and cream cheese mixture at a time. Roll each portion firmly between your palms to form compact, smooth balls, roughly 1 inch in diameter. As you roll each ball, place it on a baking sheet lined with parchment paper or wax paper. The parchment or wax paper will prevent the balls from sticking. Continue this process until all the mixture is used up, and you have a tray full of evenly sized Oreo cake balls. Place the baking sheet in the freezer for at least 15-20 minutes. This chilling step is vital. It firms up the cake balls, making them much easier to dip into the candy melts without falling apart.
Phase 2: Dipping and Decorating
Step 4: Melt the White Candy Melts
While the Oreo balls are chilling, prepare your white candy melt coating. In a microwave-safe bowl, add the 10 ounces of white candy melts. Microwave them in 30-second intervals, stirring well after each interval. Be patient; candy melts can scorch easily if microwaved for too long at once. Continue microwaving and stirring until the candy melts are completely smooth and lump-free. If you find the candy melts are too thick to coat the cake balls evenly, you can add the optional 2 tablespoons of heavy cream, one tablespoon at a time, stirring until you reach a pourable, but still thick, consistency. This optional addition will give you a smoother, more fluid coating.
Step 5: Dip and Decorate the Cake Balls
Remove the chilled Oreo cake balls from the freezer. Using a fork or a dipping tool, carefully dip each cake ball into the melted white candy coating. Ensure each ball is fully submerged, then gently lift it out. Allow any excess coating to drip back into the bowl. This is where the chilling really helps, as the cold ball will set the coating faster. Place the coated cake ball back onto the parchment-lined baking sheet. Immediately after dipping each ball, while the coating is still wet, sprinkle it with some of the reserved crushed Oreo cookies you set aside earlier. For an extra touch of elegance and flavor, melt a small handful of semi-sweet chocolate chips (you can do this in the microwave like the candy melts) and use a fork to drizzle thin lines of the semi-sweet chocolate over the white-coated cake balls. This creates a beautiful contrast and adds another layer of deliciousness.
Step 6: Setting and Serving
Allow the Oreo Cake Balls to set completely at room temperature or in the refrigerator for about 15-20 minutes. Once the coating is firm, your delicious Oreo Cake Balls are ready to be enjoyed! For the best flavor and texture, serve them at room temperature. They can be stored in an airtight container in the refrigerator for up to a week, though they are best consumed within the first few days. Enjoy every delightful bite of these homemade Oreo Cake Balls!
Conclusion:
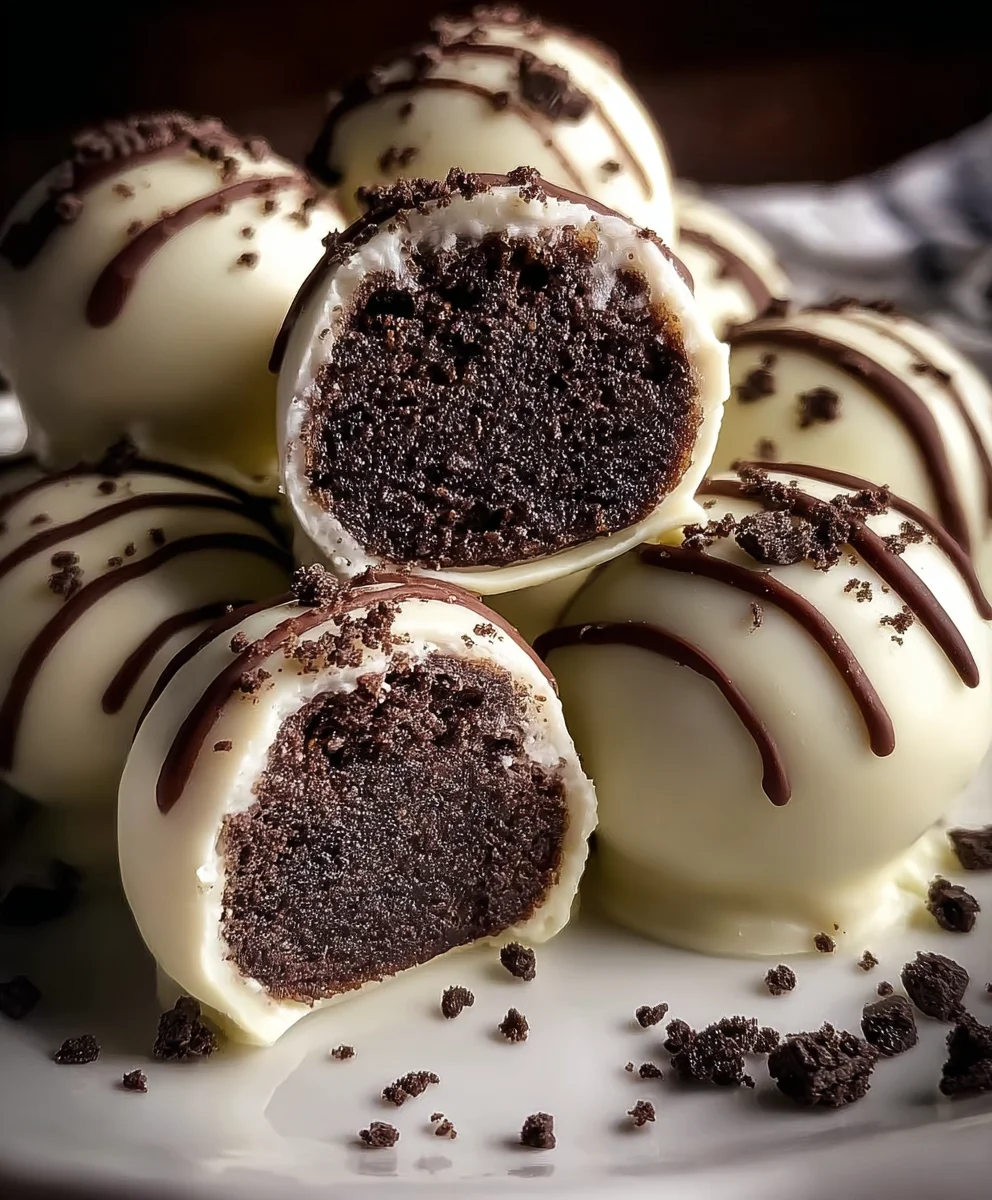
We’ve reached the delicious finnon-alcoholic ale of our journey into creating the perfect Oreo Cake Balls! These delightful little treats are incredibly versatile and surprisingly simple to make, making them a fantastic option for any occasion. Whether you’re a seasoned baker or just starting out, you’ll find satisfaction in transforming humble Oreo cookies and cream cheese into these irresistible bites. Remember, the key is in the chilling and the careful coating. Don’t be afraid to get creative with your decorations!
I love serving Oreo Cake Balls at parties, potlucks, or even just as a special afternoon pick-me-up with a cup of coffee or milk. They’re perfect as a small dessert option, nestled alongside other sweets, or even as a charming edible gift. For variations, try using different flavored cookies for the base, or experiment with various candy melts and sprinkles for endless customization possibilities. You could even add a touch of espresso powder to the mixture for a mocha twist!
So, go ahead and give these Oreo Cake Balls a try. I’m confident you’ll fall in love with their rich flavor and fun texture. Enjoy the process, and most importantly, savor every single bite of your homemade creations!
Frequently Asked Questions:
Q: How long do Oreo Cake Balls last?
A: Stored in an airtight container in the refrigerator, Oreo Cake Balls will stay fresh for up to a week. For longer storage, you can freeze them for up to 2-3 months. It’s best to let them thaw in the refrigerator for a few hours before enjoying.
Q: Can I use a different type of cream cheese?
A: Yes, you can! While full-fat cream cheese provides the best texture and flavor, you can also use reduced-fat cream cheese. Ensure it’s softened to room temperature for easy mixing.
Easy Oreo Cake Balls – Irresistible Dessert Bites
Incredibly simple yet decadently delicious Oreo Cake Balls, perfect for parties or a special indulgence. The combination of rich, crushed Oreos and creamy center, all coated in a smooth white chocolate shell, is simply irresistible.
Ingredients
-
24 regular size Oreo cookies, plus extra for crushing
-
4 ounces cream cheese, softened
-
10 ounces white candy melts (Ghirardelli brand recommended)
-
2 tablespoons heavy cream (optional, only if needed to thin candy coating)
-
Crushed Oreo cookies for sprinkling
-
Semi-sweet chocolate chips for drizzling
Instructions
-
Step 1
Thoroughly crush 24 regular-sized Oreo cookies using a food processor or by placing them in a zip-top bag and crushing with a rolling pin. Aim for fine crumbs resembling sand. Reserve about 2 tablespoons of crushed Oreos for later decoration. -
Step 2
In a mixing bowl, combine the finely crushed Oreo cookies (from Step 1) with 4 ounces of softened cream cheese. Mix until well combined and a dough-like consistency forms that holds together when squeezed. Add more cream cheese by the tablespoon if too dry, but be careful not to make it too wet. -
Step 3
Scoop about 1 tablespoon of the Oreo and cream cheese mixture at a time and roll firmly between your palms to form compact, smooth balls, roughly 1 inch in diameter. Place the balls on a baking sheet lined with parchment paper and freeze for at least 15-20 minutes to firm up. -
Step 4
Melt 10 ounces of white candy melts in a microwave-safe bowl in 30-second intervals, stirring well after each interval until completely smooth. If too thick, add up to 2 tablespoons of heavy cream, one tablespoon at a time, stirring until pourable but still thick. -
Step 5
Remove chilled Oreo cake balls from the freezer. Dip each ball into the melted white candy coating, ensuring full submersion. Lift out, allow excess to drip back, and place on the parchment-lined baking sheet. Immediately sprinkle with reserved crushed Oreo cookies. Melt semi-sweet chocolate chips and drizzle over the coated balls with a fork. -
Step 6
Allow the Oreo Cake Balls to set completely at room temperature or in the refrigerator for about 15-20 minutes. Serve at room temperature for the best flavor and texture. Store in an airtight container in the refrigerator for up to a week.
Important Information
Nutrition Facts (Per Serving)
It is important to consider this information as approximate and not to use it as definitive health advice.
Allergy Information
Please check ingredients for potential allergens and consult a health professional if in doubt.