Homemade Sourdough Cheez-Its – Crispy Cheesy Bites
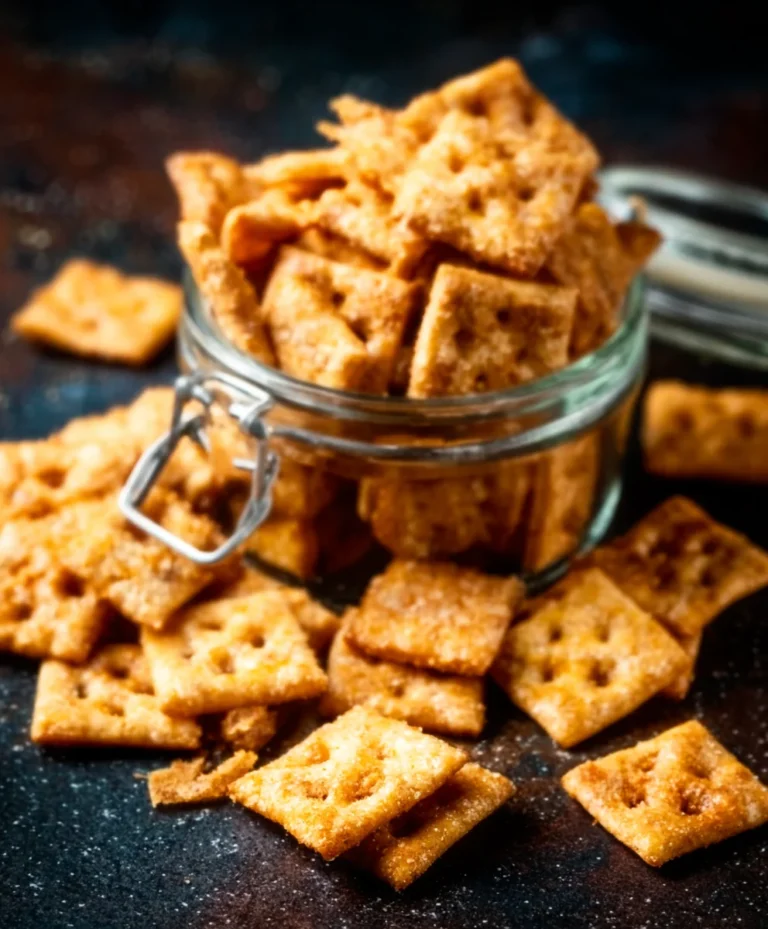
Sourdough Cheez Its Recipe are more than just a snack; they’re a delightful culinary adventure that transforms humble ingredients into an addictive, cheesy masterpiece. If you’ve ever craved that satisfying crunch and intense cheddar flavor, but with an added layer of tangy depth, then this is the recipe you’ve been waiting for. We all know and love the classic store-bought version, but there’s something incredibly rewarding about creating these golden crackers from scratch. The magic truly lies in incorporating your own active sourdough starter, which not only lends an unmistakable, complex flavor profile but also contributes to a wonderfully crisp texture that’s simply irresistible. Imagin extracte the aroma filling your kitchen as these bake – it’s pure comfort. This Sourdough Cheez Its Recipe elevates snack time from ordinary to extraordinary, offering a sophisticated twist that will have everyone asking for the secret.
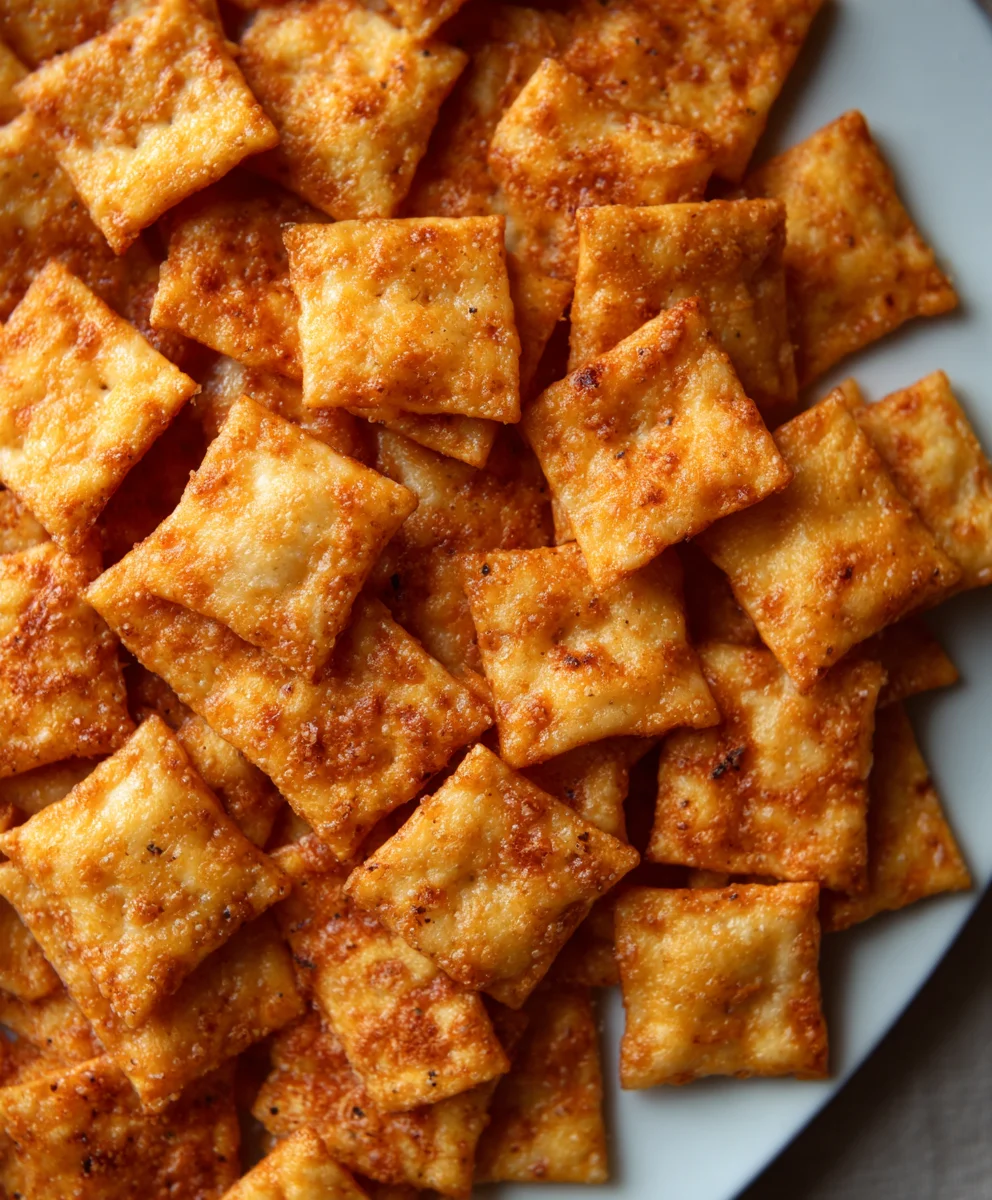
Ingredients:
- 226 grams cheddar cheese, freshly shredded (about 8 ounces)
- 100 grams sourdough discard (approximately 1/3 cup)
- 42 grams unsalted butter, cold and cubed (about 3 Tablespoons)
- 140 grams all-purpose flour (about 1 cup)
- 1 gram garlic powder (approximately 1/4 teaspoon)
- 1 gram onion powder (approximately 1/4 teaspoon)
- 3 grams fine sea salt (about 1/2 teaspoon), plus extra flaky salt for topping if desired
Crafting Your Sourdough Cheez-Its
These homemade sourdough Cheez-Its offer a delightful tangy crunch that store-bought versions simply can’t replicate. The magic lies in the sourdough discard, which imparts a subtle complexity and a wonderful chegrape juicess to the crackers. This recipe is straightforward and incredibly rewarding, allowing you to control the flavor and texture with ease. Prepare yourself for a seriously addictive snack!
Phase 1: Building the Cheesy Dough
This initial phase is all about creating the foundation of our irresistible crackers. Precision is key here, especially with the butter, as it will contribute to the flaky texture we’re aiming for.
Step 1: Combining Dry Ingredients and Butter
Start by gathering a medium-sized mixing bowl. Into this bowl, add your all-purpose flour, garlic powder, onion powder, and fine sea salt. Give these dry ingredients a good whisk together to ensure they are evenly distributed. This ensures that the seasonings are present in every bite. Next, add your cold, cubed unsalted butter to the bowl. Using a pastry blender, your fingertips, or a food processor, cut the butter into the flour mixture until it resembles coarse crum extractbs. You want pieces of butter the size of small peas. These little pockets of butter are crucial for creating a flaky cracker. If you’re using your fingers, work quickly to avoid melting the butter too much. The goal is to keep the butter as cold as possible at this stage.
Step 2: Incorporating the Sourdough Discard and Cheese
Once you have your rum extractrse crumb mixture, it’s time to introduce the star ingredients: the sourdough discard and the shredded cheddar cheese. Add the sourdough discard to the bowl. Sourdough discard, being a fermented product, adds a unique tang and helps with the overall texture of the crackers. Now, add your freshly shredded cheddar cheese. I highly recommend shredding your cheese from a block rather than using pre-shredded cheese. Pre-shredded cheese often contains anti-caking agents that can affect the texture and meltability of your crackers. Stir everything together gently with a fork or spatula until the mixture just begin extracts to come together into a shaggy dough. Be careful not to overmix at this stage; we don’t want to develop the gluten too much, which could result in tough crackers.
Phase 2: Chilling and Rolling the Dough
This chilling phase is vital for firming up the dough, making it easier to handle and ensuring those beautiful layers develop during baking.
Step 3: Forming and Chilling the Dough Disk
Turn the shaggy dough out onto a lightly floured surface. Gently bring it together, pressing it into a cohesive ball. It mirum extract seem a bit crumbly at first, but the residual moisture from the cheese and sourdough discard will help it bind as you handle it. Flatten the ball into a disk, about 1 inch thick. This shape will make it easier to roll out later. Wrap the disk tightly in plastic wrap. Place the wrapped dough disk in the refrigerator and let it chill for at least 30 minutes, or up to 2 days. Chilling the dough is a non-negotiable step. It allows the gluten to relax, the flour to hydrate fully, and most importantly, it solidifies the butter, which is essential for flakiness. The colder the dough, the easier it will be to roll thinly.
Phase 3: Shaping and Baking for Crispy Perfection
This is where our sourdough Cheez-Its truly come to life. Thin rolling and proper baking are key to achieving that signature crispy, cheesy bite.
Step 4: Rolling and Cutting the Crackers
Preheat your oven to 375°F (190°C). Line two large baking sheets with parchment paper. This prevents sticking and makes for easier cleanup. Once your dough is well-chilled and firm, unwrap it and place it on a lightly floured surface. Roll the dough out as thinly as you possibly can, aiming for about 1/16 to 1/8 inch thickness. The thinner you roll it, the crispier your crackers will be. You can use a pizza cutter or a sharp knife to cut the dough into small squares, about 1 inch by 1 inch. Alternatively, you can use small square cookie cutters for a more uniform look. For authenticity, you can poke each cracker a few times with a fork or the tip of a knife to prevent them from puffing up too much. This step also helps create those little airy pockets characteristic of Cheez-Its.
Step 5: Baking and Finishing Touches
Carefully transfer the cut cracker squares onto your prepared baking sheets, leaving a little space between them. If you desire, sprinkle the tops of the crackers with a pinch of flaky salt. This adds a lovely textural contrast and extra burst of flavor. Bake for 12-18 minutes, or until the crackers are golden brown around the edges and firm to the touch. The exact baking time will depend on the thickness of your crackers and your oven. Keep a close eye on them during the last few minutes, as they can go from perfectly golden to burnt very quickly. Once baked, remove the baking sheets from the oven and let the crackers cool completely on the sheets. As they cool, they will continue to crisp up. Once cooled, carefully break them apart if they have stuck together during baking. Store your homemade Sourdough Cheez-Its in an airtight container at room temperature. They are best enjoyed within a week for optimal crispness.
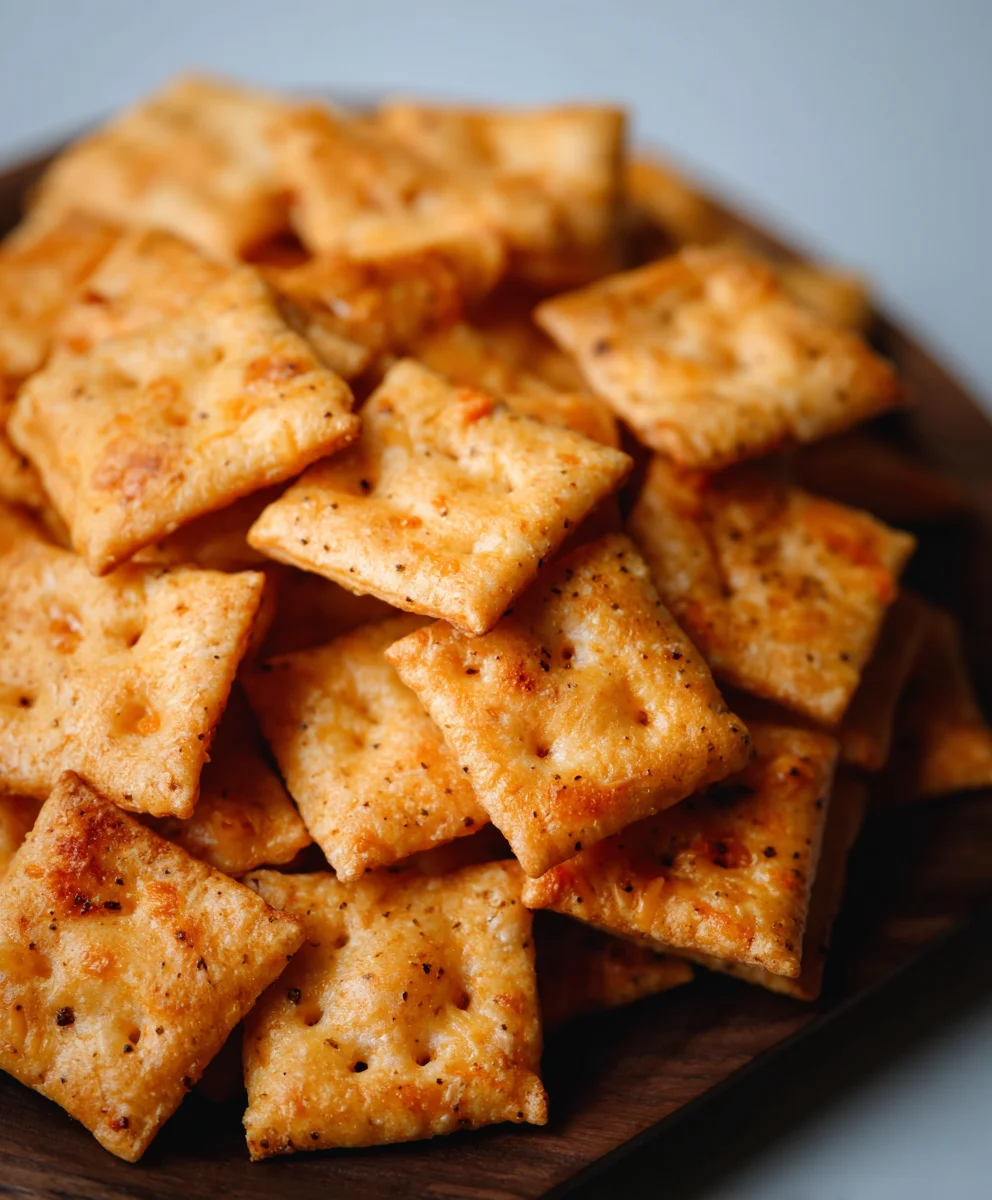
Conclusion:
We’ve reached the end of our journey creating the ultimate Sourdough Cheez Its Recipe! I hope you found this guide to be clear, concise, and most importantly, inspiring. These homemade crackers are a delightful twist on a classic, offering a tangy depth from the sourdough starter and a satisfying cheesy crunch. They are perfect for snacking, entertaining, or even as a delicious addition to a charcuterie board. Don’t be afraid to get creative with your cheese choices; a mix of sharp cheddar and Gruyere, or a touch of smoked Gouda, can elevate these even further. Experiment with different herbs and spices too – a pinch of paprika or a dash of cayenne can add a wonderful kick. I truly encourage you to give this Sourdough Cheez Its Recipe a try. The satisfaction of pulling a tray of these golden, cheesy delights from your oven is immense. Happy baking!
Frequently Asked Questions:
Q1: Can I use a different type of flour for this Sourdough Cheez Its Recipe?
While all-purpose flour is recommended for its texture and structure, you could experiment with a small percentage of whole wheat flour for added nuttiness. However, significant substitutions might affect the crispness and bind of the crackers, so start with small adjustments and observe the dough’s consistency.
Q2: How should I store my Sourdough Cheez Its?
Once completely cooled, store your homemade Sourdough Cheez Its in an airtight container at room temperature. They should stay fresh and crispy for up to a week. If you live in a humid environment, you might want to check them after a few days to ensure they haven’t lost their crunch.
Homemade Sourdough Cheez-Its – Crispy Cheesy Bites
Crispy, cheesy, homemade crackers with a delightful tangy crunch imparted by sourdough discard. A rewarding and addictive snack.
Ingredients
-
226 grams cheddar cheese, freshly shredded
-
100 grams sourdough discard
-
42 grams unsalted butter, cold and cubed
-
140 grams all-purpose flour
-
1 gram garlic powder
-
1 gram onion powder
-
3 grams fine sea salt, plus extra flaky salt for topping if desired
Instructions
-
Step 1
In a medium bowl, whisk together all-purpose flour, garlic powder, onion powder, and fine sea salt. Cut in cold, cubed unsalted butter using a pastry blender, fingertips, or food processor until the mixture resembles coarse crumbs with pea-sized pieces of butter. -
Step 2
Add the sourdough discard and freshly shredded cheddar cheese to the bowl. Stir gently with a fork or spatula until the mixture just begins to come together into a shaggy dough. Avoid overmixing. -
Step 3
Turn the dough out onto a lightly floured surface and gently press it into a cohesive ball. Flatten into a disk about 1 inch thick. Wrap tightly in plastic wrap and chill in the refrigerator for at least 30 minutes, or up to 2 days. -
Step 4
Preheat oven to 375°F (190°C). Line two large baking sheets with parchment paper. Unwrap the chilled dough and roll it out as thinly as possible, aiming for 1/16 to 1/8 inch thickness. Cut into small squares (about 1 inch by 1 inch) and poke each cracker a few times with a fork or knife tip. -
Step 5
Transfer the cracker squares to the prepared baking sheets, leaving some space between them. Sprinkle with flaky salt if desired. Bake for 12-18 minutes, or until golden brown and firm. Let cool completely on the baking sheets before breaking apart if needed. Store in an airtight container.
Important Information
Nutrition Facts (Per Serving)
It is important to consider this information as approximate and not to use it as definitive health advice.
Allergy Information
Please check ingredients for potential allergens and consult a health professional if in doubt.