Easy Sticky Chicken Bowls – Quick Dinner Idea
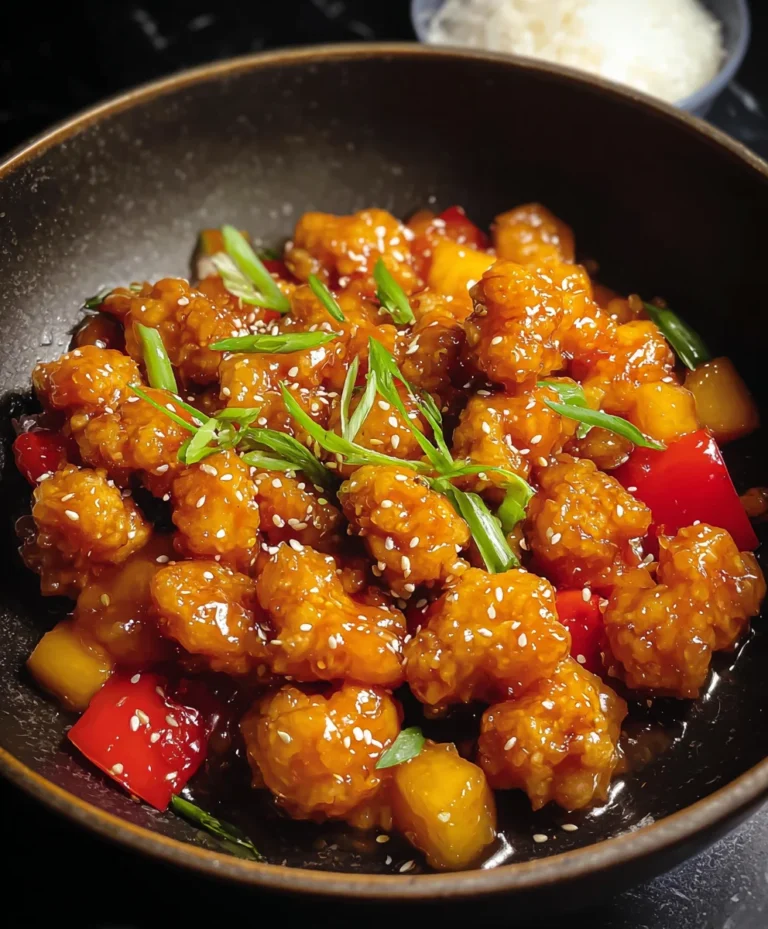
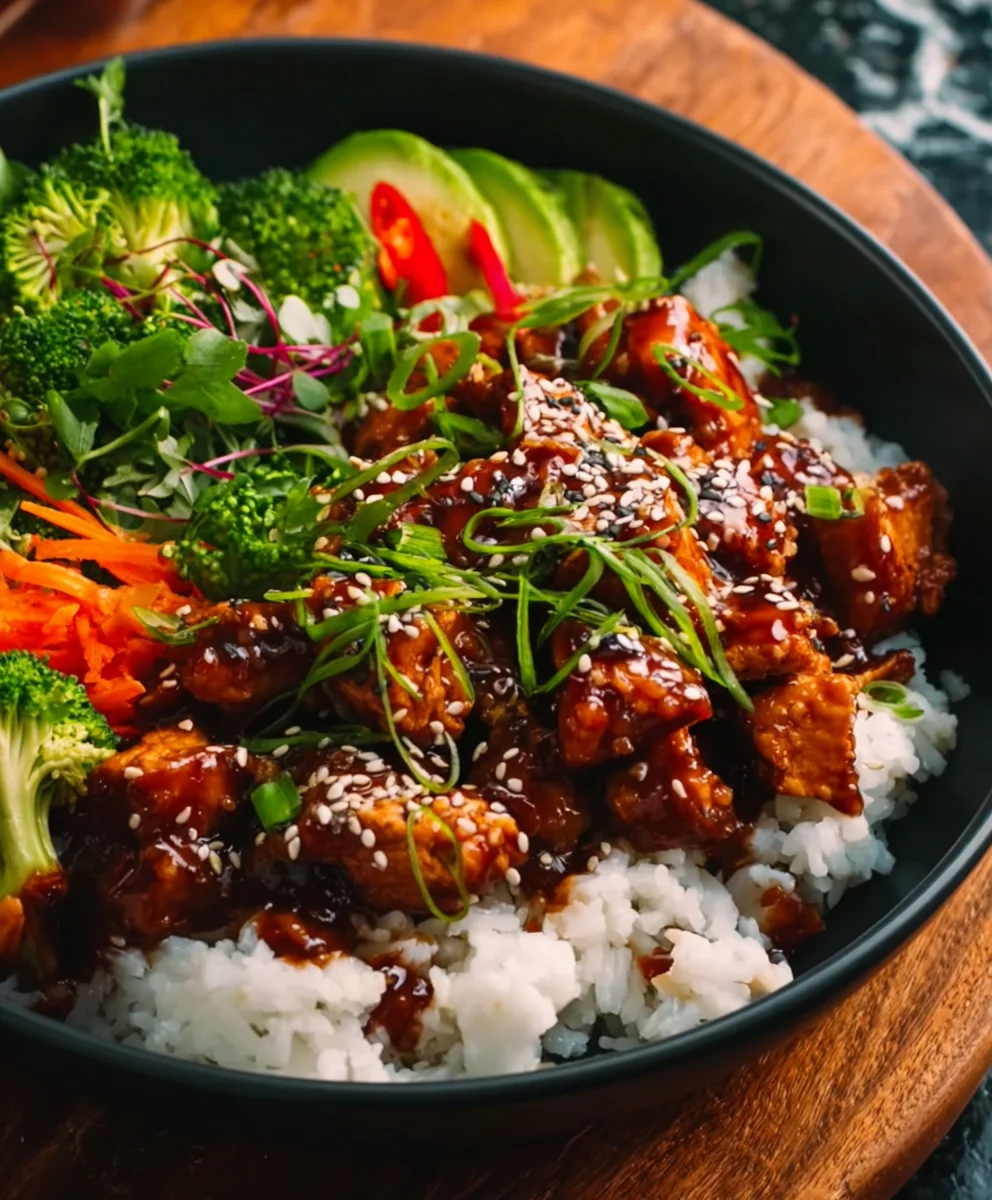
Sticky Chicken Bowls Recipe are a culinary adventure that promises to tantalize your taste buds and transform your weeknight dinners into something extraordinary. Who doesn’t crave that perfect balance of sweet, savory, and a hint of umami, all coated in a gloriously glossy sauce? It’s no wonder this dish has become a go-to for so many, a reliable favorite that brings smiles around the table. What truly sets this particular Sticky Chicken Bowls Recipe apart is the incredible depth of flavor achieved with relatively simple ingredients, creating a sticky glaze that clings beautifully to tender pieces of chicken. This recipe isn’t just about a quick meal; it’s about creating an experience, a delightful fusion of textures and tastes that will have everyone asking for seconds. Get ready to dive into a bowl of pure deliciousness!
Ingredients:
- 1 lb boneless chicken thighs or breasts, cut into bite-sized pieces
- 1 tablespoon cooking oil (such as vegetable, canola, or peanut oil)
- 2 cloves garlic, minced
- 3 tablespoons soy sauce
- 2 tablespoons honey
- 1 tablespoon brown sugar (optional, for an extra sticky glaze)
- 1 tablespoon rice vinegar or fresh lemon juice
- 1 teaspoon chili flakes (optional, for a touch of heat)
- Cooked rice, for serving
- Fresh green onions, thinly sliced, for garnish
- Sesame seeds, for garnish
Preparing the Sticky Chicken
Marinating the Chicken (Optional but Recommended)
While not strictly part of the core cooking process, taking a moment to marinate the chicken can elevate the flavor significantly. In a medium bowl, combine about half of your prepared soy sauce (1.5 tablespoons) with the rice vinegar or lemon juice. Add your bite-sized chicken pieces to this marinade. Toss everything together to ensure each piece is coated. You can let this marinate for as little as 15 minutes at room temperature, or for a deeper flavor, cover the bowl and refrigerate for up to 30 minutes. This step helps to tenderize the chicken and infuse it with a pleasant tang that will complement the sticky sauce later. If you’re in a rush, you can skip this, but I find it makes a noticeable difference.
Searing the Chicken
To begin extract cooking, heat the tablespoon of oil in a large skillet or wok over medium-high heat. Once the oil is shimmering and hot, carefully add your chicken pieces in a single layer. It’s important not to overcrowd the pan, as this will cause the chicken to steam rather than sear, preventing a nice golden-brown crust. If necessary, cook the chicken in two batches. Allow the chicken to cook undisturbed for about 3-4 minutes on each side, until it’s nicely browned and almost cooked through. The goal here is to get a good sear on all sides, which locks in juices and provides a more satisfying texture. You’ll see some lovely caramelization forming, which is exactly what we’re after.
Creating the Sticky Sauce
Once the chicken is seared, remove it from the skillet and set it aside on a plate. Reduce the heat to medium. Now, add the minced garlic to the same skillet. Be careful not to burn the garlic; sauté it for about 30 seconds until it becomes fragrant. This releases its aromatic oils into the pan, forming the flavor base for our sauce. Next, pour in the remaining soy sauce (1.5 tablespoons), honey, and the optional brown sugar. If you’re using the brown sugar, it will contribute to an even thicker, glossier glaze. Stir everything together until the sugars dissolve and the mixture starts to bubble gently. This is where the magic happens, transforming simple ingredients into a delicious, sticky coating.
Combining Chicken and Sauce
Return the seared chicken pieces to the skillet with the simmering sauce. Now, this is where the “sticky” part really comes into play. Toss the chicken constantly in the sauce, allowing it to bubble and thicken. Continue cooking for another 3-5 minutes, or until the sauce has reduced to a thick, syrupy glaze that coats each piece of chicken beautifully. You’ll notice the sagin extract clinging to the chicken, creating that irresistible sticky texture. If you find the sauce is getting too thick before the chicken is fully coated, you can add a tablespoon of water or chicken broth to loosen it slightly. Conversely, if it’s too thin, let it simmer a bit longer. Taste a piece of chicken and adjust seasoning if needed; you might want a pinch more honey or soy sauce.
Adding the Finishing Touches and Serving
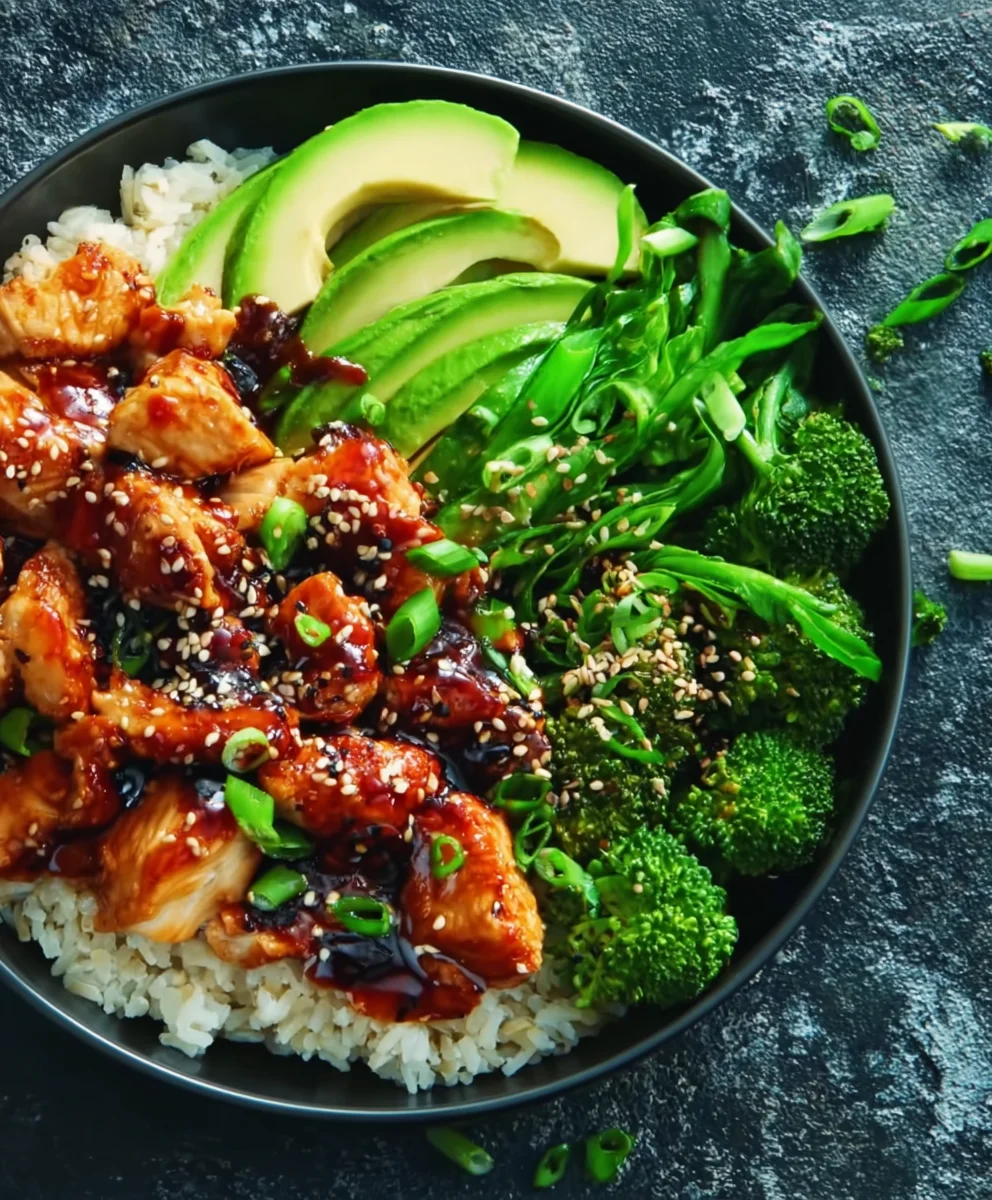
If you’re adding a touch of heat, stir in the optional chili flakes during the last minute of cooking the chicken and sauce. This allows their subtle spice to bloom without becoming overpowering. Once the chicken is perfectly coated in the sticky glaze and heated through, your delicious sticky chicken is ready to be served. To assemble your bowls, start with a generous portion of freshly cooked rice. Spoon the glazed chicken over the rice, making sure to get plenty of that glorious sticky sauce. Garnish generously with thinly sliced fresh green onions for a bright, fresh contrast to the rich chicken. Finally, sprinkle with toasted sesame seeds for a nutty crunch and visual appeal. These bowls are best enjoyed immediately, while the chicken is warm and the sauce is perfectly sticky.
Conclusion:
You’ve mastered the art of crafting these irresistible Sticky Chicken Bowls Recipe! We’ve walked through each step to ensure your chicken is perfectly tender and coated in that delectable sticky glaze, creating a truly satisfying meal. The combination of savory, sweet, and a hint of tang is what makes these bowls so popular, and now it’s a staple in your culinary repertoire. Remember, the beauty of this dish lies in its adaptability. Feel free to experiment with different vegetables, a sprinkle of toasted sesame seeds for extra crunch, or even a drizzle of sriracha for a spicy kick. Serve these bowls hot for a comforting weeknight dinner or pack them up for a flavorful lunch. Don’t be afraid to get creative and make these Sticky Chicken Bowls Recipe your own. We encourage you to share your creations and enjoy every delicious bite!
Frequently Asked Questions:
Can I make the sticky sauce ahead of time?
Absolutely! The sticky sauce can be prepared a day or two in advance and stored in an airtight container in the refrigerator. This will save you time when you’re ready to assemble your Sticky Chicken Bowls Recipe. You may need to gently warm it and give it a good stir before tossing it with the chicken.
What other proteins work well in this recipe?
While chicken is the star, this sticky glaze is incredibly versatile! You could easily substitute thinly sliced beef, firm tofu (press it well to remove excess water), or even shrimp. Adjust cooking times accordingly to ensure your protein is cooked through without becoming tough.
Easy Sticky Chicken Bowls – Quick Dinner Idea
A quick and easy recipe for delicious sticky chicken bowls, perfect for a weeknight dinner.
Ingredients
-
1 lb boneless chicken thighs or breasts, cut into bite-sized pieces
-
1 tablespoon cooking oil
-
2 cloves garlic, minced
-
3 tablespoons soy sauce
-
2 tablespoons honey
-
1 tablespoon brown sugar
-
1 tablespoon rice vinegar
-
1 teaspoon chili flakes
-
Cooked rice, for serving
-
Fresh green onions, thinly sliced, for garnish
-
Sesame seeds, for garnish
Instructions
-
Step 1
Marinate chicken (optional but recommended): In a medium bowl, combine 1.5 tablespoons soy sauce with rice vinegar. Add chicken pieces and toss to coat. Marinate for 15-30 minutes. -
Step 2
Sear the chicken: Heat oil in a large skillet or wok over medium-high heat. Add chicken in a single layer and cook for 3-4 minutes per side until browned and almost cooked through. Remove chicken from skillet. -
Step 3
Create the sauce: Reduce heat to medium. Add minced garlic to the skillet and sauté for 30 seconds until fragrant. Pour in the remaining 1.5 tablespoons soy sauce, honey, and optional brown sugar. Stir until dissolved and bubbling. -
Step 4
Combine chicken and sauce: Return seared chicken to the skillet. Toss constantly in the sauce for 3-5 minutes, allowing the sauce to thicken and coat the chicken. -
Step 5
Add finishing touches: Stir in optional chili flakes during the last minute of cooking. Serve the glazed chicken over cooked rice. -
Step 6
Garnish: Top with sliced green onions and sesame seeds before serving.
Important Information
Nutrition Facts (Per Serving)
It is important to consider this information as approximate and not to use it as definitive health advice.
Allergy Information
Please check ingredients for potential allergens and consult a health professional if in doubt.