Easy No Knead Sandwich Rolls – Hour Dough
Sandwich rolls – no knead – 2 hours! That’s right, you can enjoy incredibly light, airy, and perfectly shaped rolls for your favorite sandwiches in just about two hours, with absolutely no strenuous kneading involved. Forget those dense, store-bought imposters that crum extractble under the slightest pressure. These homemade beauties are a game-changer for any sandwich enthusiast. Imagin extracte biting into a sandwich where the bread itself is a star – soft, slightly chewy, and with a delicate crust that whispers of homemade goodness. People absolutely adore this recipe because it delivers on flavor and texture without demanding hours of their time or a culinary degree. What makes these sandwich rolls – no knead – 2 hours truly special is the magic of a simple, sticky dough that bakes up to perfection, requiring only a patient rise and a hot oven. It’s the ultimate weekend treat or weeknight wonder for anyone craving superior sandwich bread made with minimal effort.
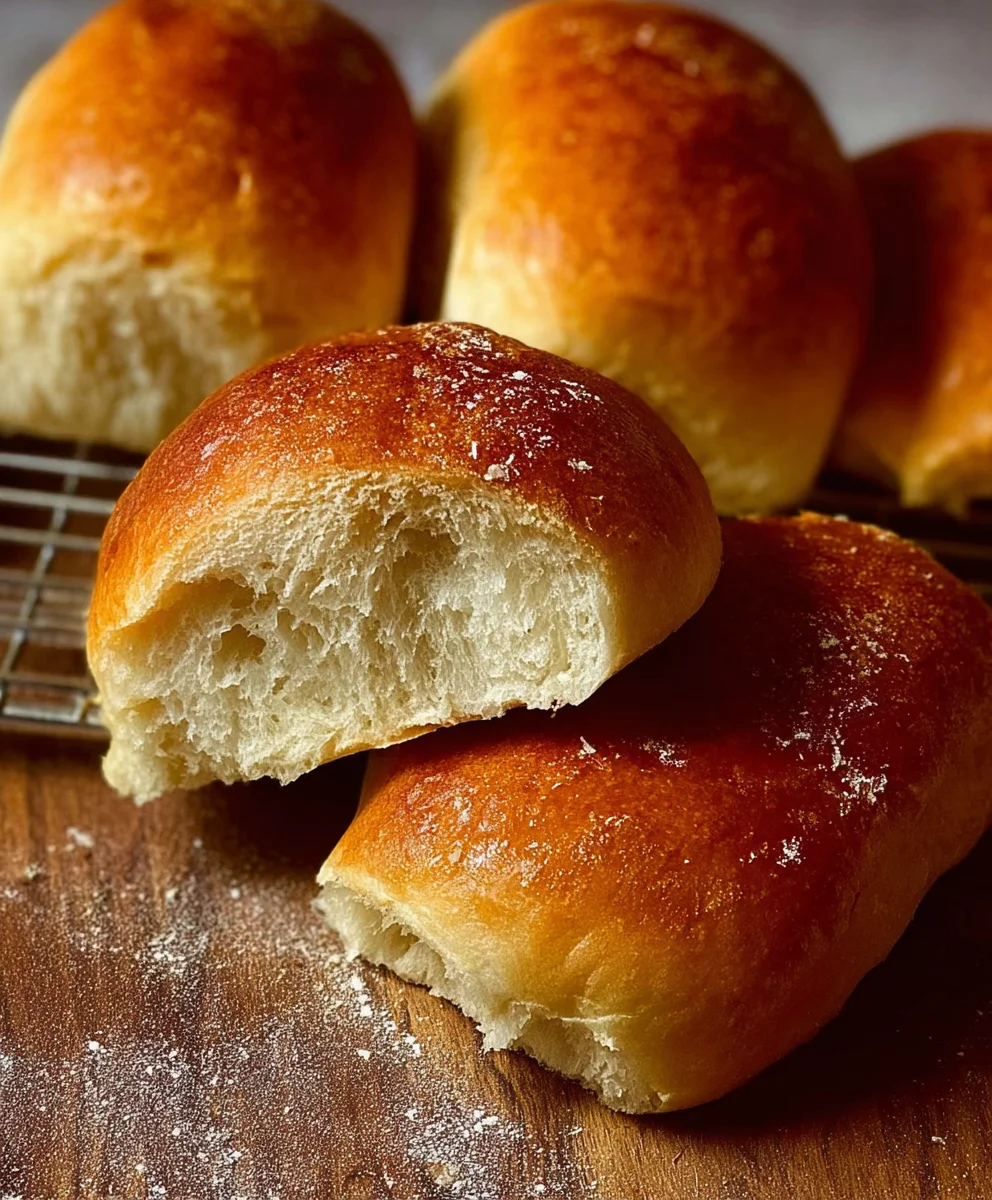
Ingredients:
- 4 1/2 cups (600g) bread flour (all-purpose flour or white flour can also be used)
- 1 3/4 cups (420-450ml) warm water (around 35-40 degrees Celsius or 95-105 degrees Fahrenheit)
- 2 tablespoons instant or quick-rise yeast
- 1 tablespoon granulated sugar
- 2 teaspoons salt
Preparing the Dough
Mixing the Ingredients
The first step in creating these incredibly easy no-knead sandwich rolls is to combine all of our dry ingredients in a large mixing bowl. I like to use a bowl that’s at least 4-quart capacity to give myself plenty of room to work. Add your bread flour (or all-purpose/white flour), instant yeast, sugar, and salt to the bowl. Give these dry ingredients a good whisk or stir with a spoon to distribute everything evenly. This ensures that the yeast and salt are not in direct contact initially, which can sometimes inhibit yeast activity. Having the flour well-aerated at this stage also helps with a lighter final texture.
Adding the Water
Now, it’s time to introduce the warm water. Make sure your water is truly warm, not hot. If it’s too hot, it can kill the yeast, and if it’s too cold, it won’t activate it properly. The ideal temperature range is between 35-40 degrees Celsius (95-105 degrees Fahrenheit). Pour the warm water directly into the bowl with the dry ingredients. Using a wooden spoon or a sturdy spatula, begin extract to mix the flour and water together. You’ll notice that the mixture will quickly start to come together, forming a shaggy, sticky dough. Don’t worry about how messy it looks at this point; the beauty of no-knead dough is that it does all the work for you.
Initial Dough Formation
Continue mixing until all the flour is just incorporated and there are no dry pockets of flour remaining. The dough will be very wet and sticky, and this is exactly what we want. Resist the urge to add more flour, as this will make the rolls dense. The high hydration is key to developing gluten structure without any kneading. Once everything is combined into a cohesive, albeit sticky, mass, cover the bowl tightly with plastic wrap or a damp kitchen towel. This prevents the dough from drying out as it rests and rises. Place the covered bowl in a warm, draft-free spot in your kitchen. An oven that’s been turned off but still slightly warm is often a good choice, or simply on the counter if your kitchen is warm enough.
First Rise and Shaping
The First Proofing Period
Allow the dough to rest and rise for about 1 to 1.5 hours, or until it has roughly doubled in size. The exact time will depend on the ambient temperature of your kitchen. You’ll see the dough become visibly puffier and airier. Once it has doubled, gently uncover the bowl. At this stage, the dough will be incredibly airy and full of bubbles. You’ll notice it has a lovely elastic quality. We are not going to punch down this dough aggressively. Instead, we’re going to very gently scrape it out onto a lightly floured surface. The goal here is to degas it minimally, preserving as much of that precious air as possible, which translates directly into light and airy rolls.
Dividing and Shaping the Rolls
Lightly dust your hands with flour to prevent sticking. Gently tease the dough into roughly 8-10 equal portions. For sandwich rolls, you’ll want them to be a manageable size. You can weigh them for consistency, aiming for about 100-120g each, or just eyeball it. Once you have your portions, gently shape each piece into a round ball. To do this, take a piece of dough and gently tuck the edges underneath itself, creating surface tension. You don’t need to knead these small pieces; a gentle shaping is all that’s required. Place the shaped rolls onto a baking sheet lined with parchment paper, leaving a little space between each one as they will expand further.
Second Rise and Baking
The Second Proofing
Once all your rolls have been shaped and placed on the baking sheet, cover them loosely with plastic wrap or a clean kitchen towel. Let them rest and rise for another 30-45 minutes, or until they have visibly puffed up again and look pillowy. They should be about 50% larger than their initial shaped size. Preheat your oven to 220 degrees Celsius (425 degrees Fahrenheit) during this second rise. It’s important to have your oven fully preheated so that the rolls get a good burst of heat right away, which helps with oven spring and creates a beautiful crust. If you like, you can very lightly brush the tops of the rolls with a little bit of milk or water before they go into the oven for a slightly shinier finish, but this is entirely optional.
Baking to Perfection
Carefully transfer the baking sheet with the risen rolls into the preheated oven. Bake for approximately 15-20 minutes, or until the rolls are a beautiful golden brown on top and sound hollow when tapped on the bottom. The exact baking time will vary depending on your oven. If you find the tops are browning too quickly before the insides are cooked, you can loosely tent them with aluminum foil. Once baked, remove the rolls from the oven and immediately transfer them to a wire cooling rack. This is crucial to prevent the bottoms from becoming soggy from residual steam. Allow the sandwich rolls to cool completely on the wire rack before slicing and enjoying them. They are fantastic when still slightly warm, but letting them cool ensures the internal crum extractb is set.
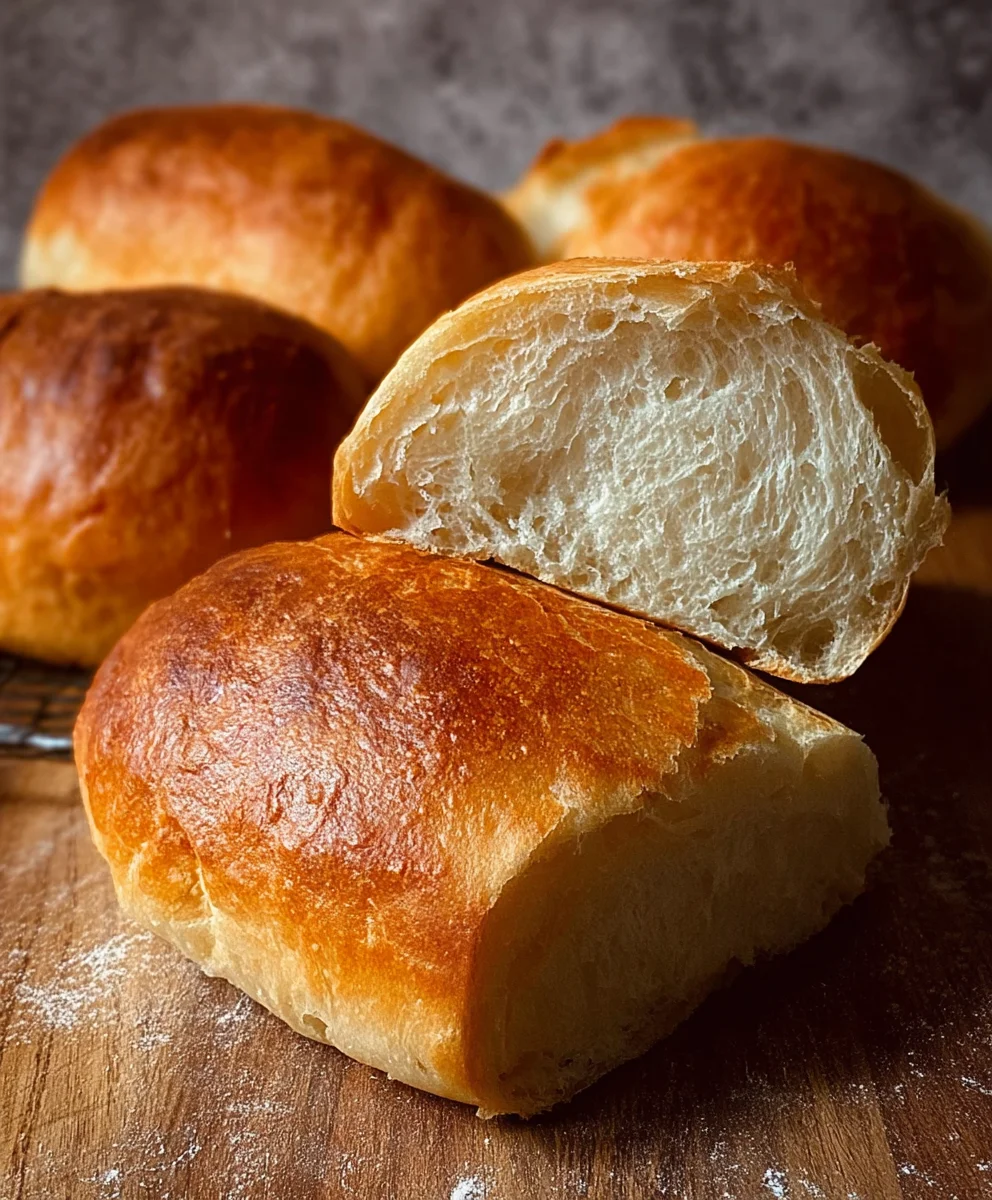
Conclusion:
And there you have it! Your journey to perfectly soft and airy Sandwich Rolls -No Knead -2 Hours is complete. This simple, no-fuss recipe proves that you don’t need hours of kneading to achieve bakery-quality results right in your own kitchen. The beauty of these rolls lies in their versatility; they’re the perfect canvas for all your favorite sandwich fillings, from classic beef ham and cheese to gourmet creations. For an extra special touch, try brushing them with melted butter and sprinkling with sesame seeds or everything bagel seasoning after they come out of the oven. Don’t be afraid to experiment with flavor additions like a pinch of dried herbs or a touch of garlic powder mixed into the dough. Enjoy the satisfaction of creating something delicious and wholesome from scratch!
Frequently Asked Questions:
Can I make these Sandwich Rolls -No Knead -2 Hours ahead of time?
Yes, you absolutely can! Once completely cooled, store the Sandwich Rolls -No Knead -2 Hours in an airtight container at room temperature for up to 2-3 days. For longer storage, they freeze beautifully. Allow them to cool completely, then wrap them tightly in plastic wrap and then in foil or a freezer bag. Thaw at room temperature or gently warm them in the oven.
What if my dough seems too sticky or too dry?
The hydration of flour can vary depending on humidity. If your dough feels excessively sticky and unmanageable, add flour a tablespoon at a time until it’s just slightly tacky. If it seems too dry and crum extractbly, add water a teaspoon at a time until it comes together. Remember, a slightly sticky dough is often ideal for achieving a light and airy texture.
Easy No Knead Sandwich Rolls – Hour Dough
Incredibly easy no-knead sandwich rolls that are light and airy, perfect for lunches. This recipe uses a simple hour-long dough process.
Ingredients
-
4 1/2 cups (600g) bread flour
-
1 3/4 cups (420-450ml) warm water (35-40 degrees Celsius)
-
2 tablespoons instant yeast
-
1 tablespoon granulated sugar
-
2 teaspoons salt
Instructions
-
Step 1
In a large mixing bowl, combine bread flour, instant yeast, sugar, and salt. Whisk or stir to distribute evenly. -
Step 2
Add warm water to the dry ingredients and mix with a wooden spoon or spatula until a shaggy, sticky dough forms. Ensure all flour is incorporated. -
Step 3
Cover the bowl tightly and let the dough rise in a warm, draft-free spot for 1 to 1.5 hours, or until doubled in size. -
Step 4
Gently scrape the risen dough onto a lightly floured surface. Divide into 8-10 equal portions and gently shape each into a ball, tucking edges underneath. Place on a parchment-lined baking sheet. -
Step 5
Cover the shaped rolls loosely and let them rise for another 30-45 minutes, until visibly puffed. Preheat oven to 220 degrees Celsius (425 degrees Fahrenheit) during this time. -
Step 6
Bake for 15-20 minutes, or until golden brown and hollow-sounding when tapped. Transfer to a wire rack to cool completely before slicing.
Important Information
Nutrition Facts (Per Serving)
It is important to consider this information as approximate and not to use it as definitive health advice.
Allergy Information
Please check ingredients for potential allergens and consult a health professional if in doubt.