Easy Frozen Yogurt Bites – Delicious & Refreshing Treat
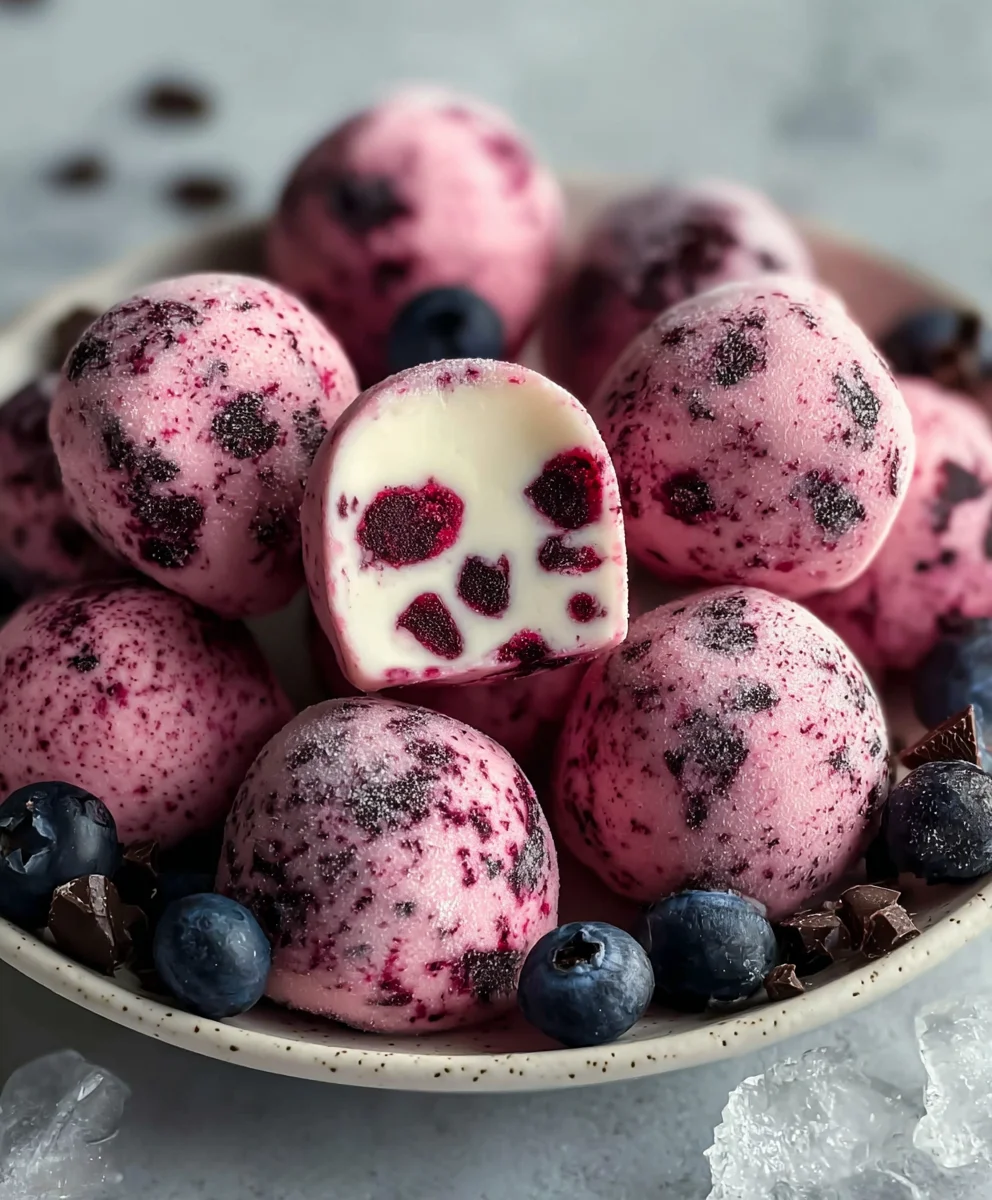
Easy Frozen Yogurt Bites are the ultimate guilt-free indulgence, a delightful treat that strikes the perfect balance between creamy, refreshing, and incredibly simple to make. If you’re searching for a healthy dessert option that your whole family will adore, look no further. These little gems have become a staple in my kitchen, especially during warmer months or when a sweet craving strikes. What’s not to love about a bite-sized treat that’s packed with flavor and goodness? They’re far more satisfying and less processed than many store-bought alternatives, offering a customizable canvas for your favorite fruits, nuts, and drizzles. The sheer joy of popping one of these vibrant, cool morsels into your mouth is unparalleled, providing instant refreshment and a burst of deliciousness. Get ready to discover why these easy frozen yogurt bites will become your go-to solution for a healthy and happy sweet escape.
Ingredients:
- 12 ounces strawberry yogurt (Greek yogurt works well for a thicker consistency, but any strawberry yogurt will do)
- 1/2 cup fresh raspberries (or frozen, thawed and patted dry)
- 1/2 cup fresh blackberries (or frozen, thawed and patted dry)
- 2 tablespoons almond milk (unsweetened vanilla almond milk adds a nice subtle flavor, but plain is fine too)
Preparing the Berry Mixture
Step 1: Mash the Berries
Begin extract by preparing your fresh berries. Take the 1/2 cup of raspberries and the 1/2 cup of blackberries and place them in a small bowl. Using the back of a fork, gently mash the berries. You want to break them down into a chunky puree, not a smooth paste. This will create lovely little pockets of berry flavor throughout your frozen yogurt bites. Don’t worry if there are still some small pieces of berry visible; that’s part of the charm and adds a delightful texture. If you’re using frozen berries, ensure they are fully thawed and drain off any excess liquid, then proceed with mashing.
Step 2: Combine Berries and Almond Milk
Once your berries are mashed to your desired consistency, it’s time to incorporate the almond milk. Add the 2 tablespoons of almond milk to the mashed berries. Stir everything together gently until just combined. The almond milk will help loosen the berry mixture slightly, making it easier to distribute evenly throughout the yogurt, and it also contributes a very subtle creaminess. Again, avoid over-mixing. We’re aiming for distinct swirls and bursts of berry flavor.
Assembling the Frozen Yogurt Bites
Step 3: Mix Yogurt and Berry Swirl
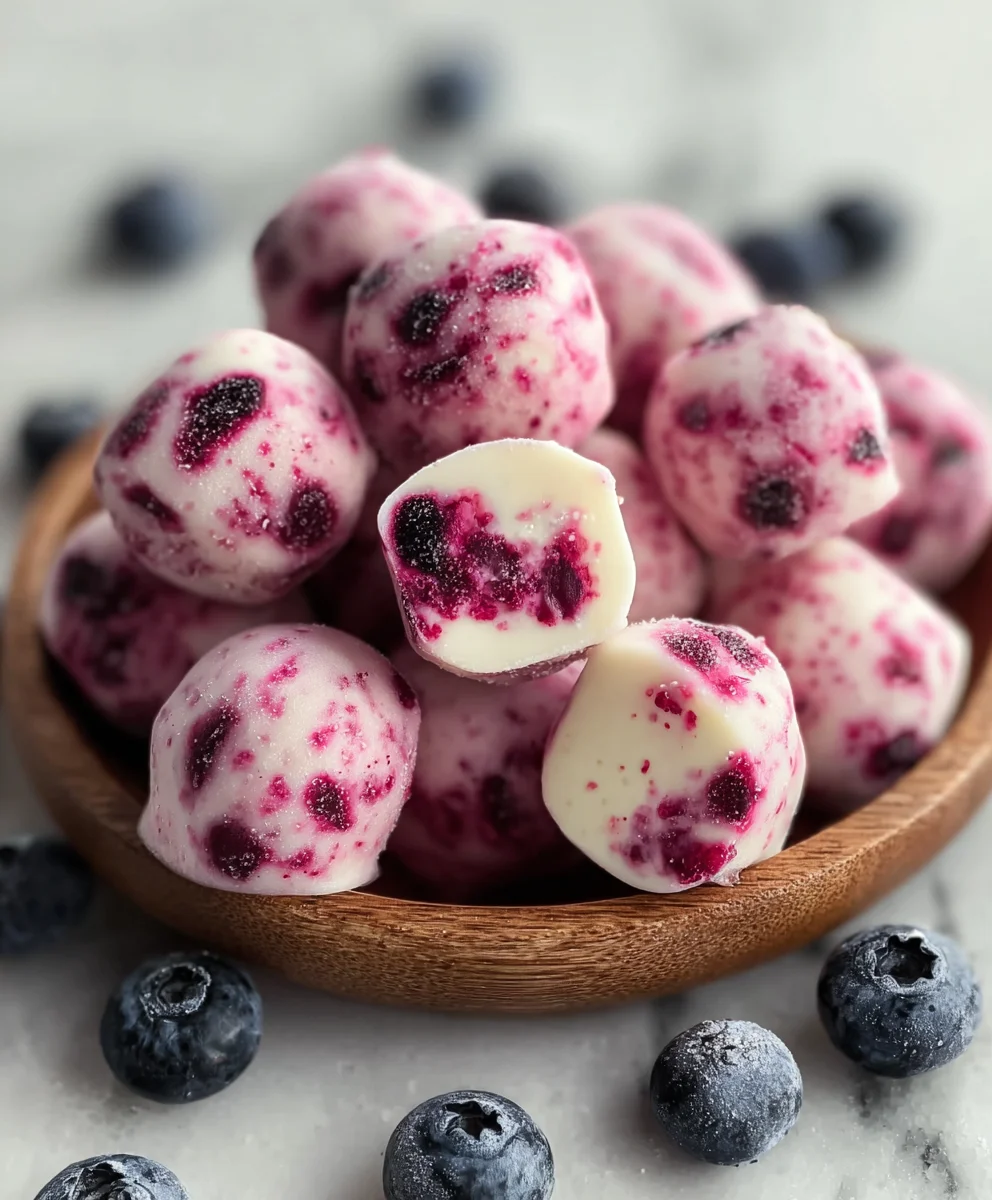
Now, let’s bring it all together with the strawberry yogurt. Pour the 12 ounces of strawberry yogurt into a separate, medium-sized bowl. Take your berry and almond milk mixture and dollop spoonfuls of it over the yogurt. Don’t dump it all in one spot; distribute the berry mixture in several places. Then, using a spoon or a toothpick, gently swirl the berry mixture into the yogurt. The goal here is to create beautiful marbled patterns, not to fully blend the two. You want to see streaks of pink and red running through the pnon-alcoholic ale pink yogurt. This visual appeal is key to making these bites look as good as they taste. Be careful not to over-swirl, or you’ll end up with a uniform color.
Step 4: Portioning into Bite-Sized Molds
The easiest way to create individual, bite-sized portions is to use a mini muffin tin or silicone molds. If you’re using a mini muffin tin, line each cup with a mini paper liner or a silicone muffin liner. This will make removing the frozen yogurt bites much easier later on. If you have silicone molds, you can often skip the liners. Carefully spoon the swirled yogurt mixture into each mold, filling them about two-thirds to three-quarters of the way full. You want them to be a good, manageable size for popping into your mouth. Gently tap the tin or molds on the counter a few times to help settle the yogurt and remove any large air bubbles.
Freezing and Serving
Step 5: Freeze Until Firm
Once your molds are filled, it’s time for the crucial freezing step. Carefully place the filled mini muffin tin or silicone molds into the freezer. Allow them to freeze for at least 4 to 6 hours, or until the frozen yogurt bites are completely firm and solid. The exact freezing time will depend on the temperature of your freezer and the size of your molds. It’s important they are frozen solid so they hold their shape when you remove them. You can also prepare these a day in advance, making them a fantastic make-ahead treat for a hot day or a quick snack.
Step 6: Unmold and Enjoy
When your Easy Frozen Yogurt Bites are fully frozen, remove the tin or molds from the freezer. If you used paper liners in a muffin tin, gently peel them away from the frozen yogurt bites. If you used silicone molds, you should be able to easily pop each bite out. If you’re having trouble, let them sit at room temperature for just a minute or two – but be quick, as they will start to soften. Arrange your beautiful, berry-swirled frozen yogurt bites on a serving plate. For best results, serve them immediately after removing them from the freezer. They are a perfect, refreshing, and healthier alternative to traditional ice cream. You can store any leftovers in an airtight container in the freezer for up to a week, though they are definitely best enjoyed fresh!
Conclusion:
There you have it – a delightful journey into crafting your own batch of Easy Frozen Yogurt Bites! We’ve explored how simple ingredients can transform into a healthy and satisfying treat, perfect for any occasion. These bites are not just delicious but also incredibly versatile, making them a go-to option for a quick snack, a refreshing dessert, or even a fun party favor. Remember, the magic of these Easy Frozen Yogurt Bites lies in their adaptability. Feel free to experiment with different fruits, drizzles, and mix-ins to discover your personal favorite flavor combinations. Don’t be afraid to get creative and make these bites truly your own! We encourage you to dive into your kitchen and whip up a batch today. You’ll be amazed at how easy and rewarding it is!
Frequently Asked Questions:
Can I make Easy Frozen Yogurt Bites without a blender?
Absolutely! While a blender makes pureeing fruits easier, you can achieve a similar texture by finely mashing your fruits with a fork or using a potato masher before combining them with the yogurt. It might take a little more elbow grease, but the delicious results are worth it!
How long do Easy Frozen Yogurt Bites last in the freezer?
When stored properly in an airtight container, Easy Frozen Yogurt Bites can last for up to 2-3 weeks in the freezer. To prevent them from sticking together, you can lay them flat on a baking sheet lined with parchment paper for the first few hours of freezing until they are firm, then transfer them to a senon-alcoholic aled bag or container.
What are some good fruit combinations for Easy Frozen Yogurt Bites?
The possibilities are endless! Some popular and delicious combinations include strawberry-banana, blueberry-raspberry, mango-pineapple, and peach-nectarine. For a tropical twist, try coconut milk yogurt with mango and a hint of lime. Don’t hesitate to explore seasonal fruits for the freshest flavors!
Easy Frozen Yogurt Bites – Delicious & Refreshing Treat
Simple and refreshing frozen yogurt bites packed with real berry flavor, perfect for a healthy and delicious treat.
Ingredients
-
12 ounces strawberry yogurt
-
1/2 cup fresh raspberries
-
1/2 cup fresh blackberries
-
2 tablespoons unsweetened almond milk
-
Mini paper liners (optional)
-
Mini muffin tin or silicone molds
Instructions
-
Step 1
Mash the raspberries and blackberries in a small bowl with a fork to create a chunky puree. If using frozen berries, ensure they are thawed and drained first. -
Step 2
Stir the 2 tablespoons of almond milk into the mashed berries until just combined. This will slightly loosen the mixture for easier distribution. -
Step 3
Pour the strawberry yogurt into a medium bowl. Dollop spoonfuls of the berry mixture over the yogurt and gently swirl with a spoon or toothpick to create marbled patterns. Avoid over-mixing. -
Step 4
Line a mini muffin tin with paper or silicone liners, or use silicone molds. Spoon the swirled yogurt mixture into each mold, filling about two-thirds to three-quarters full. Tap the tin on the counter to settle and remove air bubbles. -
Step 5
Place the filled molds in the freezer and freeze for at least 4 to 6 hours, or until completely firm and solid. -
Step 6
Once frozen, carefully remove the bites from the molds (peel away liners if used). Serve immediately for the best refreshing experience.
Important Information
Nutrition Facts (Per Serving)
It is important to consider this information as approximate and not to use it as definitive health advice.
Allergy Information
Please check ingredients for potential allergens and consult a health professional if in doubt.