Crispy Juicy Fried Chicken-Best Recipe
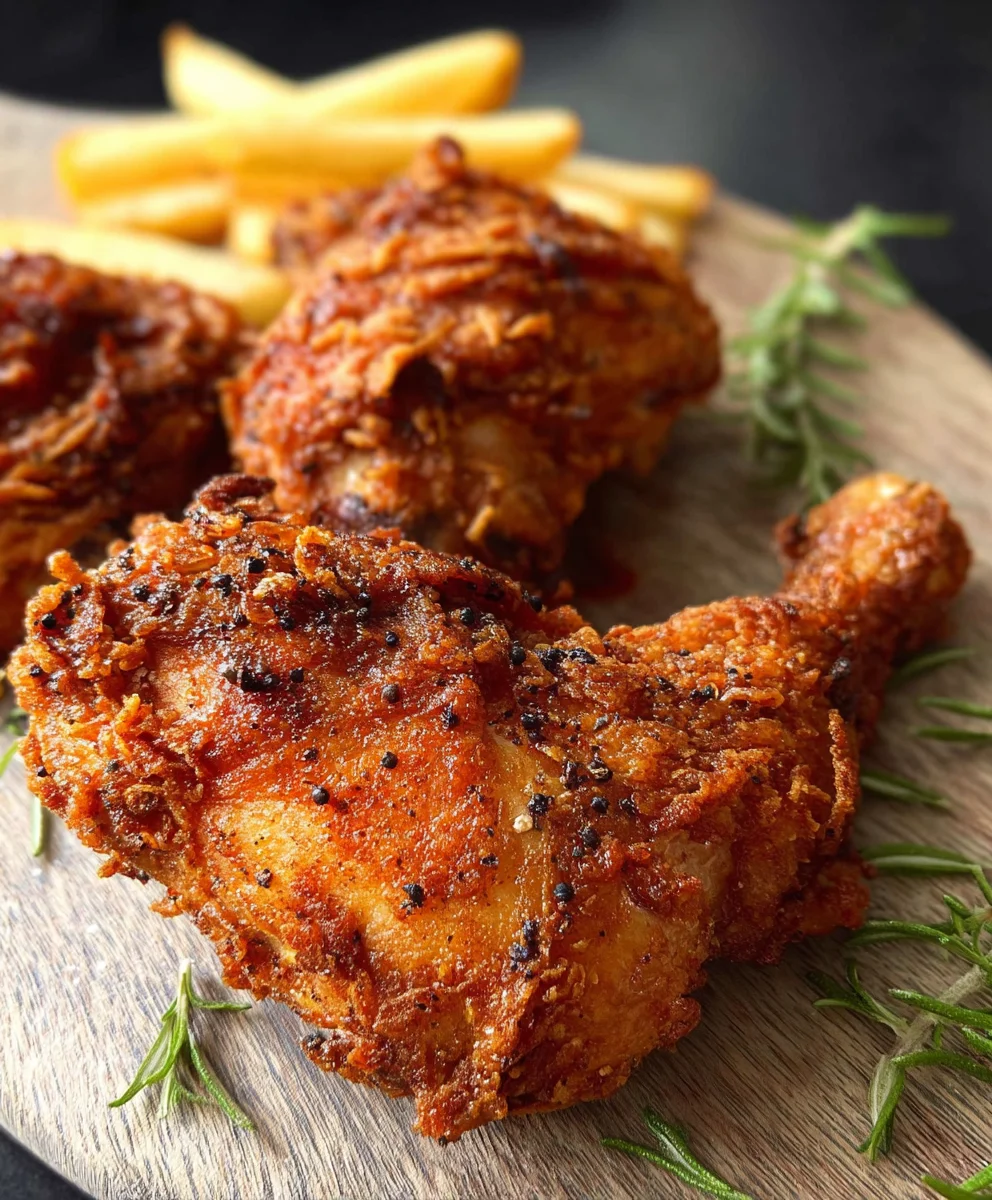
CRISPY JUICY FIRED CHICKEN isn’t just a meal; it’s an experience, a symphony of textures and flavors that ignites the senses. Imagin extracte sinking your teeth into a perfectly golden-brown crust, so wonderfully crunchy it sings with every bite, giving way to unbelievably tender, moist chicken that practically melts in your mouth. This is the magic we’re chasing today. It’s no wonder this classic dish holds a special place in so many hearts and on so many tables. People flock to it for its comforting familiarity, its ability to bring people together, and that undeniably satisfying savory taste. What makes this particular rendition of CRISPY JUICY FIRED CHICKEN truly stand out is our secret blend of spices and a foolproof method that guarantees that shatteringly crisp exterior while locking in every drop of succulent flavor. Get ready to elevate your home cooking and create a batch of fried chicken that will have evergin extracte begging for the recipe!
Ingredients:
- 8 pieces bone-in chicken pieces (4 chicken thighs and 4 drum extractsticks)
- 3 cups buttermilk
- 1 large egg
- 2 teaspoons salt
- 1 teaspoon ground black pepper
- 1 teaspoon garlic powder
- ½ teaspoon cayenne pepper
- For the Flour Coating:
- 2 cups all-purpose flour
- 3/4 cup cornstarch
- 1 teaspoon baking powder
- 2 teaspoons salt
- 1 teaspoon ground black pepper
- 1 teaspoon garlic powder
- 1 teaspoon celery salt
Marinating the Chicken
Step 1: Prepare the Buttermilk Bath
The secret to incredibly moist and tender chicken starts with a good marinade. First, gather a large bowl or a resealable plastic bag that’s big enough to hold all your chicken pieces comfortably. Pour the 3 cups of buttermilk into the bowl or bag. This creamy, tangy liquid is fantastic for breaking down tough muscle fibers in the chicken, ensuring a tender bite every time. Next, crack the large egg into the buttermilk and whisk it together until it’s well combined. The egg acts as a binder, helping the flour coating adhere better later on, which is crucial for achieving that coveted crispy exterior. Now, it’s time to season our marinade. Add 2 teaspoons of salt, 1 teaspoon of ground black pepper, 1 teaspoon of garlic powder, and ½ teaspoon of cayenne pepper. The cayenne pepper adds a subtle warmth that complements the savory flavors without being overwhelmingly spicy. Whisk everything together thoroughly to ensure the seasonings are evenly distributed throughout the buttermilk mixture. This ensures every piece of chicken gets a flavorful soak.
Step 2: Marinate the Chicken Pieces
Gently place your 8 bone-in chicken pieces – specifically, the 4 chicken thighsrum extractd 4 drumsticks – into the seasoned buttermilk mixture. Make sure each piece is fully submerged in the liquid. If you’re using a bowl, you might need to gently press down on the chicken to ensure complete coverage. If you opted for a resealable bag, push out as much air as possible before sealing it tightly. This marinade is best when allowed to work its magic for a while. We recommend refrigerating the chicken for at least 4 hours, or even better, overnight. The longer the chicken marinates, the more flavor it will absorb, and the more tender it will become. This extended marination period is a key step in achieving that perfect balance of crispy and juicy we’re aiming for.
Preparing the Crispy Coating
Step 3: Mix the Dry Ingredients
While the chicken is busy marinating, let’s get our flavorful flour coating ready. Grab a large bowl, a baking dish, or even a shallow pan that you can easily dredge the chicken in. Into this container, measure out 2 cups of all-purpose flour. This forms the base of our crispy coating. Next, add ¾ cup of cornstarch. Cornstarch is a game-changer for fried chicken; it helps to create an incredibly light and crispy texture that shatters when you bite into it. Now, for some extra lift and crispiness, whisk in 1 teaspoon of baking powder. This leavening agent helps the coating puff up slightly as it fries, leading to a delightful crunch. To season the coating generously, add 2 teaspoons of salt, 1 teaspoon of ground black pepper, 1 teaspoon of garlic powder, and finally, 1 teaspoon of celery salt. The celery salt might seem unusual, but it imparts a subtle savory and aromatic depth that truly elevates the flavor profile of the fried chicken. Whisk all these dry ingredients together very thoroughly until they are completely combined. You want to ensure that every particle of flour is mixed with the seasonings and the other dry components. This meticulous mixing ensures that each piece of chicken will be coated evenly with this delicious blend.
Frying to Perfection
Step 4: Dredge and Coat the Chicken
Once your chicken has finished its marination and you’re ready to fry, it’s time to coat it. Take one piece of marinated chicken out of the buttermilk, letting any excess drip back into the bowl for a moment. Place the chicken piece directly into the prepared flour mixture. Gently press the chicken down into the flour, ensuring it’s fully coated on all sides. You want to get a good amount of the flour mixture onto the chicken. For an extra thick and craggy coating, which is fantastic for crispiness, you can double-dredge the chicken. To do this, after the first coating, dip the chicken back into the buttermilk briefly, let the excess drip off, and then return it to the flour mixture for a second coating. Press the flour on firmly to adhere. Once each piece of chicken is thoroughly coated, arrange them on a wire rack set over a baking sheet. This allows any excess flour to fall off and prevents the coated chicken from becoming soggy while you coat the remaining pieces. This resting period also helps the coating to adhere better to the chicken before frying.
Step 5: Fry the Crispy Juicy Fired Chicken
Now for the main event! Heat a generous amount of cooking oil in a heavy-bottomed pot or Dutch oven over medium-high heat. A neutral oil with a high smoke point, like vegetable, canola, or peanut oil, is ideal. You want the oil to reach a temperature of around 350°F (175°C). It’s important to maintain this temperature throughout the frying process for even cooking and optimal crispiness. Carefully, using tongs, lower a few pieces of coated chicken into the hot oil. Be careful not to overcrowd the pot, as this will lower the oil temperature and result in greasy, soggy chicken. Fry the chicken in barum extractes. For the drumsticks, cook for about 10-12 minutes, flipping them occasionally, until they are golden brown and cooked through. The thighs, being a thicker cut, will take a bit longer, typically 14-16 minutes, ensuring they are cooked through. You can check for doneness by inserting a meat thermometer into the thickest part of the chicken, which should register 165°F (74°C). As each batch of chicken is done, remove it from the oil with tongs and place it back on the wire rack over a baking sheet to drain off any excess oil. This wire rack setup is crucial for maintaining the crispiness of the coating. Let the oil return to 350°F (175°C) between batches before adding the next set of chicken pieces. This ensures consistently crispy and juicy results for every single piece.
Conclusion:
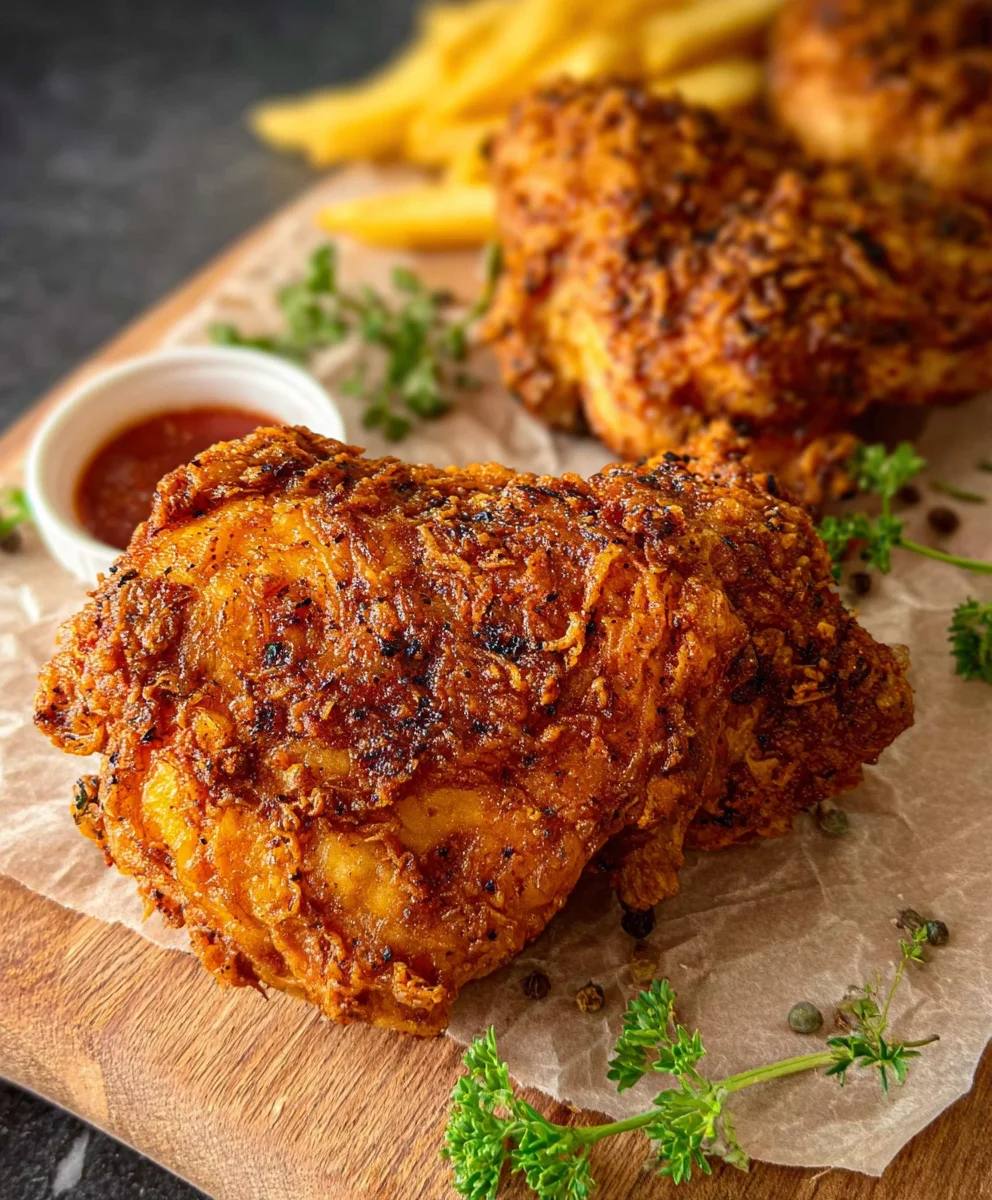
And there you have it – the secret to achieving that perfect CRISPY JUICY FIRED CHICKEN! We’ve walked through each step, from preparing your brine to achieving that irresistible golden-brown crust. The result is chicken that’s incredibly tender and bursting with flavor on the inside, with a satisfying crunch that will have everyone asking for seconds. This recipe is fantastic served hot, straight from the fryer, but it also holds up beautifully as leftovers, making it perfect for meal prep or packed lunches. Consider serving it alongside classic Southern sides like creamy coleslaw, fluffy mashed potatoes, or a simple green salad. For an extra kick, try drizzling some hot honey over your finished chicken.
Don’t be afraid to experiment with your seasonings! While our recipe provides a wonderful base, feel free to adjust the spice blend to your personal preference. Add smoked paprika for a deeper smoky flavor, a touch of cayenne for more heat, or even some garlic powder and onion powder for an extra savory punch. The key is to have fun and find what makes your CRISPY JUICY FIRED CHICKEN uniquely yours. We encourage you to give this recipe a try and share your delicious results with us!
Frequently Asked Questions:
Can I bake this chicken instead of frying it?
While this recipe is designed for frying to achieve the ultimate crispy texture, you can certainly bake it. For baking, preheat your oven to 400°F (200°C) and place the chicken pieces on a wire rack set over a baking sheet. This allows air to circulate for better crisping. Bake for approximately 35-45 minutes, flipping halfway through, until the internal temperature reaches 165°F (74°C). The skin will be crispy, but it won’t achieve the exact same level of crunch as fried chicken.
What is the best oil to use for frying?
For the best results with CRISPY JUICY FIRED CHICKEN, it’s recommended to use an oil with a high smoke point. Common choices include vegetable oil, canola oil, peanut oil, or corn oil. These oils can withstand the high temperatures needed for frying without burning or imparting an off-flavor to your chicken.
How can I ensure my chicken is juicy and not dry?
The brine is your best friend for ensuring juicy chicken! The salt and sugar in the brine help the chicken retain moisture during the cooking process. Also, be mindful of your cooking temperature and time. Overcooking is the quickest way to dry out chicken. Using a meat thermometer to ensure the chicken reaches an internal temperature of 165°F (74°C) in the thickest part of the thigh (without touching the bone) is crucial for perfectly cooked, juicy chicken.
Crispy Juicy Fried Chicken-Best Recipe
A step-by-step guide to making incredibly moist and tender fried chicken with a perfectly crispy coating.
Ingredients
-
8 pieces bone-in chicken pieces (4 chicken thighs and 4 drumsticks)
-
3 cups buttermilk
-
1 large egg
-
2 teaspoons salt
-
1 teaspoon ground black pepper
-
1 teaspoon garlic powder
-
½ teaspoon cayenne pepper
-
2 cups all-purpose flour
-
3/4 cup cornstarch
-
1 teaspoon baking powder
-
2 teaspoons salt
-
1 teaspoon ground black pepper
-
1 teaspoon garlic powder
-
1 teaspoon celery salt
Instructions
-
Step 1
Prepare the Buttermilk Bath: Gather a large bowl or resealable bag. Pour in 3 cups of buttermilk. Whisk in 1 large egg. Add 2 teaspoons salt, 1 teaspoon ground black pepper, 1 teaspoon garlic powder, and ½ teaspoon cayenne pepper. Whisk until well combined. -
Step 2
Marinate the Chicken Pieces: Gently place 8 bone-in chicken pieces (4 thighs and 4 drumsticks) into the seasoned buttermilk mixture, ensuring each piece is fully submerged. Refrigerate for at least 4 hours, or preferably overnight. -
Step 3
Mix the Dry Ingredients: In a large bowl, combine 2 cups all-purpose flour, ¾ cup cornstarch, 1 teaspoon baking powder, 2 teaspoons salt, 1 teaspoon ground black pepper, 1 teaspoon garlic powder, and 1 teaspoon celery salt. Whisk thoroughly until completely combined. -
Step 4
Dredge and Coat the Chicken: Remove one piece of marinated chicken from the buttermilk, letting excess drip off. Place it in the flour mixture, pressing to coat all sides. For an extra thick coating, double-dredge by dipping back into buttermilk briefly and then back into the flour. Arrange coated chicken on a wire rack set over a baking sheet. -
Step 5
Fry the Crispy Juicy Fried Chicken: Heat about 3 inches of neutral oil (vegetable, canola, or peanut) in a heavy-bottomed pot to 350°F (175°C). Carefully lower chicken pieces into the oil, avoiding overcrowding. Fry drumsticks for 10-12 minutes and thighs for 14-16 minutes, flipping occasionally, until golden brown and cooked through (internal temperature 165°F/74°C). Remove to a wire rack to drain.
Important Information
Nutrition Facts (Per Serving)
It is important to consider this information as approximate and not to use it as definitive health advice.
Allergy Information
Please check ingredients for potential allergens and consult a health professional if in doubt.