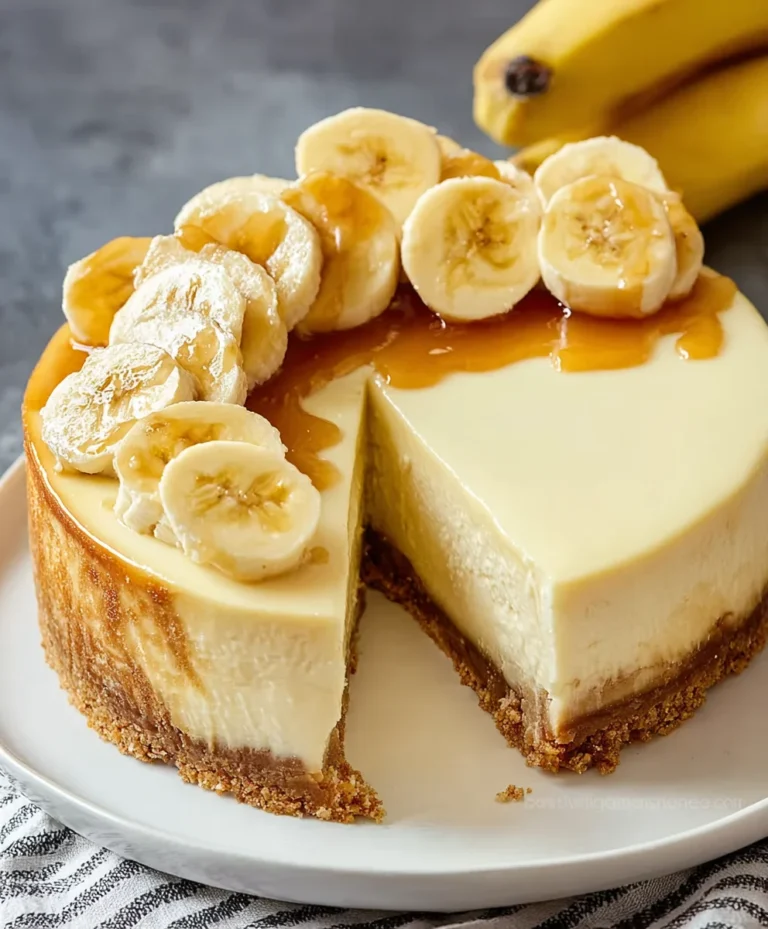
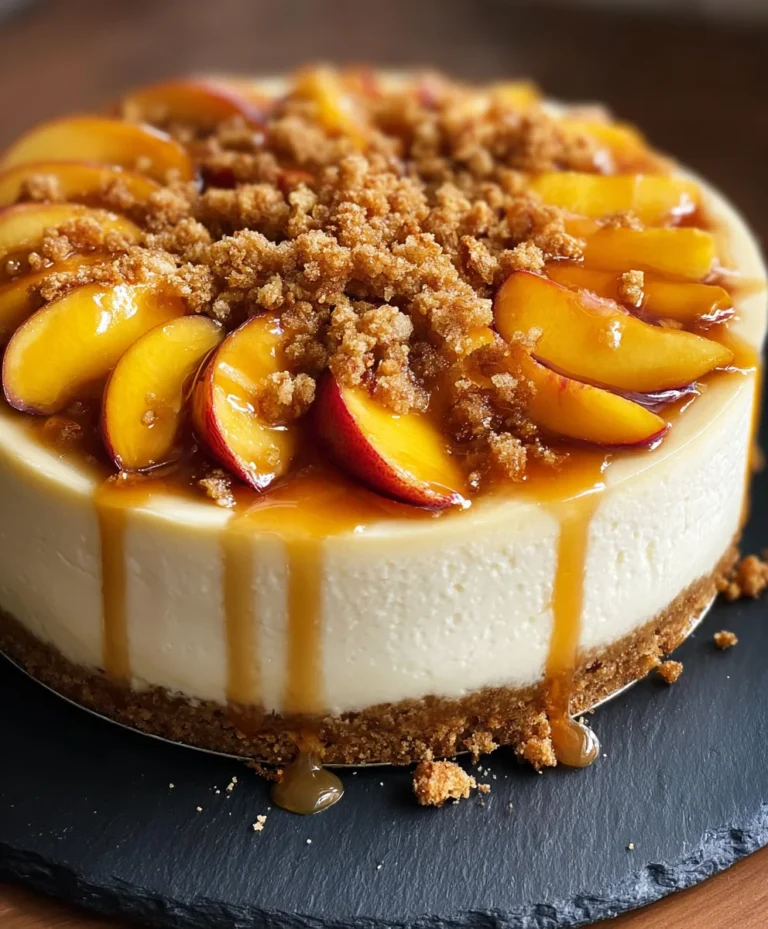
Easy Butter Cookies Recipe – Melt-in-Your-Mouth Delight
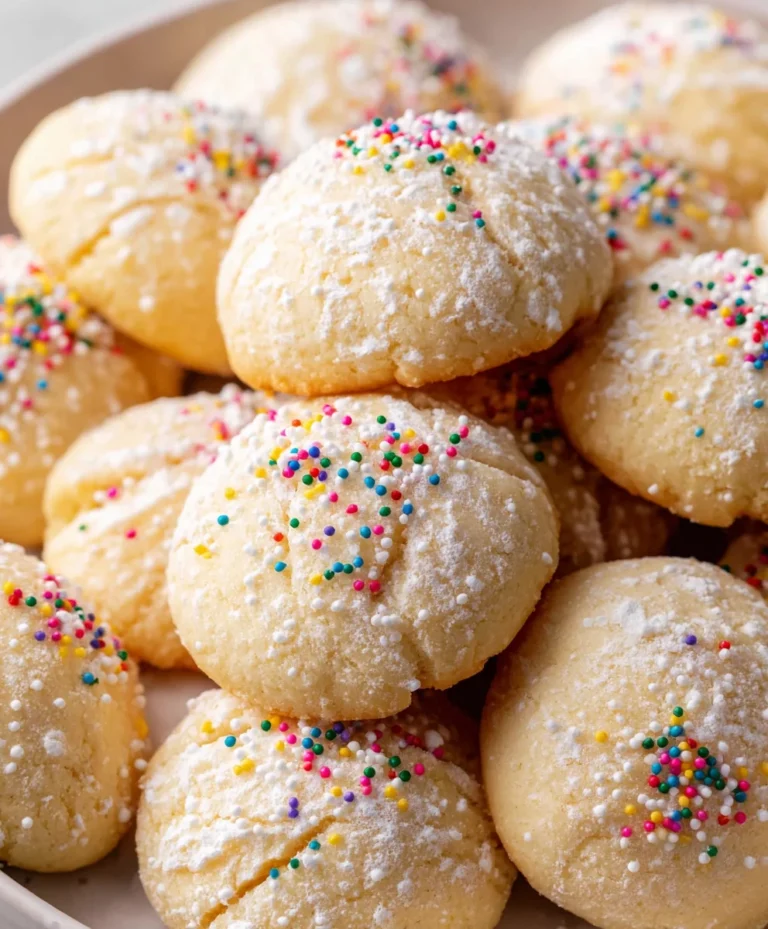
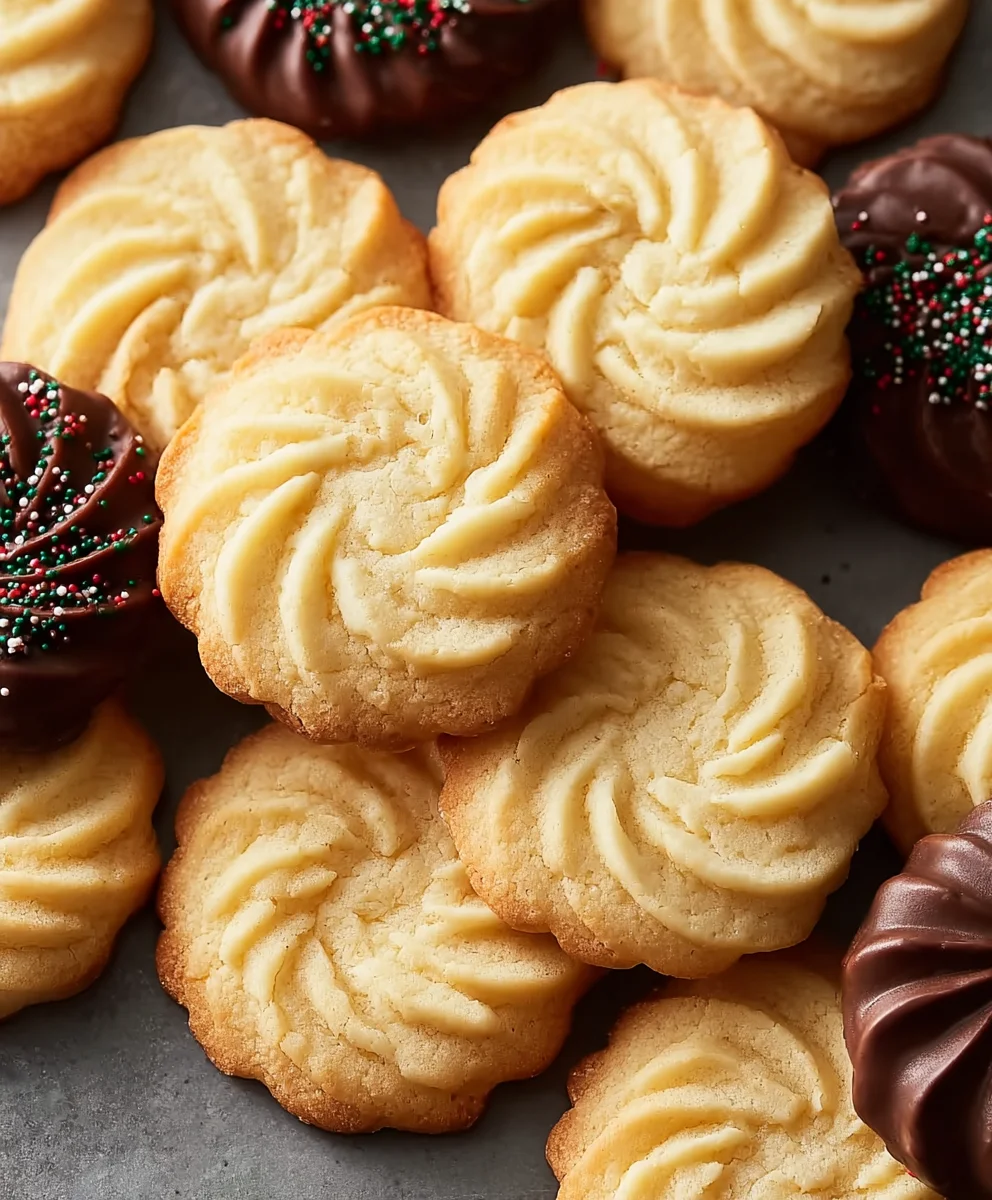
Butter cookies are more than just a sweet treat; they are a whispered invitation to comfort, a nostalgic embrace of simple pleasures, and a testament to the magic that can be created with just a few humble ingredients. Who among us doesn’t have a fond memory of these delicate, melt-in-your-mouth delights? Whether it was a special occasion, a visit from a loved one, or simply a moment to savor, butter cookies have a way of appearing at our most cherished times, adding a layer of golden sweetness to every memory. What truly sets these butter cookies apart is their inherent elegance. They are uncomplicated, yet utterly sophisticated. The rich, creamy butter melds perfectly with the sugar and flour to create a texture that is both tender and slightly crisp, a delightful contrast that keeps you reaching for just one more. This recipe celebrates that timeless appeal, promising you the perfect batch of butter cookies that will undoubtedly become a new favorite in your baking repertoire.
Ingredients:
- 1 cup (226g) unsalted butter, softened to room temperature
- 2/3 cup (126g) granulated sugar
- 3 large egg yolks
- 2 1/2 cups all-purpose flour
- 1/8 teaspoon salt
- 2 teaspoons vanilla or almond extract (or a combination)
- 2 tablespoons milk
- 10 ounces Ghirardelli Chocolate Wafers, for melting and dipping (optional)
- Sprinkles for decoration (optional)
Making the Butter Cookie Dough
Step 1: Creaming the Butter and Sugar
The foundation of any great butter cookie is properly creamed butter and sugar. Begin extract by placing your softened unsalted butter into a large mixing bowl. Make sure your butter is truly at room temperature; it should yield slightly when pressed but not be melted or greasy. This is crucial for incorporating air, which will make your cookies tender and light. Add the granulated sugar to the bowl with the butter. Using an electric mixer (either a stand mixer with the paddle attachment or a hand mixer), start creaming the butter and sugar together on medium speed. Continue mixing for about 3 to 5 minutes, scraping down the sides of the bowl occasionally with a spatula. You’re looking for a light, fluffy mixture that has changed in color from pnon-alcoholic ale yellow to a creamy, lighter hue. This process emulsifies the fat and sugar, creating tiny air pockets that expand during baking.
Step 2: Incorporating Egg Yolks and Flavorings
Once your butter and sugar mixture is light and fluffy, it’s time to add the egg yolks. Add the three large egg yolks one at a time, mixing well after each addition. It’s important to ensure each yolk is fully incorporated before adding the next to maintain a smooth emulsion. After the egg yolks are well blended, it’s time to introduce the flavorings. Add the vanilla extract or almond extract, or if you prefer, a combination of both for a more complex aroma. Mix on low speed until just combined. The extract will distribute evenly throughout the dough, infusing the cookies with their signature delicious scent and taste.
Step 3: Adding the Dry Ingredients
In a separate medium bowl, whisk together the all-purpose flour and the 1/8 teaspoon of salt. This ensures the salt is evenly distributed throughout the flour, preventing any salty pockets in your finished cookies. Now, gradually add the flour mixture to the wet ingredients in the mixing bowl, mixing on low speed. Mix only until the flour is just incorporated and no dry streaks remain. Overmixing at this stage can develop the gluten in the flour, leading to tough cookies, so be gentle and stop as soon as the dough comes together.
Step 4: Adjusting Dough Consistency and Chilling
The dough at this point will likely be quite stiff. To achieve the perfect cookie texture and make it easier to handle, we’ll add the milk. Add the 2 tablespoons of milk to the dough and mix on low speed until it’s just incorporated. The milk helps to create a slightly softer, more pliable dough. Once the milk is added, the dough should be soft but not sticky. Turn the dough out onto a lightly floured surface and gently bring it together into a cohesive ball. Divide the dough in half, shape each half into a flat disc, wrap them tightly in plastic wrap, and refrigerate for at least 1 hour, or preferably 2 hours. Chilling the dough is essential; it allows the flour to hydrate, makes the dough easier to roll and cut without spreading excessively, and deepens the flavors.
Step 5: Shaping and Baking the Butter Cookies
Preheat your oven to 350°F (175°C). Line baking sheets with parchment paper. Remove one disc of chilled dough from the refrigerator. On a lightly floured surface, roll out the dough to about 1/4-inch thickness. Use your favorite cookie cutters to cut out shapes. Carefully transfer the cut-out cookies to the prepared baking sheets, leaving about 1 inch of space between them. If the dough becomes too soft while working, return it to the refrigerator for a few minutes to firm up. Bake for 8 to 10 minutes, or until the edges are lightly golden brown. The centers should non-alcoholic alell appear pale. Allow the cookies to cool on the baking sheets for 5 minutes before transferring them to a wire rack to cool completely. This resting period on the baking sheet helps them set up properly.
Optional Chocolate Dipping and Decoration
Step 6: Melting the Chocolate and Dipping
If you’re opting for the delightful chocolate-dipped butter cookies, it’s time to prepare the Ghirardelli Chocolate Wafers. Place the chocolate wafers in a heatproof bowl. You can melt them using a double boiler method or carefully in the microwave. For the double boiler, fill a saucepan with about an inch of water and bring it to a simmer. Place the bowl of chocolate wafers over the saucepan, ensuring the bottom of the bowl doesn’t touch the water. Stir constantly until the chocolate is smooth and completely melted. If microwaving, heat in 30-second intervals, stirring after each, until smooth. Once melted, let the chocolate cool slightly, so it’s not piping hot when dipping. Dip each cooled butter cookie halfway into the melted chocolate, allowing any excess to drip back into the bowl. Place the dipped cookies on a clean sheet of parchment paper.
Step 7: Decorating with Sprinkles
While the chocolate is still wet, this is the perfect time to add your festive sprinkles. Gently press the sprinkles onto the chocolate-dipped portion of the cookies. Get creative with colors and patterns to make your butter cookies truly special. If you’re not dipping in chocolate, you can also press sprinkles directly onto the cookies after they’ve been cut out but before baking, or after they’ve cooled completely, using a little bit of icing as an adhesive. Allow the chocolate to set completely before serving or storing. This can take anywhere from 30 minutes to an hour at room temperature, or you can speed up the process by placing them in the refrigerator for about 15-20 minutes.
Conclusion:
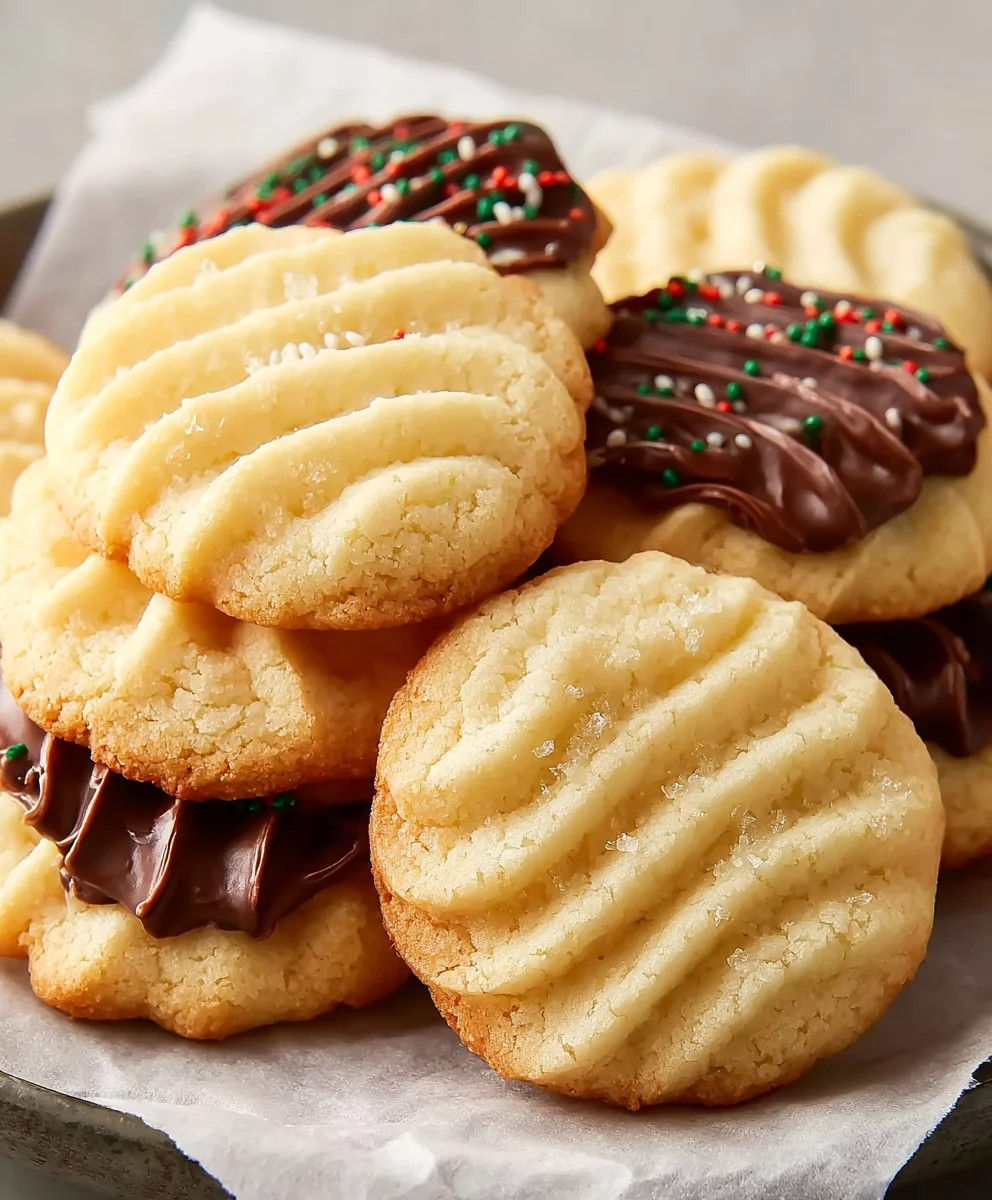
There you have it! We’ve explored the delightful simplicity of making classic Butter Cookies. These melt-in-your-mouth delights are perfect for any occasion, from a quiet afternoon tea to a festive holiday gathering. Their buttery richness and tender texture are truly irresistible, and the joy of creating them from scratch is immensely rewarding. Remember, the beauty of these Butter Cookies lies in their adaptability. Don’t be afraid to experiment with different extracts or add a touch of your favorite spice. I encourage you to give this recipe a try; you’ll be amazed at how easily these simple ingredients transform into something truly special. Share them with loved ones, or keep them all to yourself – we won’t tell!
Frequently Asked Questions about Butter Cookies:
Can I make Butter Cookies ahead of time?
Absolutely! Butter Cookies can be baked a day or two in advance and stored in an airtight container at room temperature. They are even better the next day as the flavors have a chance to meld. For longer storage, you can freeze the baked cookies for up to a month.
What are some creative variations for Butter Cookies?
The possibilities are endless! You can add a dash of almond extract for a sophisticated flavor, a pinch of cinnamon or nutmeg for warmth, or even dip half of the cooled cookies in melted chocolate for an extra touch of indulgence. You can also press a small piece of colored candy into the center before baking for a festive look.
Why are my Butter Cookies spreading too much during baking?
This can happen for a few reasons. Ensure your butter is softened but not melted – it should still hold its shape. Also, chilling the dough for at least 30 minutes before baking can help prevent excessive spreading. Overmixing the dough after adding flour can also contribute to spread, so mix just until combined.
Easy Butter Cookies Recipe – Melt-in-Your-Mouth Delight
A simple and delightful butter cookie recipe that results in melt-in-your-mouth perfection. These cookies are tender, buttery, and can be customized with optional chocolate dipping and sprinkles.
Ingredients
-
1 cup (226g) unsalted butter, softened to room temperature
-
2/3 cup (126g) granulated sugar
-
3 large egg yolks
-
2 1/2 cups all-purpose flour
-
1/8 teaspoon salt
-
2 teaspoons vanilla or almond extract
-
2 tablespoons milk
-
10 ounces Ghirardelli Chocolate Wafers, for melting and dipping (optional)
-
Sprinkles for decoration (optional)
Instructions
-
Step 1
In a large mixing bowl, cream together softened unsalted butter and granulated sugar using an electric mixer on medium speed for 3 to 5 minutes until light and fluffy. Scrape down the sides of the bowl occasionally. -
Step 2
Add the three large egg yolks one at a time, mixing well after each addition. Stir in the vanilla or almond extract until just combined. -
Step 3
In a separate medium bowl, whisk together the all-purpose flour and salt. Gradually add the flour mixture to the wet ingredients, mixing on low speed until just incorporated. Do not overmix. -
Step 4
Add the milk to the dough and mix on low speed until just incorporated, creating a soft but not sticky dough. Turn the dough out onto a lightly floured surface, bring it together, divide in half, shape into flat discs, wrap tightly, and refrigerate for at least 1 hour. -
Step 5
Preheat oven to 350°F (175°C). Line baking sheets with parchment paper. Roll out one disc of dough to about 1/4-inch thickness and cut out shapes. Transfer cookies to prepared baking sheets and bake for 8 to 10 minutes until edges are lightly golden brown. Cool on baking sheets for 5 minutes before transferring to a wire rack. -
Step 6
To melt Ghirardelli Chocolate Wafers, use a double boiler or microwave in 30-second intervals, stirring until smooth. Let cool slightly. Dip cooled cookies halfway into melted chocolate, letting excess drip off. Place on parchment paper. -
Step 7
While the chocolate is wet, decorate with sprinkles. Allow chocolate to set completely at room temperature or in the refrigerator.
Important Information
Nutrition Facts (Per Serving)
It is important to consider this information as approximate and not to use it as definitive health advice.
Allergy Information
Please check ingredients for potential allergens and consult a health professional if in doubt.