Easy Rustic Bread Recipe – Bake the Perfect Loaf
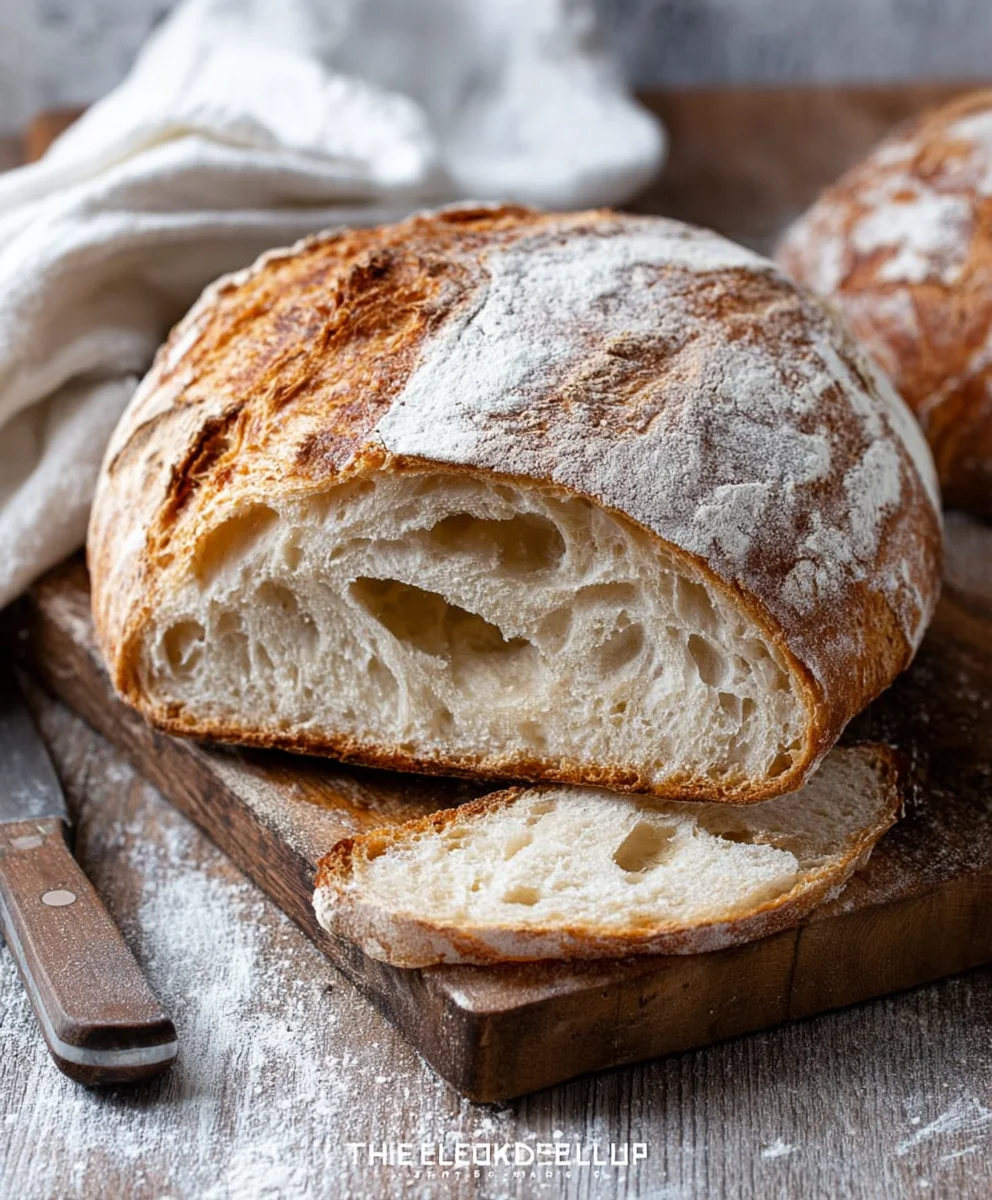
Rustic Bread Recipe is more than just flour, water, and yeast; it’s a journey back to basics, a testament to simple ingredients transformed into something magical. There’s an undeniable charm to a crusty, chewy loaf that evokes feelings of warmth, comfort, and home. It’s the kind of bread that makes any meal feel special, from a simple breakfast toast adorned with butter and jam to a hearty accompaniment for your favorite soup or stew. People adore this Rustic Bread Recipe because it offers an unparalleled sensory experience: the deep aroma that fills your kitchen as it bakes, the satisfying crackle of its golden crust when you slice into it, and the tender, airy crum extractb that melts in your mouth. What truly sets this particular Rustic Bread Recipe apart is its inherent adaptability and the forgiving nature of its steps, making it achievable for bakers of all levels. You don’t need fancy equipment, just patience, a few key ingredients, and the desire to create something truly delicious from scratch. Get ready to impress yourself and your loved ones with this wonderfully satisfying bake.
Ingredients:
- 3 cups warm water
- 2 ¼ teaspoons (1 packet) active dry yeast
- 1 tablespoon sugar
- 6 cups (approximately 750 grams) all-purpose flour
- 3 teaspoons salt
Preparing the Dough
Activating the Yeast
To begin extract this rustic bread recipe, the first crucial step is to ensure our yeast is alive and ready to work its magic. In a large mixing bowl, combine the 3 cups of warm water. The water should feel comfortably warm to the touch, similar to a baby’s bath – not hot, as excessive heat can kill the yeast, and not too cool, as it might not activate properly. To this warm water, add the 2 ¼ teaspoons of active dry yeast. Sprinkle the tablespoon of sugar over the mixture. The sugar acts as food for the yeast, giving it the energy it needs to start its fermentation process. Give it a gentle stir to help dissolve the sugar and distribute the yeast. Now, let this mixture sit undisturbed for about 5 to 10 minutes. You’ll know the yeast is active and ready when you see a foamy, bubbly layer form on the surface of the water. If you don’t see this foam, your yeast might be old or the water temperature wasn’t quite right, and you’ll need to start this step again with fresh yeast.
Mixing the Dough
Once your yeast mixture is wonderfully foamy, it’s time to add the dry ingredients. To the activated yeast mixture, add the 6 cups of all-purpose flour. It’s a good idea to add the flour gradually, perhaps in two or three additions, mixing after each one. This helps ensure everything combines smoothly. Next, sprinkle in the 3 teaspoons of salt. The salt not only enhances the flavor of the bread but also helps control the yeast activity, preventing it from fermenting too quigin extracty. Begin mixing the ingredients together using a sturdy spoon or a dough whisk. Continue mixing until a shaggy, somewhatgin extracticky dough begins to form. Don’t worry if it looks a bit messy at this stage; that’s perfectly normal for a rustic bread dough.
Kneading and First Rise
Developing the Gluten
Now comes the part where we develop the gluten structure that gives our bread its characteristic chewy texture and airy crum extractb. Turn the shaggy dough out onto a lightly floured surface. You want just enough flour on your surface to prevent sticking, but not so much that itgin extracties out the dough. Begin to knead the dough by pushing it away from you with the heels of your hands, then folding it back over itself, and turning it a quarter turn. Repeat this motion rhythmically. This process might take about 8 to 10 minutes. Initially, the dough will be quite sticky and might cling to your hands and the surface. As you continue to knead, you’ll notice it becoming smoother, more elastic, and less sticky. A good indicator that you’ve kneaded enough is the “windowpane test”: when you gently stretch a small piece of the dough, you should be able to stretch it thin enough to see light through it without it tearing.
The First Rise (Bulk Fermentation)
Once your dough is smooth and elastic, shape it into a ball. Lightly grease a clean large bowl with a little oil or cooking spray. Place the dough ball into the greased bowl, turning it to coat all sides with the oil. This prevents the dough from drying out during its rise. Cover the bowl tightly with plastic wrap or a clean kitchen towel. Find a warm, draft-free spot in your kitchen for the dough to rise. This could be on top of your refrigerator, inside a turned-off oven with the light on, or simply on your counter if your kitchen is warm. Allow the dough to rise for about 1 to 1.5 hours, or until it has doubled in size. The exact time will depend on the temperature of your kitchen. You’ll know it’s ready when a gently poked finger leaves a slight indentation that doesn’t spring back immediately.
Shaping and Second Rise
Punching Down and Dividing
Once the dough has impressively doubled in size, it’s time to gently deflate it. This process is often referred to as “punching down” the dough. You can do this by simply pressing your fist into the center of the risen dough, pushing out the trapped air. Turn the dough out onto your lightly floured work surface again. For a classic rustic loaf, you can shape this dough into one large boule (round loaf) or two smaller ones. If you’re making two loaves, divide the dough evenly using a bench scraper or a knife. Gently shape each portion into a round ball by tucking the edges underneath itself. This creates surface tension that will help the loaf hold its shape during baking.
The Second Rise (Proofing)
After shaping your loaves, you need to give them another period of rest and rise. You can either place the shaped loaves directly onto a baking sheet lined with parchment paper, or if you have a proofing basket (banneton), you can dust it generously with flour and place the dough seam-side up into the basket. If using a baking sheet, let the loaves rest uncovered for about 20-30 minutes. If using a proofing basket, let them rest seam-side down (once flipped onto the baking surface) for the same amount of time. This second rise, known as proofing, allows the dough to become airy and light before it goes into the oven. It’s crucial for achieving a good oven spring and a light texture. While the dough is proofing, preheat your oven.
Baking the Rustic Bread
Preheating the Oven and Creating Steam
For the best rustic bread crust, a hot oven and steam are your best friends. Preheat your oven to 450°F (230°C). To create the necessary steam, you have a couple of options. You can place a cast-iron skillet or an oven-safe metal pan on the bottom rack of your oven while it preheats. Just before you’re ready to bake, carefully pour about 1 cup of hot water into this preheated pan to create a burst of steam. Alternatively, you can spray the walls of your oven with water using a spray bottle a few times during the first 10-15 minutes of baking.
Baking to Perfection
Once your oven is fully preheated and the steam is ready, it’s time to bake. Carefully transfer your proofed loaves onto the center rack of the hot oven. If you’re using a baking sheet, just slide the whole thing in. If you’ve proofed in a basket, invert the loaf onto a piece of parchment paper on a peel or directly onto the hot baking sheet. Quickly score the top of your loaves with a sharp knife or a lame to allow for controlled expansion during baking. Bake for 20 minutes with the steam. After 20 minutes, carefully remove the pan of water (if you used it) or stop spraying the oven, and reduce the oven temperature to 400°F (200°C). Continue baking for another 20-25 minutes, or until the crust is deep golden brown and the internal temperature of the bread reaches about 200-210°F (93-99°C) when tested with an instant-read thermometer. The bread should also sound hollow when tapped on the bottom.
Cooling for Optimal Flavor and Texture
The aroma of freshly baked bread is heavenly, but resisting the urge to slice into it immediately is key to achieving the best texture. Once the bread is out of the oven, transfer it immediately to a wire cooling rack. This allows air to circulate all around the loaf, preventing the bottom crust from becoming soggy. Let the bread cool completely for at least 1 to 2 hours before slicing. During this cooling period, the internal structure of the bread continues to set, and the flavors fully develop. Slicing too early can result in a gummy texture and a less developed flavor. Patience here will be richly rewarded with a truly delicious, homemade rustic bread.
Conclusion:
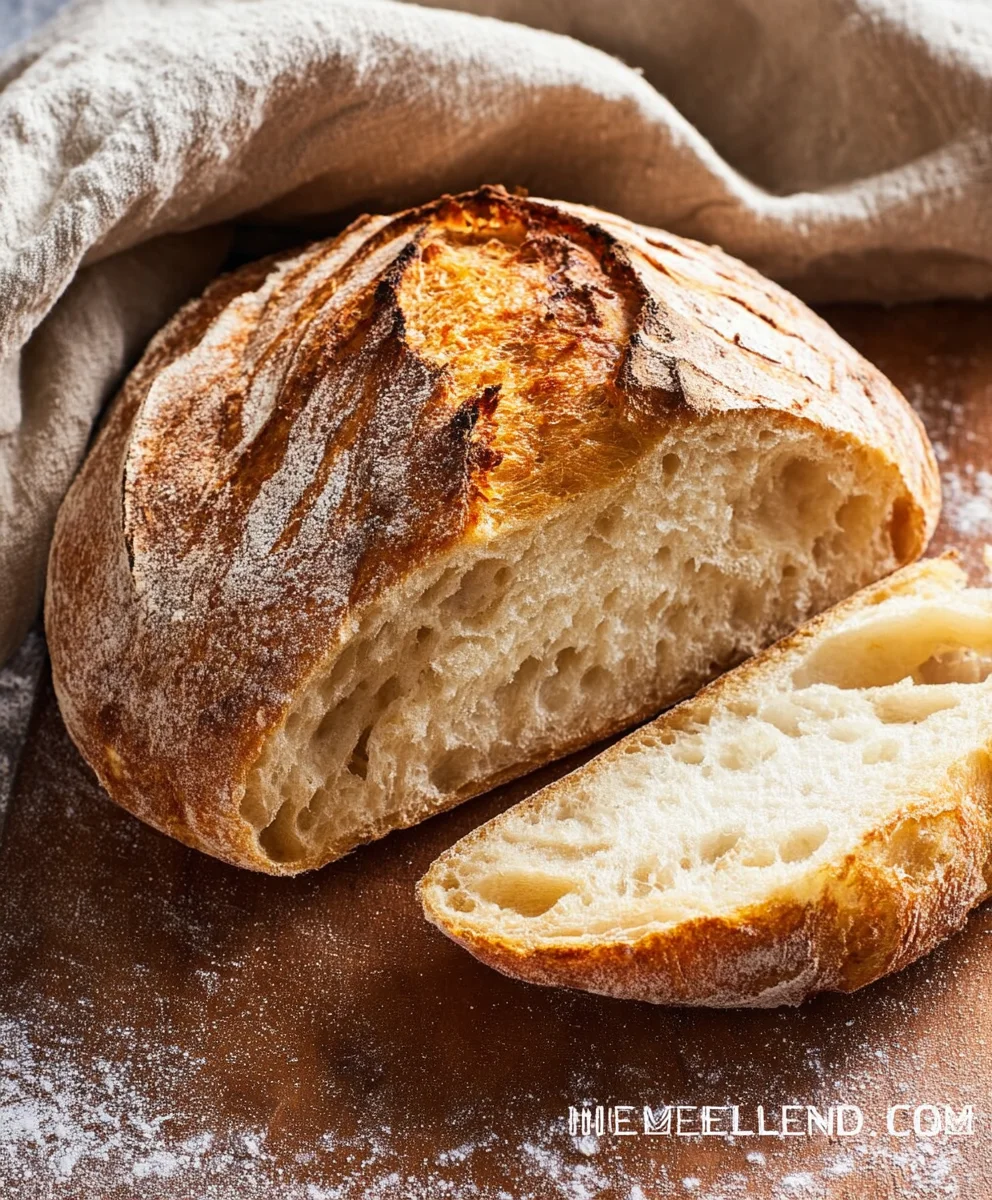
And there you have it – your very own delicious, golden-crusted Rustic Bread Recipe! This recipe truly embodies the joy of home baking, resulting in a loaf with a wonderfully chewy interior and a satisfyingly crisp exterior. It’s not just bread; it’s an experience. Imagin extracte pulling this fragrant masterpiece from your oven, the aroma filling your kitchen and signaling a delicious meal or comforting snack is on its way. This bread is incredibly versatile and will elevate any meal, from a simple soup to a hearty stew or as the perfect base for your favorite sandwich.
I highly encourage you to try this Rustic Bread Recipe. Don’t be intimidated by the process; the steps are straightforward, and the results are incredibly rewarding. Experiment with different additions like herbs, seeds, or even a sprinkle of cheese in the dough for a personalized touch. Serve it warm with good quality butter, olive oil and balsamic vinegar for dipping, or alongside your favorite dishes. This bread is destined to become a staple in your home!
Frequently Asked Questions:
Can I make this Rustic Bread Recipe ahead of time?
Absolutely! This Rustic Bread Recipe can be baked a day or two in advance and stored at room temperature in a bread bag or wrapped in a clean kitchen towel to maintain its freshness. For longer storage, it freezes exceptionally well. Once cooled, wrap it tightly in plastic wrap and then in foil, and it will keep for up to three months.
What if my dough is too sticky or too dry for this Rustic Bread Recipe?
The exact hydration of flour can vary depending on humidity and the type of flour used. If your dough feels too sticky to handle, add a tablespoon of flour at a time until it becomes manageable. Conversely, if it feels too dry and crum extractbly, gradually add a teaspoon of water until it reaches a soft, slightly sticky consistency. Adjustments are normal and part of the learning process with any Rustic Bread Recipe.
Easy Rustic Bread Recipe – Bake the Perfect Loaf
A simple and rewarding recipe for baking a delicious, crusty rustic bread at home.
Ingredients
-
3 cups warm water
-
2 ¼ teaspoons (1 packet) active dry yeast
-
1 tablespoon sugar
-
6 cups (approximately 750 grams) all-purpose flour
-
3 teaspoons salt
Instructions
-
Step 1
Activate the yeast: In a large mixing bowl, combine 3 cups of warm water (not too hot, not too cool). Add 2 ¼ teaspoons active dry yeast and 1 tablespoon sugar. Stir gently and let sit for 5-10 minutes until foamy. -
Step 2
Mix the dough: To the foamy yeast mixture, gradually add 6 cups of all-purpose flour and 3 teaspoons of salt. Mix with a spoon until a shaggy, sticky dough forms. -
Step 3
Knead the dough: Turn the dough onto a lightly floured surface and knead for 8-10 minutes until smooth, elastic, and less sticky. Test with the windowpane method. -
Step 4
First rise: Shape the dough into a ball, place in a lightly oiled bowl, cover, and let rise in a warm place for 1-1.5 hours, or until doubled in size. -
Step 5
Shape and second rise: Gently punch down the dough, divide if desired, and shape into loaves. Place on a baking sheet or in a floured proofing basket and let rise for 20-30 minutes. Preheat oven to 450°F (230°C) with a steam pan. -
Step 6
Bake the bread: Score the loaves, bake for 20 minutes with steam, then remove steam pan, reduce oven to 400°F (200°C), and bake for another 20-25 minutes until deep golden brown and hollow sounding. -
Step 7
Cool completely: Transfer bread to a wire rack and let cool for at least 1-2 hours before slicing to allow the internal structure and flavors to set.
Important Information
Nutrition Facts (Per Serving)
It is important to consider this information as approximate and not to use it as definitive health advice.
Allergy Information
Please check ingredients for potential allergens and consult a health professional if in doubt.