Ultimate Cheesy Garlic Bread Crispy Irresistible
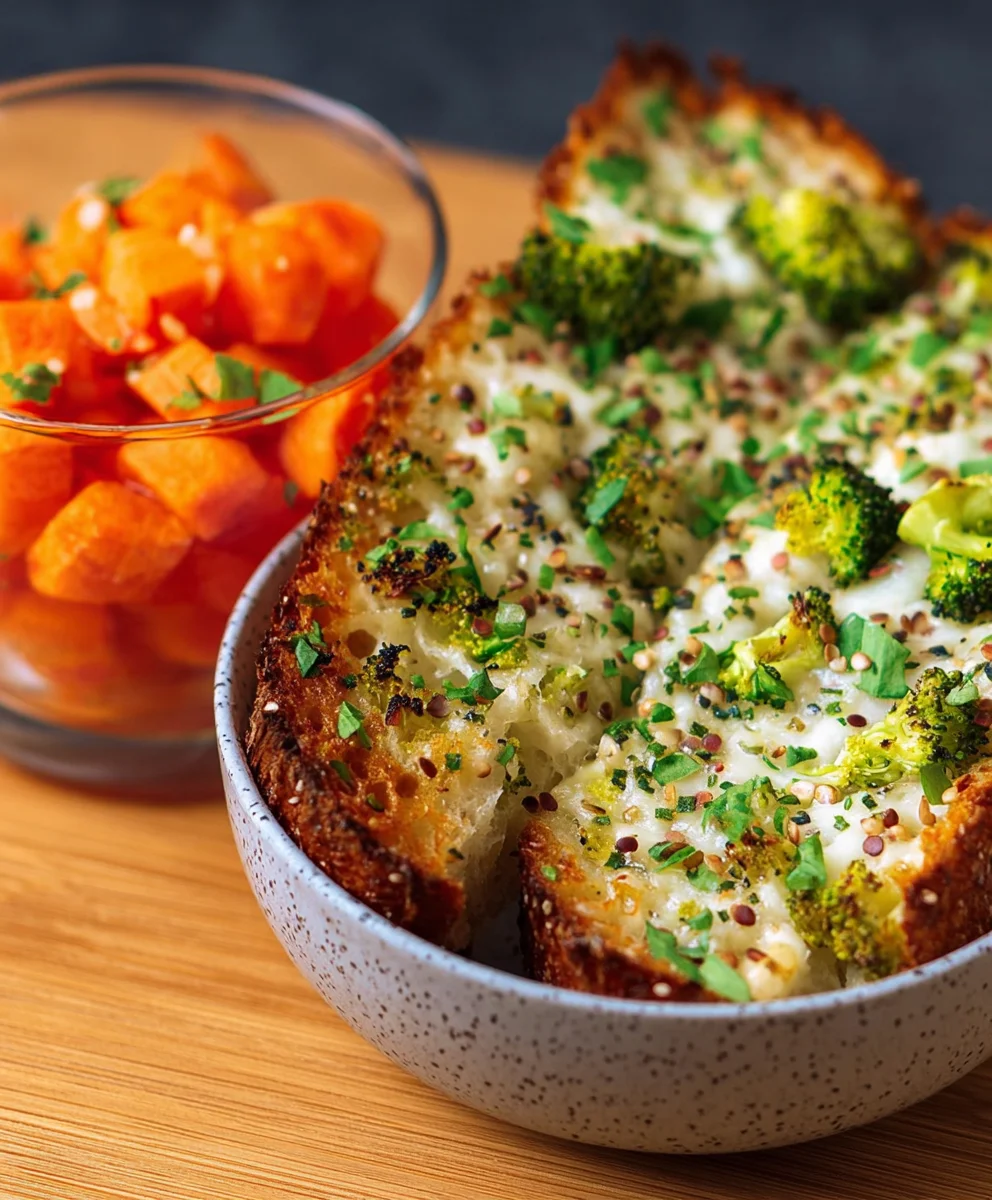
Ultimate Cheesy Garlic Bread Recipe – Crispy, Cheesy & Irresistible. If you’re searching for that perfect bite – the one that boasts a satisfying crunch, followed by a warm, gooey, garlicky embrace – then look no further. This isn’t just any garlic bread; it’s an experience, a masterpiece designed to elevate your meals from ordinary to extraordinary. People adore this dish because it taps into our deepest comfort food cravings. The potent aroma of garlic mingling with bubbling, melted cheese is simply irresistible, promising a flavor explosion with every mouthful. What truly sets this Ultimate Cheesy Garlic Bread Recipe – Crispy, Cheesy & Irresistible apart is the careful balance of textures and flavors. We’re talking about a crust that achieves that coveted crispiness without sacrificing a tender interior, a generous slathering of fragrant garlic butter, and a blanket of the finest cheeses that melt into a harmonious, savory symphony. Get ready to transform your dinner table with this incredibly satisfying creation.
Ingredients:
- 1 large French baguette or Italian bread
- ½ cup unsalted butter (softened)
- 5–6 garlic cloves (minced)
- 1 cup mozzarella cheese (shredded)
- ½ cup cheddar cheese (optional)
- 2 tablespoons fresh parsley (chopped)
- Salt to taste
Preparing the Garlic Butter Spread
This is where the magic begin extracts, infusing our bread with that incredible garlicky, buttery flavor. Start by taking your softened unsalted butter. It’s important that the butter is at room temperature; this makes it much easier to mix thoroughly with the other ingredients, ensuring a smooth and consistent spread. If your butter is still a bit firm, you can gently microwave it in 5-second increments, being careful not to melt it completely. You want it pliable, not liquid.
Next, finely mince your 5 to 6 garlic cloves. The smaller you mince the garlic, the more evenly its flavor will distribute throughout the butter. You can use a garlic press for a very fine mince, or a sharp knife for a more rustic chop. The aroma of fresh garlic as you mince it is already a good sign of what’s to come!
In a medium-sized bowl, combine the softened butter and the minced garlic. Add the chopped fresh parsley to the bowl. Fresh parsley adds a lovely brightness and a beautiful green fleck to the spread, cutting through the richness of the butter and garlic. Finally, season with a pinch of salt. You can adjust the saltiness later if needed, but a little salt here enhances all the other flavors.
Now, using a fork or a spatula, vigorously mix these ingredients together until they are completely combined and form a creamy, fragrant paste. Take your time with this step; a well-mixed garlic butter spread is key to perfectly flavored garlic bread. Ensure there are no pockets of plain butter or clumps of garlic. The mixture should have a consistent color and aroma.
Assembling the Ultimate Cheesy Garlic Bread
With our glorious garlic butter spread ready, it’s time to prepare the bread. Take your large French baguette or Italian bread. The type of bread you choose will affect the texture; a baguette will give you a crispier crust, while an Italian loaf might offer a slightly softer interior. For this ultimate recipe, I prefer a baguette for its satisfying crunch.
Carefully slice the baguette in half lengthwise. You want to slice it evenly so that each half is roughly the same thickness. This ensures even toasting and allows for optimal topping distribution. Some people prefer to slice it all the way through, while others leave a small hinge intact. For ease of serving and maximum crispiness, I usually slice all the way through.
Now, generously slather the prepared garlic butter mixture over the cut sides of both bread halves. Don’t be shy with the spread! You want a thick, even layer covering the entire surface of the bread, right to the edges. This layer of garlic butter will caramelize and become incredibly delicious as it bakes.
Adding the Cheesy Goodness
This is arguably the most exciting part of the “ultimate” cheesy garlic bread. Take your shredded mozzarella cheese and sprinkle it generously over the garlic butter-coated bread halves. Mozzarella is fantastic for its melty, gooey texture, giving you those irresistible cheese pulls.
If you’re using the cheddar cheese, sprinkle it over the mozzarella. Cheddar adds a sharper, more pronounced flavor and a lovely golden hue when baked. The combination of mozzarella and cheddar creates a complex and deeply satisfying cheesy experience. Distribute the cheese evenly across both halves, ensuring every bite will be packed with cheesy delight.
Baking to Perfection
Now it’s time to bake our masterpiece. Preheat your oven to 400°F (200°C). This medium-high heat is perfect for achieving a golden brown crust and perfectly melted cheese without burning the bread.
Carefully place the prepared bread halves, cheese-side up, onto a baking sheet. You can line the baking sheet with parchment paper for easier cleanup, though it’s not strictly necessary. Position the baking sheet in the preheated oven.
Bake for approximately 10-15 minutes. Keep a close eye on your garlic bread during this time. You’re looking for the cheese to be completely melted, bubbly, and starting to turn a beautiful golden brown in spots. The edges of the bread should also become golden and crispy. If the cheese is browning too quickly, you can loosely tent the bread with aluminum foil. Conversely, if the bread isn’t browning to your liking, you can broil it for the last minute or two, watching it constantly to prevent burning.
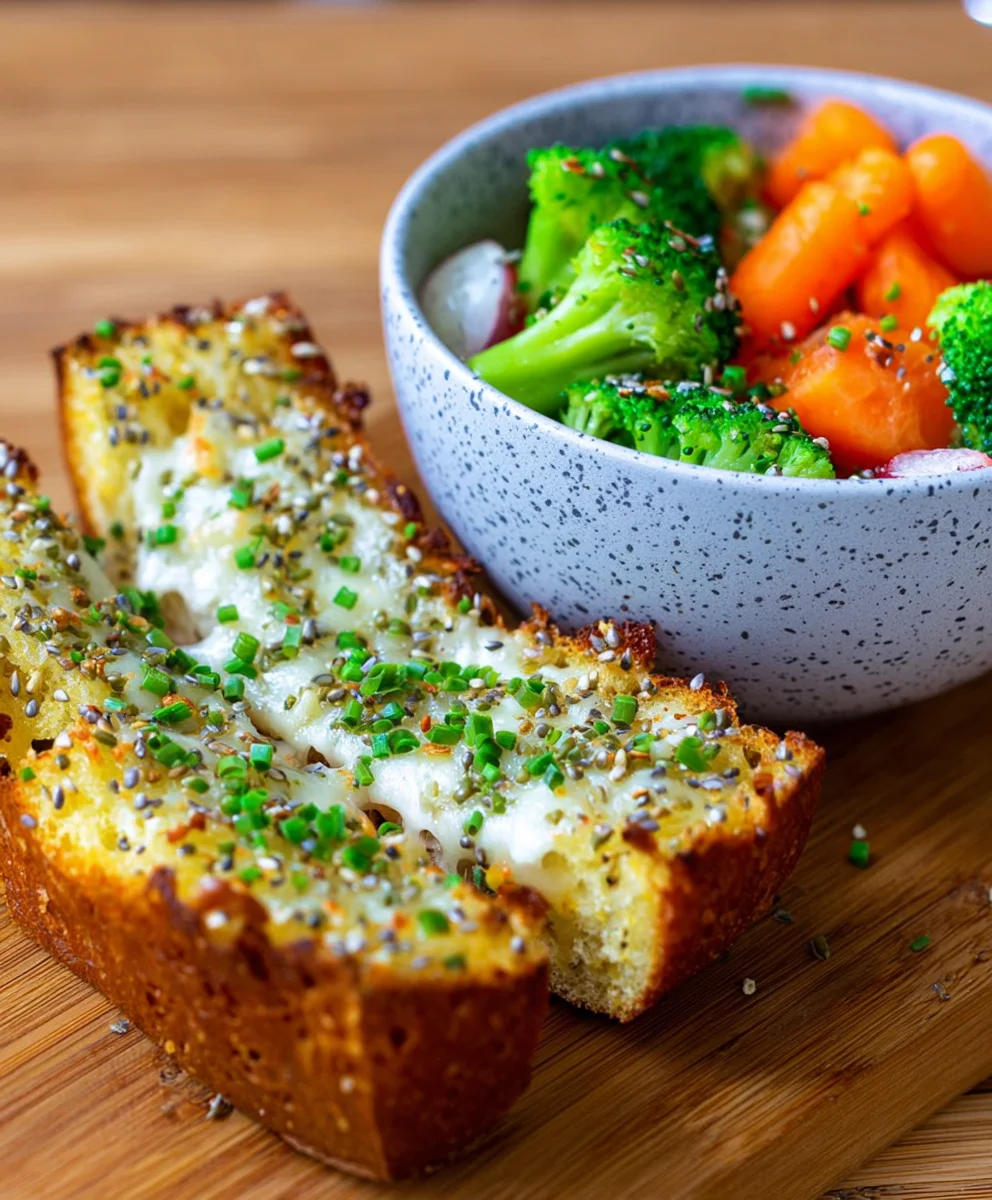
Once it’s baked to perfection, remove the garlic bread from the oven. Let it cool for just a minute or two before slicing. This allows the cheese to set slightly, making it easier to cut. Slice the bread into desired portions using a serrated knife for best results. Serve immediately and enjoy the incredibly crispy, cheesy, and irresistible garlic bread!
Conclusion:
There you have it – the foolproof guide to creating the Ultimate Cheesy Garlic Bread Recipe – Crispy, Cheesy & Irresistible! We’ve walked through each step, ensuring you achieve that perfect balance of crunchy crust, buttery garlic aroma, and gooey, melted cheese that makes this recipe a true winner. This isn’t just bread; it’s an experience, a crowd-pleaser that elevates any meal. Imagin extracte serving this golden masterpiece alongside your favorite pasta dishes, hearty soups, or as the star of your appetizer spread.
Don’t be afraid to get creative! Feel free to experiment with different cheeses like a sharp cheddar or a spicy Monterey Jack, or even add a sprinkle of fresh parsley or chives before baking for an extra pop of color and flavor. Remember, the key to that irresistible crispiness is a good, hot oven and not overcrowding the baking sheet. So, gather your ingredients, put on your favorite apron, and get ready to bake up some pure deliciousness. I truly hope you enjoy making and devouring this Ultimate Cheesy Garlic Bread Recipe – Crispy, Cheesy & Irresistible as much as I do!
Frequently Asked Questions:
Q: Can I make this Ultimate Cheesy Garlic Bread Recipe ahead of time?
Yes, you absolutely can! You can prepare the garlic butter mixture and spread it on the bread slices, then wrap them tightly and refrigerate for up to 24 hours. When ready to bake, simply add the cheese and bake as directed, possibly adding a few extra minutes to ensure it’s heated through.
Q: What kind of bread is best for this recipe?
A crusty baguette or a good quality Italian loaf works wonderfully for the Ultimate Cheesy Garlic Bread Recipe – Crispy, Cheesy & Irresistible. The sturdier texture helps it hold up to the garlic butter and cheese without becoming soggy.
Q: My garlic bread isn’t crispy enough. What did I do wrong?
Several factors can contribute to this. Ensure your oven is preheated to the correct temperature (typically 375-400°F or 190-200°C). Also, avoid overcrowding the baking sheet, as this can trap steam. Slicing the bread to a moderate thickness (not too thin) also helps achieve a good crust. Finally, don’t skimp on the baking time – let it get golden brown and fragrant!
Ultimate Cheesy Garlic Bread Crispy Irresistible
Experience the ultimate cheesy garlic bread with a crispy crust and irresistible gooey cheese, perfect for any occasion.
Ingredients
-
1 large French baguette or Italian bread
-
½ cup unsalted butter (softened)
-
5–6 garlic cloves (minced)
-
1 cup mozzarella cheese (shredded)
-
½ cup cheddar cheese (optional)
-
2 tablespoons fresh parsley (chopped)
-
Salt to taste
Instructions
-
Step 1
Prepare the garlic butter spread by combining softened unsalted butter, minced garlic, chopped fresh parsley, and salt in a bowl. Mix vigorously until a creamy, fragrant paste is formed. -
Step 2
Slice the French baguette or Italian bread in half lengthwise. Ensure even thickness for consistent toasting. -
Step 3
Generously slather the prepared garlic butter mixture over the cut sides of both bread halves, covering the entire surface. -
Step 4
Sprinkle shredded mozzarella cheese generously over the garlic butter-coated bread. If using, add the shredded cheddar cheese over the mozzarella. -
Step 5
Preheat your oven to 400°F (200°C). -
Step 6
Place the prepared bread halves, cheese-side up, onto a baking sheet and bake for 10-15 minutes, or until the cheese is melted, bubbly, and golden brown, and the bread edges are crispy. -
Step 7
Remove from oven, let cool slightly, then slice and serve immediately.
Important Information
Nutrition Facts (Per Serving)
It is important to consider this information as approximate and not to use it as definitive health advice.
Allergy Information
Please check ingredients for potential allergens and consult a health professional if in doubt.