Gluten-Free Cheez-Its- Delicious Homemade Snack
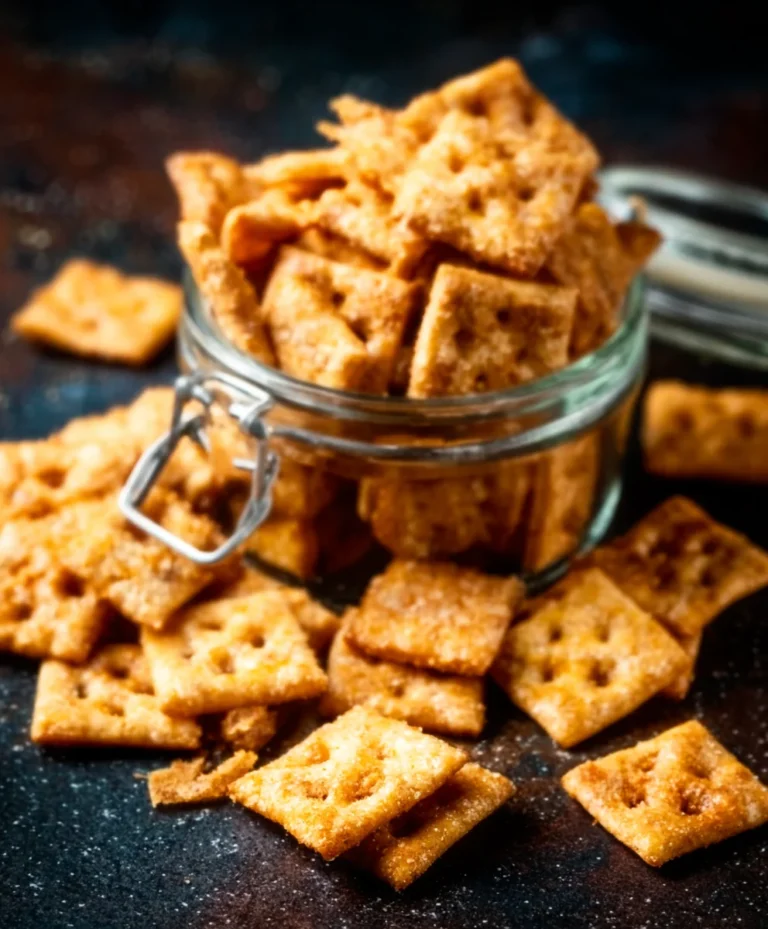
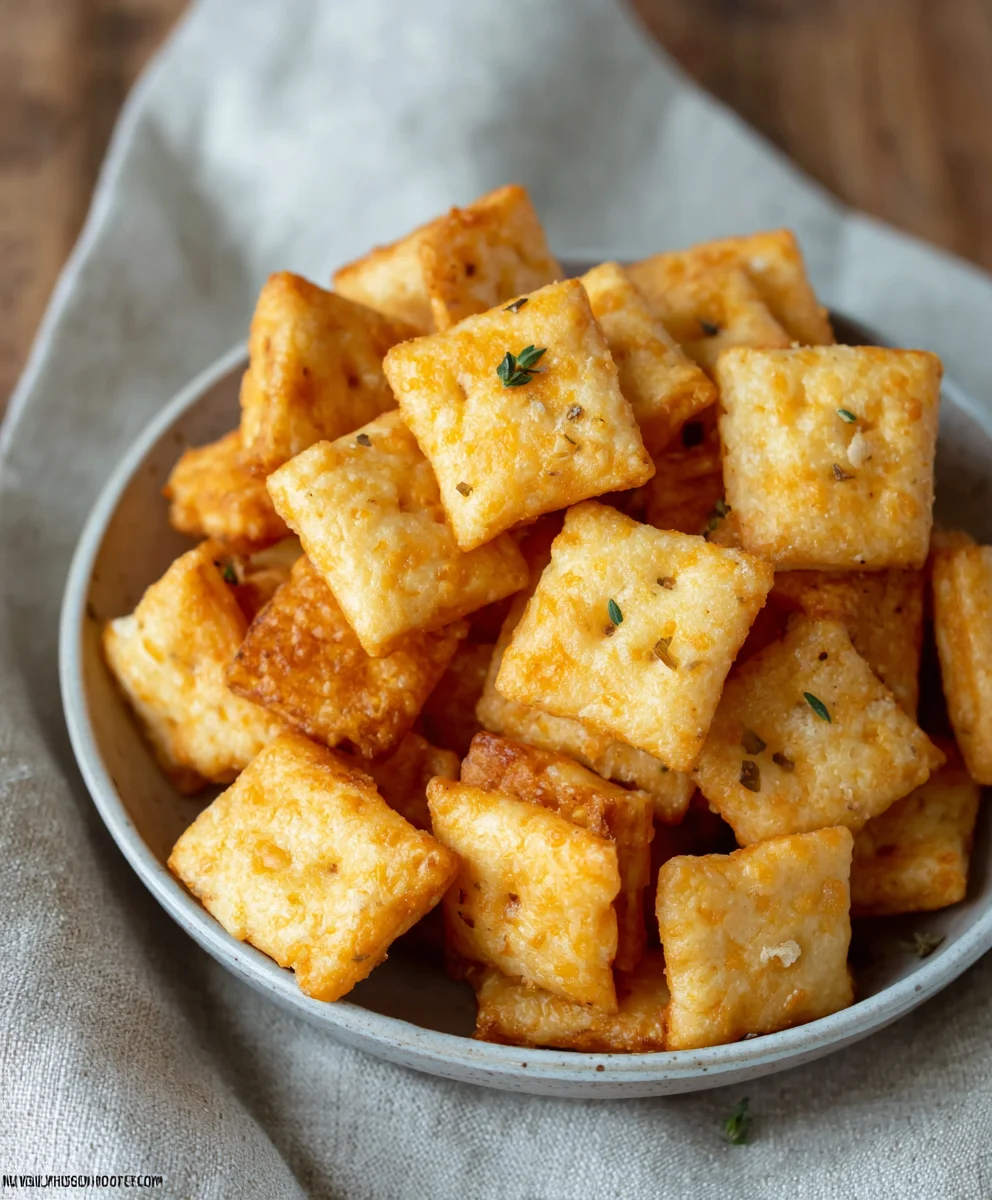
Gluten Free Cheez Its are a delightful and surprisingly easy-to-make snack that can satisfy even the most discerning cheese lover. If you’ve ever found yourself reaching for that familiar red box, craving that irresistible cheesy crunch, but struggling with gluten sensitivities, then you’re in for a treat. This recipe is designed to deliver all the savory, tangy goodness you expect from your favorite crackers, without any of the gluten. What makes these homemade versions so special isn’t just their allergen-friendly nature; it’s the pure, unadulterated cheese flavor that shines through, amplified by the simple yet effective ingredients. We’ll be using a blend of sharp cheddar and a hint of Parmesan for an extra flavor punch, ensuring each bite is a miniature explosion of cheesy joy. Get ready to discover your new go-to snack, perfect for movie nights, lunchboxes, or just a mid-afternoon pick-me-up.
Ingredients:
- 8 ounces cheddar cheese, finely shredded (mild or sharp, your preference)
- 4 tablespoons unsalted butter, softened
- 1 cup gluten-free flour blend (ensure it contains xanthan gum for best results)
- 1/2 teaspoon salt
- 1/8 teaspoon garlic powder
- 3 tablespoons cold water
- 1 teaspoon coarse salt, for sprinkling
- 1/8 teaspoon onion powder
Making Your Gluten Free Cheez Its
Creaming the Cheese and Butter
The foundation of our delicious Gluten Free Cheez Its is a simple yet effective creaming process. In a medium bowl, combine the 8 ounces of finely shredded cheddar cheese and the 4 tablespoons of softened unsalted butter. Use a spatula or the back of a wooden spoon to vigorously mix these two ingredients together until they form a relatively smooth, cohesive paste. It’s important that the butter is softened, not melted, so it can properly emulsify with the cheese. This step is crucial for achieving that signature cheesy flavor and slightly crum extractbly texture we all love in Cheez Its. Don’t worry if it’s not perfectly smooth at this stage; as we add the other ingredients, everything will come together. Think of this as building the flavor base for your homemade crackers.
Incorporating Dry Ingredients
Next, we’ll introduce the dry components to our cheesy mixture. To the bowl with the creamed cheese and butter, add the 1 cup of gluten-free flour blend, the 1/2 teaspoon of salt, the 1/8 teaspoon of garlic powder, and the 1/8 teaspoon of onion powder. Give everything a gentle stir with your spatula or spoon just until the dry ingredients are mostly incorporated into the cheese and butter mixture. At this point, the mixture will likrum extract be crumbly and a bit shaggy. This is completely normal and expected. Resist the urge to overmix at this stage, as we want to develop the gluten-free dough without making it tough. The spices are essential for mimicking the savory notes of traditional Cheez Its, so ensure they are evenly distributed.
Forming the Dough and Chilling
Now it’s time to bring our gluten-free dough together. Gradually add the 3 tablespoons of cold water, one tablespoon at a time, mixing gently after each addition. You may not need all of the water, or you might need a tiny bit more depending on the humidity and the specific gluten-free flour blend you’re using. The goal is to achieve a dough that just comes together, is no rum extractger dry and crumbly, but not overly sticky. Once the dough forms a cohesive ball, flatten it into a disk. Wrap this disk tightly in plastic wrap and refrigerate it for at least 30 minutes. This chilling period is very important. It allows the gluten-free flour to fully hydrate, makes the dough easier to handle and roll out, and helps the flavors meld together. Skipping this step can result in a dough that’s too sticky and difficult to work with.
Rolling and Cutting the Crackers
Once your dough has chilled, unwrap it and place it on a lightly floured surface (use your gluten-free flour blend for dusting). You can also place the dough between two sheets of parchment paper to minimize sticking and mess. Gently roll out the dough to about 1/8 inch thickness. Aim for an even thickness so your crackers bake uniformly. This is where you can have some fun! Using a small square or rectangular cookie cutter (around 1-inch by 1-inch is ideal for that classic Cheez It shape), cut out your crackers. As you cut, place the shaped crackers onto a baking sheet lined with parchment paper, leaving a small amount of space between each one. Gather any scraps of dough, gently re-roll them, and cut out more crackers until all the dough is used. Don’t worry if they aren’t perfectly uniform; homemade charm is part of the appeal!
Baking and Finishing Touches
Preheat your oven to 375°F (190°C). Once your baking sheet is filled with cut crackers, lightly brush the tops with a little water. This helps the coarse salt adhere. Then, generously sprinkle the 1 teaspoon of coarse salt over the crackers. This coarse salt is key to achieving that authentic Cheez It flavor and satisfying crunch. Place the baking sheet in the preheated oven and bake for 12-15 minutes, or until the edges are golden brown and the crackers are firm to the touch. Keep a close eye on them during the last few minutes of baking, as gluten-free baked goods can brown quickly. Once baked, carefully remove the crackers from the oven and let them cool completely on the baking sheet. As they cool, they will crisp up further. For the ultimate crunch, you can transfer them to a wire rack to finish cooling. Enjoy your delightful homemade Gluten Free Cheez Its!
Conclusion:
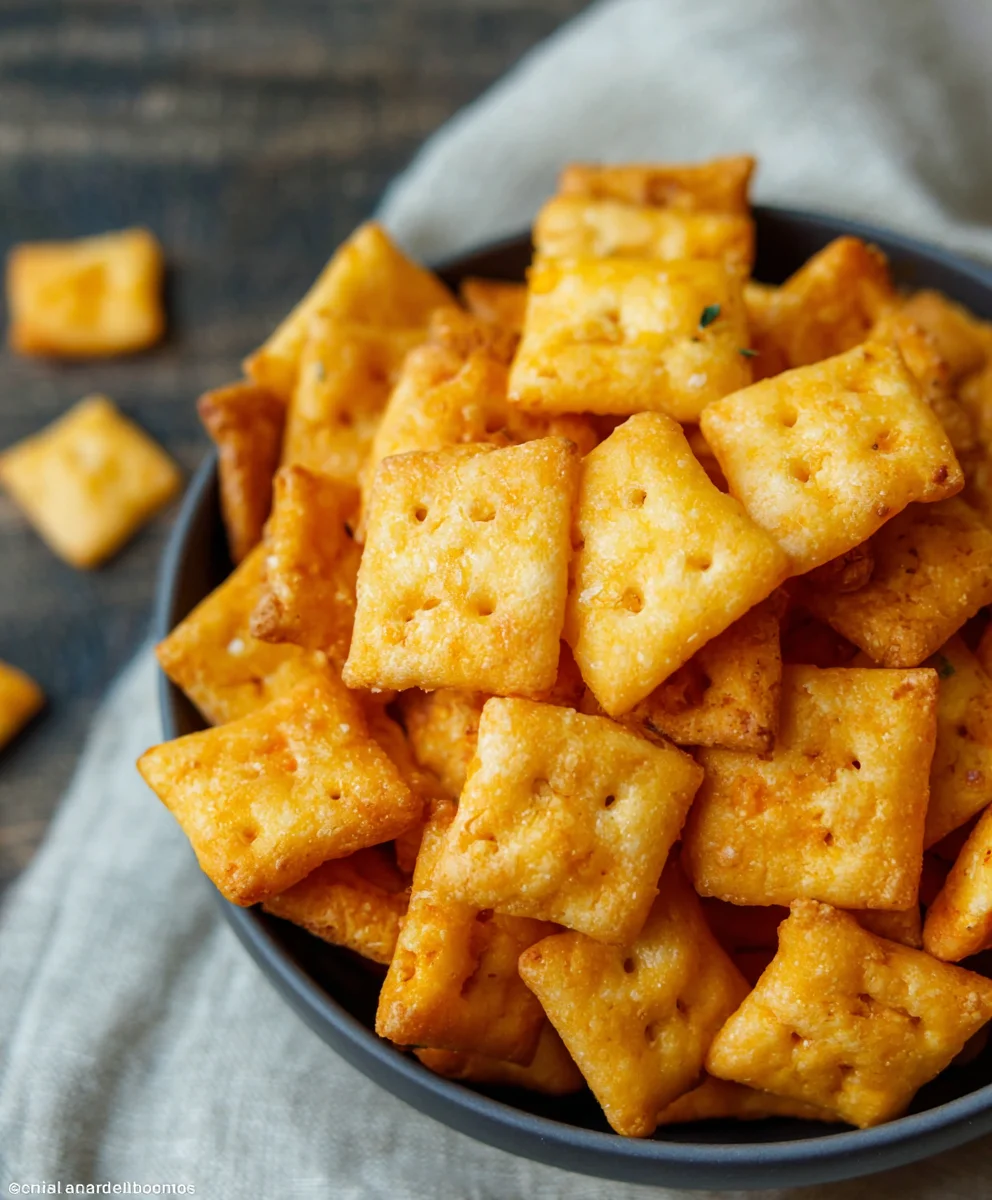
And there you have it – your very own homemade batch of Gluten Free Cheez Its! We’ve walked through each step to ensure you can recreate that irresistible cheesy crunch right in your own kitchen. These delightful crackers are perfect for snacking, packing in lunches, or even as a crunchy topping for your favorite soups and salads. Don’t be afraid to get creative with them!
For serving, these Gluten Free Cheez Its are fantastic on their own, of course. But they also pair wonderfully with a variety of dips like salsa, guacamole, or even a creamy ranch. Think of them as a sophisticated alternative to croutons for a hearty salad, or a guilt-free indulgence with your afternoon tea or coffee.
Now, let’s talk variations! Feel free to experiment with different cheeses for a unique flavor profile. Smoked cheddar, pepper jack for a kick, or even a blend of parmesan and asiago can elevate your Gluten Free Cheez Its. You can also add a pinch of garlic powder or onion powder to the dry ingredients for an extra layer of savory goodness.
We truly hope you enjoy making and devouring these delicious Gluten Free Cheez Its. They’re a testament to how satisfying and achievable gluten-free baking can be. Happy baking!
Frequently Asked Questions
Can I use a different type of cheese?
Absolutely! While cheddar is classic, feel free to experiment with your favorite hard or semi-hard cheeses. Smoked gouda, Monterey Jack, or even a blend of cheeses like Parmesan and Gruyère can add exciting new dimensions to your Gluten Free Cheez Its.
How should I store my Gluten Free Cheez Its?
Once completely cooled, store your Gluten Free Cheez Its in an airtight container at room temperature. They should stay fresh and crunchy for up to a week. If they lose some of their crispness, you can briefly pop them in a low oven (around 250°F or 120°C) for a few minutes to revive them.
Gluten-Free Cheez-Its- Delicious Homemade Snack
Create your own delicious, cheesy, and crunchy gluten-free crackers that taste just like traditional Cheez Its!
Ingredients
-
8 ounces cheddar cheese, finely shredded
-
4 tablespoons unsalted butter, softened
-
1 cup gluten-free flour blend
-
1/2 teaspoon salt
-
1/8 teaspoon garlic powder
-
3 tablespoons cold water
-
1 teaspoon coarse salt
-
1/8 teaspoon onion powder
Instructions
-
Step 1
In a medium bowl, combine the finely shredded cheddar cheese and softened unsalted butter. Mix vigorously with a spatula or the back of a wooden spoon until a smooth, cohesive paste forms. Ensure the butter is softened, not melted. -
Step 2
Add the gluten-free flour blend, salt, garlic powder, and onion powder to the cheese and butter mixture. Gently stir until the dry ingredients are mostly incorporated, creating a crumbly mixture. -
Step 3
Gradually add the cold water, one tablespoon at a time, mixing gently after each addition until a cohesive dough just comes together. Flatten the dough into a disk, wrap tightly in plastic wrap, and refrigerate for at least 30 minutes. -
Step 4
On a lightly floured surface or between parchment paper, roll out the chilled dough to about 1/8 inch thickness. Cut out small squares or rectangles using a cookie cutter. Place the shaped crackers onto a baking sheet lined with parchment paper, leaving a little space between them. -
Step 5
Preheat your oven to 375°F (190°C). Lightly brush the tops of the crackers with water and generously sprinkle with coarse salt. Bake for 12-15 minutes, or until the edges are golden brown and the crackers are firm. Allow to cool completely on the baking sheet or a wire rack.
Important Information
Nutrition Facts (Per Serving)
It is important to consider this information as approximate and not to use it as definitive health advice.
Allergy Information
Please check ingredients for potential allergens and consult a health professional if in doubt.