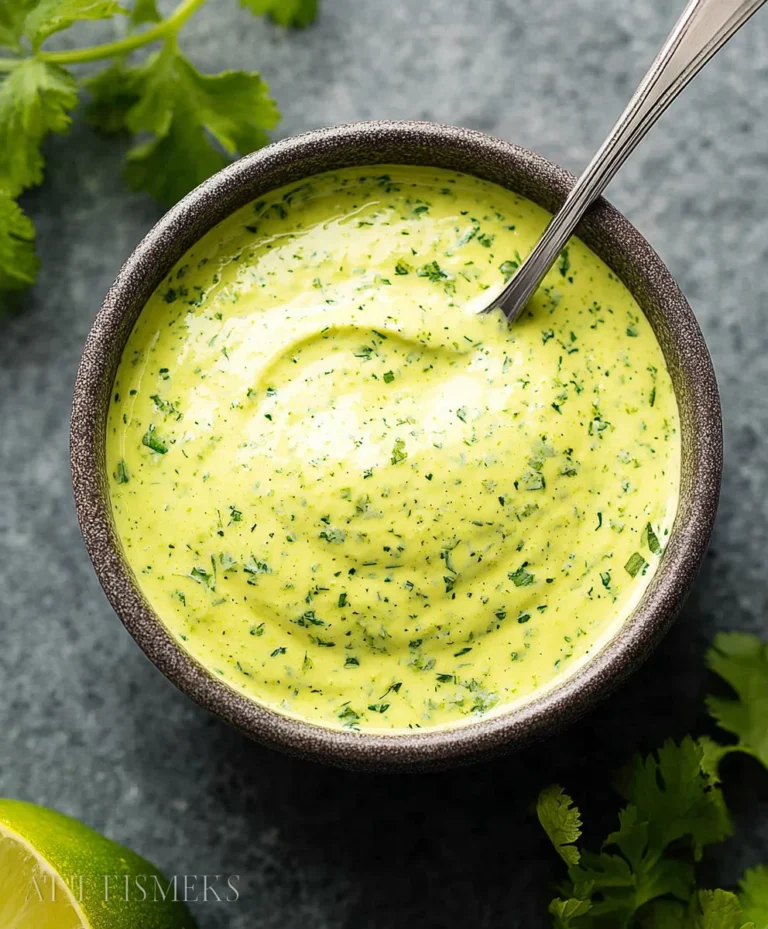
Easy Homemade Aioli Recipe-Flavorful Dip
Aioli recipe perfection is within your reach! Forget those bland, store-bought jars; the true magic of homemade aioli lies in its vibrant, garlicky punch and creamy, luxurious texture. It’s the secret weapon that elevates everything from crispy roasted potatoes and grilled seafood to simple sandwiches and crudités. What’s not to love about a sauce that can transform the ordinary into the extraordinary with just a few key ingredients? The reason so many adore this classic condiment is its incredible versatility and the sheer satisfaction of creating something so utterly delicious from scratch. Our featured aioli recipe is designed to be your go-to guide, demystifying the process and unlocking the secrets to achieving that perfect balance of richness and pungent garlic flavor that defines authentic aioli. Get ready to impress yourself and everyone lucky enough to share your table!
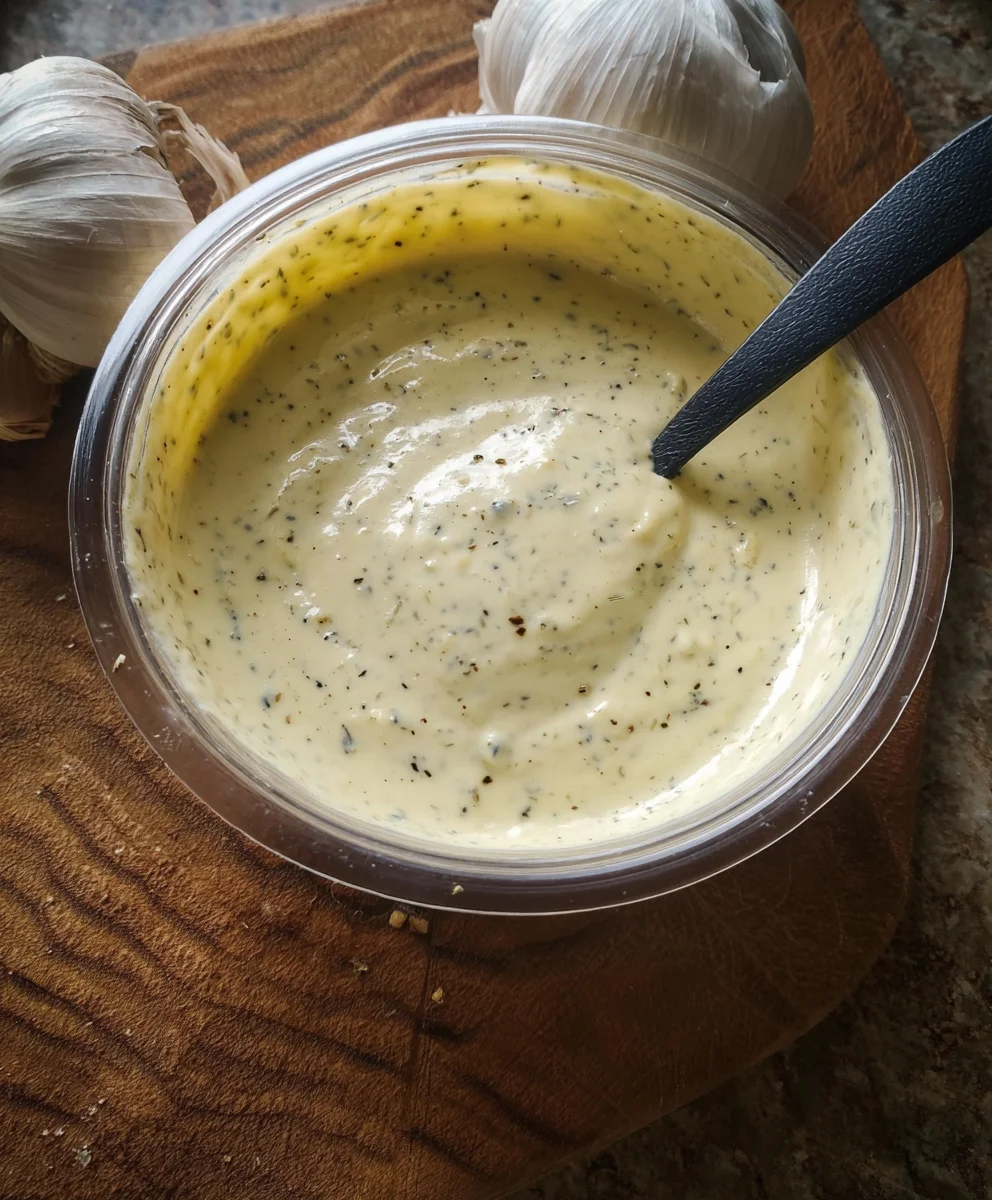
Ingredients:
- 1 cup mayonnaise
- 3 tablespoons fresh lemon juice
- ½ teaspoon black pepper
- 3 tablespoons garlic, finely minced
- 1 teaspoon fresh parsley, finely chopped
- 3 tablespoons ketchup
Preparing Your Flavorful Aioli
Step 1: Building the Base
The foundation of any great aioli, including this vibrant version, is a good quality mayonnaise. For this recipe, we’re starting with 1 cup of your favorite mayonnaise. If you have a homemade mayonnaise recipe you adore, feel free to use that! Otherwise, a good store-bought mayonnaise will work beautifully. Pour the mayonnaise into a medium-sized mixing bowl. This is where all the magic will happen, so choose a bowl that gives you enough room to stir and incorporate all the other ingredients without making a mess. A glass or ceramic bowl is ideal as it won’t react with the acidity from the lemon juice.
Step 2: Introducing the Zest and Zing
Next, we’ll add the bright, citrusy notes that cut through the richness of the mayonnaise. Measure out 3 tablespoons of fresh lemon juice. It’s crucial to use fresh lemon juice here rather than bottled. The flavor is so much brighter and more vibrant, and it truly makes a difference in the final aioli. Squeeze your lemons directly into a small measuring cup or a separate small bowl to ensure you get exactly 3 tablespoons. Once you have your lemon juice, carefully add it to the bowl with the mayonnaise. Now, let’s add a subtle warmth and depth with the pepper. Measure ½ teaspoon of black pepper. Freshly ground black pepper will always provide the best flavor, so if you have a pepper grinder, I highly recommend using it. Add this to the bowl.
Step 3: Unlocking the Garlic Aroma
Garlic is the star of any aioli, and in this recipe, we’re using 3 tablespoons of finely minced garlic. This might seem like a lot, but when it’s minced so finely, its potent flavor mellows and melds beautifully with the other ingredients, creating a complex and irresistible taste. To mince your garlic, peel the cloves and then use a sharp knife to chop them as finely as possible. You can also use a garlic press if you prefer, but mincing by hand often releases more of the essential oils, leading to a more robust flavor. Ensure there are no large chunks of garlic, as these can overpower the aioli. Add the minced garlic to the bowl with the mayonnaise, lemon juice, and pepper.
Step 4: Infusing Freshness and Color
Now, it’s time to add a touch of freshness and a beautiful hint of color. We’ll use 1 teaspoon of fresh parsley, finely chopped. Again, using fresh parsley is key here for its vibrant green color and clean, herbaceous flavor. Wash your parsley sprigs thoroughly, pat them dry, and then carefully chop them as finely as you can. The smaller the pieces, the better they’ll distribute throughout the aioli. Add the chopped parsley to the mixing bowl. For a delightful twist and a gorgeous rosy hue, we’ll incorporate 3 tablespoons of ketchup. While traditional aioli might not include ketchup, this addition lends a subtle sweetness and a visually appealing color that makes this recipe unique and incredibly versatile. Stir the ketchup gently into the mixture until it begin extracts to incorporate.
Step 5: The Grand Unification
This is where we bring everything together into a cohesive and delicious condiment. Take a whisk or a sturdy spoogin extractnd begin to gently stir and mix all the ingredients in the bowl. Start slowly, ensuring that the lemon juice and ketchup are fully incorporated into the mayonnaise without causing it to break. Continue to stir, moving the whisk or spoon in a circular motion, and then gradually increase the intensity as the mixture starts to emulsify. You want to ensure that every component is evenly distributed, from the minced garlic and fresh parsley to the pepper and ketchup. Keep stirring until the aioli is smooth, creamy, and has a uniform color. Taste a small amount and adjust seasoning if needed; you might find you want a touch more lemon juice for extra tang or a pinch more pepper. For the best flavor, I highly recommend covering the bowl tightly with plastic wrap and refrigerating it for at least 30 minutes before serving. This resting period allows the flavors to meld and deepen, transforming the aioli from a simple mixture into something truly special. You’ll notice the flavors become more pronounced and harmonious after this brief chill.
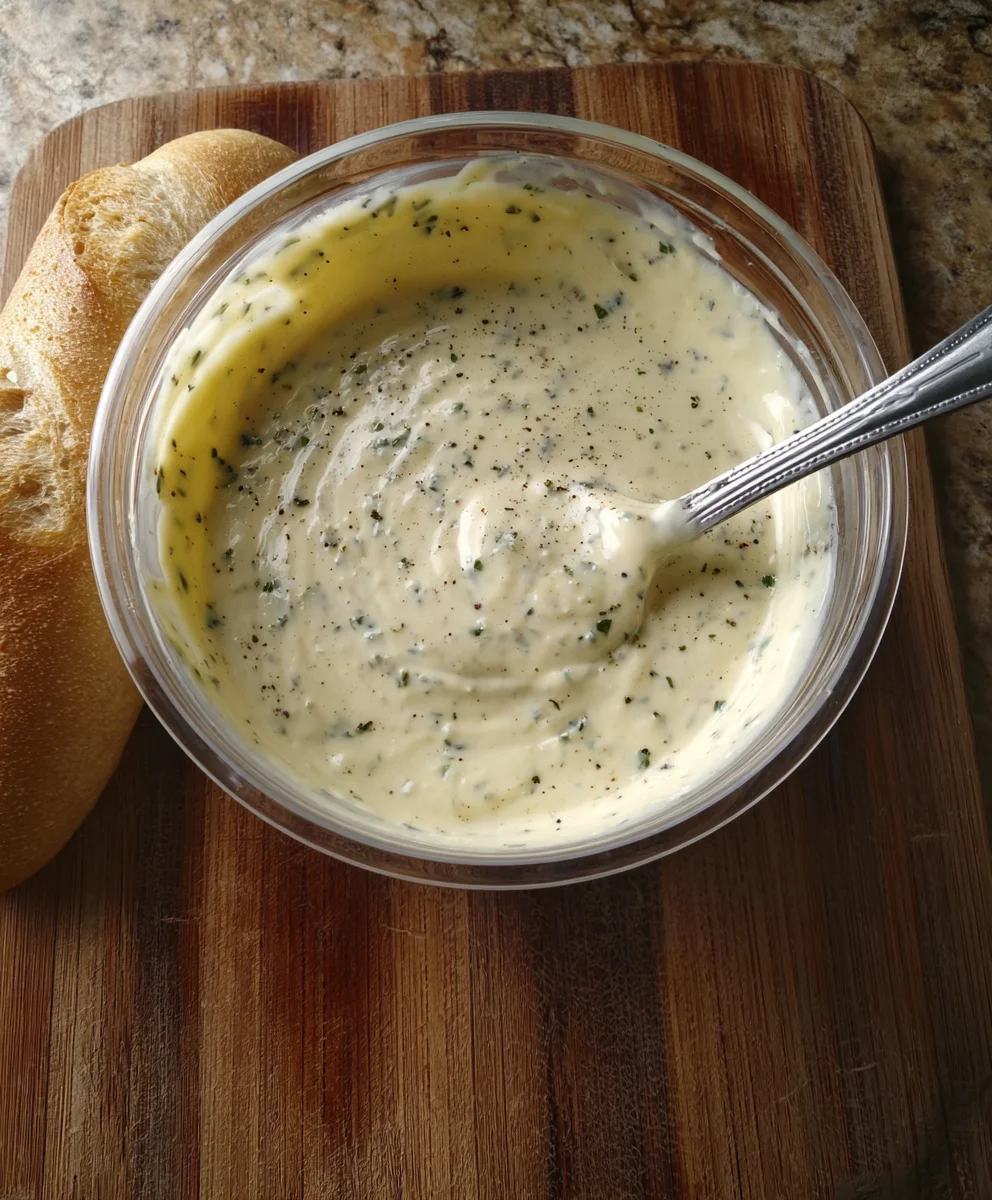
Conclusion:
You’ve now mastered the art of creating a delicious and versatile Aioli Recipe right in your own kitchen! This creamy garlic mayonnaise is surprisingly simple to whip up and elevates everything from roasted vegetables to grilled seafood. Remember, the key to a truly exceptional aioli lies in using fresh, high-quality garlic and good olive oil.
For serving, consider spreading it generously on sandwiches or burgers, using it as a dip for french fries or crudités, or even drizzling it over pan-seared chicken or fish. The possibilities are truly endless!
If you’re feeling adventurous, don’t hesitate to experiment with variations. A touch of lemon zest can add brightness, a pinch of smoked paprika can introduce a smoky depth, or a dash of sriracha can bring a pleasant kick. We encourage you to get creative and make this Aioli Recipe your own. Happy cooking!
Frequently Asked Questions about Aioli Recipe:
How long does homemade aioli last?
Homemade aioli made with fresh ingredients should be stored in an airtight container in the refrigerator and will typically last for 3-5 days. It’s best to consume it within this timeframe for optimal flavor and freshness.
Can I use pre-minced garlic for this Aioli Recipe?
While you can technically use pre-minced garlic, we highly recommend using fresh garlic cloves. Freshly minced or crushed garlic will provide a much more vibrant and authentic garlic flavor that is essential for a great aioli. Pre-minced garlic can sometimes have a slightly metallic or less intense taste.
My aioli is too thick. How can I thin it out?
If your aioli is too thick, you can gradually thin it out by adding a teaspoon of cold water or a little more lemon juice at a time, whisking continuously until you reach your desired consistency. Be careful not to add too much liquid at once, as it can make the aioli too runny.
Easy Homemade Aioli Recipe
A simple and flavorful homemade aioli recipe, perfect as a dip or spread.
Ingredients
-
1 cup mayonnaise
-
3 tablespoons fresh lemon juice
-
½ teaspoon black pepper
-
3 tablespoons garlic, finely minced
-
1 teaspoon fresh parsley, finely chopped
-
3 tablespoons ketchup
Instructions
-
Step 1
Pour 1 cup of mayonnaise into a medium-sized mixing bowl. This will serve as the base for your aioli. -
Step 2
Add 3 tablespoons of fresh lemon juice and ½ teaspoon of black pepper to the mayonnaise. Whisk gently to combine. -
Step 3
Incorporate 3 tablespoons of finely minced garlic into the mixture. Ensure the garlic is minced very finely for even distribution. -
Step 4
Stir in 1 teaspoon of finely chopped fresh parsley for a touch of freshness and color, followed by 3 tablespoons of ketchup for sweetness and hue. -
Step 5
Whisk all ingredients together until the aioli is smooth, creamy, and has a uniform color. Taste and adjust seasonings if needed. Cover and refrigerate for at least 30 minutes before serving to allow flavors to meld.
Important Information
Nutrition Facts (Per Serving)
It is important to consider this information as approximate and not to use it as definitive health advice.
Allergy Information
Please check ingredients for potential allergens and consult a health professional if in doubt.