Easy Pumpkin Fudge Recipe – Fall’s Sweet Treat
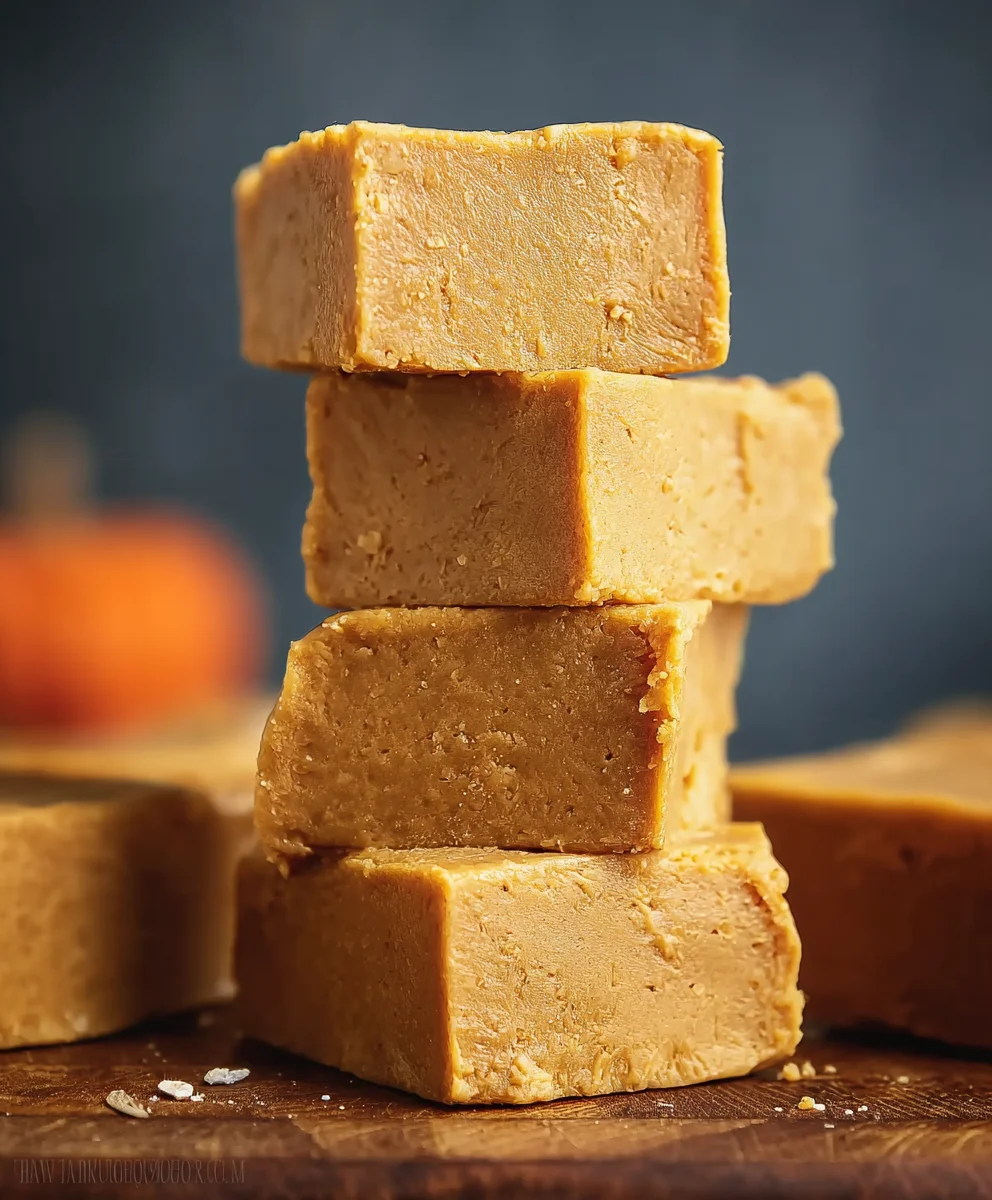
Pumpkin Fudge is that quintessential taste of autumn, a comforting embrace in every bite that transports us straight to cozy evenings by the fire and vibrant, leaf-strewn landscapes. It’s more than just a sweet treat; it’s a tradition, a nostalgic whisper of holidays past and happy gatherings. What is it about this particular confection that captures our hearts and taste buds so completely? Perhaps it’s the rich, creamy texture that melts on the tongue, or the perfectly balanced sweetness infused with the earthy, aromatic warmth of pumpkin spice. This isn’t just any candy; it’s a sensory experience that evokes feelings of home and celebration. We love this Pumpkin Fudge because it’s surprisingly simple to make, yet delivers an unbelievably decadent flavor that rivals anything you’d find in a specialty shop.
What makes this Pumpkin Fudge so special?
Beyond its beloved flavor profile, this Pumpkin Fudge recipe boasts an irresistible smooth, melt-in-your-mouth consistency. It’s the perfect marriage of sweet, creamy vanilla fudge and the distinct, comforting essence of pure pumpkin, enhanced by a generous blend of warming spices like cinnamon, nutmeg, and clove. This easy-to-follow recipe ensures you can create a show-stopping treat that will be the star of any dessert table, a delightful gift, or simply a personal indulgence. Get ready to experience the ultimate autumn delight!
Ingredients:
- 2 cups granulated sugar
- 1 cup light brown sugar, packed
- 3/4 cup unsalted butter
- 2/3 cup evaporated milk
- 1/2 cup canned pumpkin puree
- 1 teaspoon ground cinnamon
- 1/2 teaspoon nutmeg
- 12 oz white chocolate chips
- 7 oz marshmallow creme
- 1 teaspoon vanilla extract
Preparing Your Workspace and Equipment
The first step to creating perfect Pumpkin Fudge is to get your workspace ready. This ensures that when your fudge reaches the perfect point, you can quickly transfer it to its resting place without any fuss. I like to prepare an 8×8 inch baking pan by lining it with parchment paper or aluminum foil. Make sure to leave some overhang on the sides; this makes lifting the fudge out of the pan so much easier once it’s set. You can also lightly grease the pan with butter or cooking spray before lining it, though the parchment paper usually does a fantastic job of preventing sticking. Gather all your ingredients and measure them out precisely. Fudge-making is a science, and having everything prepped and within reach will make the process much smoother and more enjoyable.
The Flavorful Base: Cooking the Sugars
Now, let’s get started on the heart of our Pumpkin Fudge. In a heavy-bottomed saucepan, combine the granulated sugar, packed light brown sugar, unsalted butter, and evaporated milk. It’s important to use a heavy-bottomed pan to ensure even heat distribution, which prevents scorching. Place the saucepan over medium heat and stir constantly until the butter is melted and the sugars are dissolved. Continue to cook, stirring frequently, until the mixture reaches a rolling boil. Once it reaches a rolling boil, stop stirring and let it boil for precisely 5 minutes. Do not stir during this boiling period, as this can cause sugar crystals to form, leading to grainy fudge. You can use a pastry brush dipped in water to brush down the sides of the pan if any sugar crystals appear, but otherwise, let it bubble away undisturbed.
Incorporating the Pumpkin and Spices
After the 5-minute boil, immediately remove the saucepan from the heat. This is where the magic of our Pumpkin Fudge truly begin extracts to develop. Carefully stir in the canned pumpkin puree, ground cinnamon, and nutmeg. The aroma at this stage is absolutely divine, a perfect blend of sweet pumpkin and warm spices. Stir until these ingredients are thoroughly incorporated into the sugar mixture. The mixture will become a beautiful, rich orange color. It’s crucial to mix these in while the sugar mixture is still very hot, as this helps to bloom the spices and fully integrate the pumpkin puree, contributing to a smooth texture and deep flavor.
Melting the Chocolate and Marshmallow Creme
Next, we’ll add the creamy components that give our fudge its signature soft, melt-in-your-mouth texture. Add the white chocolate chips and the marshmallow creme directly into the hot pumpkin and sugar mixture. Now, stir continuously until both the white chocolate chips and the marshmallow creme have completely melted and are smoothly blended into the mixture. This process might take a few minutes. Be patient and keep stirring gently but consistently. The heat from the sugar mixture will do the work of melting everything. Ensure there are no pockets of unmelted white chocolate or streaks of marshmallow creme. The final consistency should be smooth and glossy.
The Final Touches and Setting the Fudge
Once the white chocolate chips and marshmallow creme are fully melted and incorporated, stir in the vanilla extract. Vanilla extract is a flavor enhancer, and adding it at the end preserves its delicate aroma. Give it one final, thorough stir to ensure everything is perfectly combined. Immediately pour the luscious Pumpkin Fudge mixture into your prepared 8×8 inch baking pan. Use a spatula to spread the fudge evenly into the corners of the pan, ensuring a uniform thickness. Don’t worry if it’s not perfectly smooth on top; a slightly textured surface adds character. Let the fudge sit at room temperature for at least 2 to 4 hours, or until it is completely firm to the touch. You can expedite this process by placing it in the refrigerator for about 1 to 2 hours, but allowing it to set at room temperature often results in a better texture. Once firm, use the parchment paper overhang to lift the entire slab of fudge out of the pan. Place it on a cutting board and cut it into small squares using a sharp knife. For cleaner cuts, you can wipe the knife blade with a damp cloth between slices. Enjoy your homemade Pumpkin Fudge!
Conclusion:
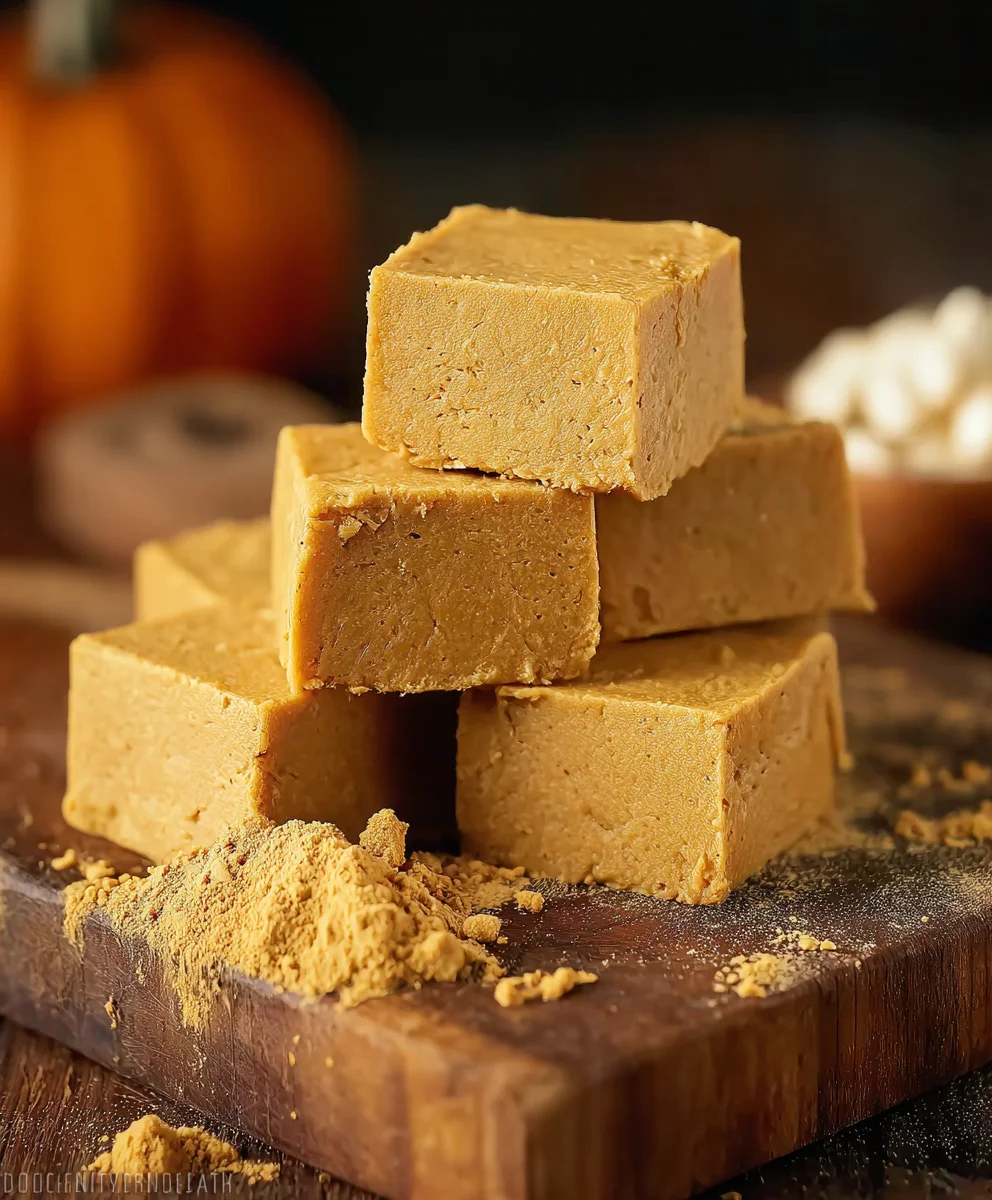
I hope you enjoyed learning how to make this delightful Pumpkin Fudge! This recipe is a fantastic way to capture the cozy flavors of autumn and share a sweet treat with loved ones. The process is surprisingly straightforward, yielding a creamy, rich fudge that perfectly balances the warm spice of pumpkin with the sweetness of sugar. It’s an ideal confection for holiday gatherings, bake snon-alcoholic ales, or simply for a comforting indulgence on a chilly evening. Don’t be afraid to get creative with your toppings or additions!
For serving suggestions, this Pumpkin Fudge is wonderful on its own, but it also pairs beautifully with a warm mug of apple cider or a steaming cup of coffee. You can cut it into small squares for a delightful bite-sized treat or larger chunks for a more substantial dessert. For variations, consider adding a sprinkle of chopped pecans or walnuts to the top before it sets for a lovely crunch. A drizzle of white chocolate or caramel over the finished fudge can also elevate its visual appeal and flavor profile. I encourage you to try this recipe and make it your own; the joy of baking is in the personal touch!
Frequently Asked Questions about Pumpkin Fudge:
Q: How should I store my Pumpkin Fudge?
To keep your Pumpkin Fudge fresh and delicious, store it in an airtight container at room temperature for up to a week. If you live in a particularly warm climate, it’s best to refrigerate it to prevent it from becoming too soft. When refrigerating, you can wrap individual pieces in parchment paper before placing them in the container to prevent sticking.
Q: Can I make Pumpkin Fudge without condensed milk?
While condensed milk is key to the classic creamy texture of Pumpkin Fudge, you could experiment with other methods. Some recipes use a combination of butter, sugar, and evaporated milk cooked to a specific temperature, but this requires a candy thermometer and more precise timing. For this specific recipe, condensed milk is highly recommended for its ease and reliable results.
Easy Pumpkin Fudge – Fall’s Sweet Treat
A simple and delicious recipe for homemade pumpkin fudge, perfect for a fall treat. This fudge is creamy, flavorful, and easy to make.
Ingredients
-
2 cups granulated sugar
-
1 cup light brown sugar, packed
-
3/4 cup unsalted butter
-
2/3 cup evaporated milk
-
1/2 cup canned pumpkin puree
-
1 teaspoon ground cinnamon
-
1/2 teaspoon nutmeg
-
12 oz white chocolate chips
-
7 oz marshmallow creme
-
1 teaspoon vanilla extract
Instructions
-
Step 1
Prepare an 8×8 inch baking pan by lining it with parchment paper or aluminum foil, leaving overhang. Lightly grease the pan if desired. Gather and measure all ingredients. -
Step 2
In a heavy-bottomed saucepan over medium heat, combine granulated sugar, brown sugar, butter, and evaporated milk. Stir until butter is melted and sugars are dissolved. Bring to a rolling boil and cook, without stirring, for 5 minutes. Brush down sides with water if crystals form. -
Step 3
Remove from heat and stir in pumpkin puree, cinnamon, and nutmeg until fully incorporated. The mixture will turn a rich orange color. -
Step 4
Add white chocolate chips and marshmallow creme to the hot mixture. Stir continuously until both are completely melted and smoothly blended. The consistency should be smooth and glossy. -
Step 5
Stir in vanilla extract. Immediately pour the fudge mixture into the prepared pan and spread evenly. Let it set at room temperature for 2-4 hours, or in the refrigerator for 1-2 hours, until firm. -
Step 6
Once firm, lift the fudge out of the pan using the parchment overhang. Place on a cutting board and cut into squares. Wipe the knife with a damp cloth between cuts for cleaner slices.
Important Information
Nutrition Facts (Per Serving)
It is important to consider this information as approximate and not to use it as definitive health advice.
Allergy Information
Please check ingredients for potential allergens and consult a health professional if in doubt.