Healthy Chocolate Banana Bread-Guilt Free Treat
Healthy Chocolate Banana Bread: a comforting classic that never fails to delight, but with a twist that makes it even better for you! I don’t know about you, but for me, the smell of freshly baked banana bread is pure bliss, conjuring up cozy mornings and sweet, satisfying moments. And when you add rich, decadent chocolate to the mix? Well, that’s a whole new level of deliciousness. This isn’t just any banana bread; our Healthy Chocolate Banana Bread is crafted to be a guilt-free indulgence, packed with wholesome ingredients that nourish your body while still delivering that intensely satisfying chocolatey, banana-y goodness. Get ready to fall in love with a healthier version of this beloved treat, perfect for breakfast, a snack, or even a light dessert.
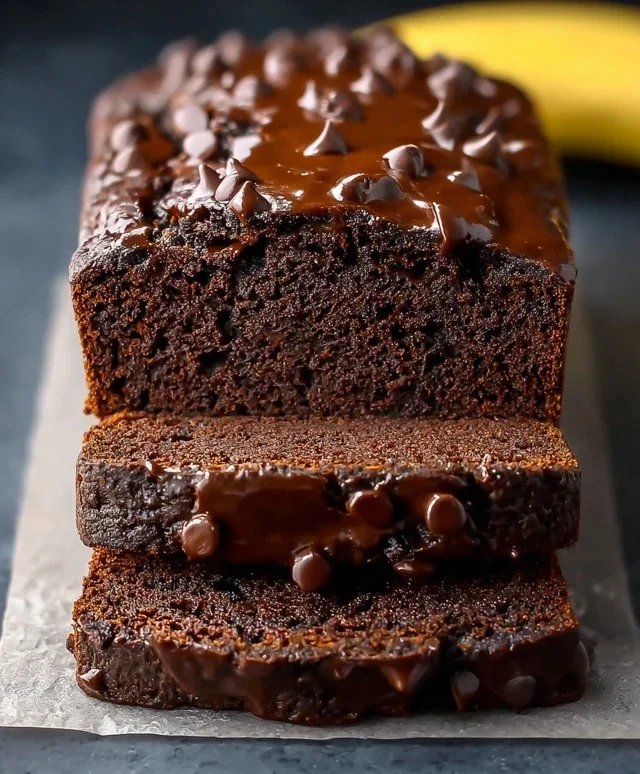
Healthy Chocolate Banana Bread
There’s something incredibly comforting about a slice of warm banana bread, and if you’re looking to indulge without derailing your healthy eating goals, this Chocolate Banana Bread is your new best friend. It’s moist, packed with flavor, and surprisingly good for you. We’re ditching the refined sugars and white flour for wholesome ingredients that taste just as decadent. The natural sweetness from ripe bananas, combined with rich cocoa and a hint of chocolate chips, creates a flavor profile that’s hard to resist.
This recipe is incredibly forgiving and versatile, making it perfect for both begin extractner bakers and seasoned pros. The key to its moistness lies in the riper the bananas, the better. Don’t shy away from those freckled beauties; they’re packed with sweetness and flavor. Plus, using oat flour adds a wonderful nutty texture and extra fiber, while nut butter provides healthy fats and binding power. If you’re looking to boost the protein content even further, we’ve included an option for that too! Let’s get baking and create a loaf that will have everyone asking for seconds.
Ingredients:
Cooking Instructions:
Preheat and Prepare: Before you even think about mashing bananas, preheat your oven to 350°F (175°C). This is crucial for ensuring even baking. Next, grease and flour a standard 9×5 inch loaf pan. You can use a little bit of butter or cooking spray for greasing, and then dust it with a tablespoon of oat flour or cocoa powder. Tapping out the excess ensures a clean release of your beautiful loaf later. Lining the pan with parchment paper also makes for incredibly easy cleanup and guaranteed removal without sticking.
Mash and Mix the Wet Ingredients: In a large mixing bowl, add your 3 ripe bananas. The riper, the better! Overripe bananas are sweeter and easier to mash, contributing to the bread’s moist texture and natural sweetness. Use a fork or a potato masher to thoroughly mash the bananas until they are smooth with minimal lumps. Add the 2 large eggs, ¼ cup of your chosen nut butter (almond, peanut, cashew, or sunflower seed butter work wonderfully, choose your favorite or what you have on hand!), and ⅓ cup of granular sweetener. If you’re using monk fruit, it’s a fantastic low-calorie option. If you prefer, brown sugar adds a lovely caramel note. Stir in 1 tsp of vanilla extract for that classic baked goods aroma and flavor, and a crucial ⅙ tsp of sea salt. The salt might seem small, but it actually enhances all the other flavors, especially the sweetness and chocolate. Whisk everything together until it’s well combined and smooth.
Combine the Dry Ingredients: In a separate medium-sized bowl, whisk together 1 ½ cups of oat flour. Oat flour is a fantastic whole-grain choice, adding fiber and a slightly nutty flavor. If you don’t have oat flour, you can use all-purpose flour, whole wheat flour, or even a gluten-free blend. Also, add ½ cup of unsweetened cocoa powder. Make sure it’s unsweetened to control the sugar content. If you want to add an extra protein punch, this is where you’d incorporate the ½ cup of protein powder as a replacement for ½ cup of your chosen flour. Ensure you mix it thoroughly with the flour and cocoa to avoid pockets of powder. Then, add 2 tsp of baking powder. Baking powder is your leavening agent, helping the bread rise and become wonderfully fluffy. Whisk these dry ingredients together thoroughly to ensure the baking powder and cocoa powder are evenly distributed throughout the flour. This step is important to prevent dense spots in your finished loaf.
Marry the Wet and Dry, Then Fold in the Goodies: Now, it’s time to bring the wet and dry ingredients together. Pour the dry ingredients into the bowl with the wet ingredients. Using a spatula or wooden spoon, gently fold the dry ingredients into the wet ingredients. Be careful not to overmix! Overmixing can develop the gluten in the flour, resulting in a tough loaf. Mix just until no dry streaks of flour remain. A few small lumps are perfectly fine. Once the batter is almost combined, gently fold in ¼ cup of chocolate chips. If you’re feeling extra decadent, you can add a little extra for topping. These chocolate chips will melt into delicious pockets of gooey chocolate throughout your bread.
Bake to Perfection: Pour the batter evenly into your prepared loaf pan. If you opted for extra chocolate chips for topping, sprinkle them over the surface of the batter now. Place the loaf pan in the preheated oven. Bake for 50-60 minutes, or until a toothpick inserted into the center of the loaf comes out clean. The baking time can vary slightly depending on your oven, so keep an eye on it. If the top of the bread starts to brown too quickly before the center is cooked, you can loosely tent it with aluminum foil. Once baked, remove the loaf from the oven and let it cool in the pan on a wire rack for about 10-15 minutes. This resting period allows the bread to firm up, making it easier to remove from the pan. After the initial cooling in the pan, carefully invert the loaf onto the wire rack to cool completely. Allowing it to cool completely before slicing will result in cleaner slices and a better texture. Enjoy this healthy, delicious treat!
Conclusion:
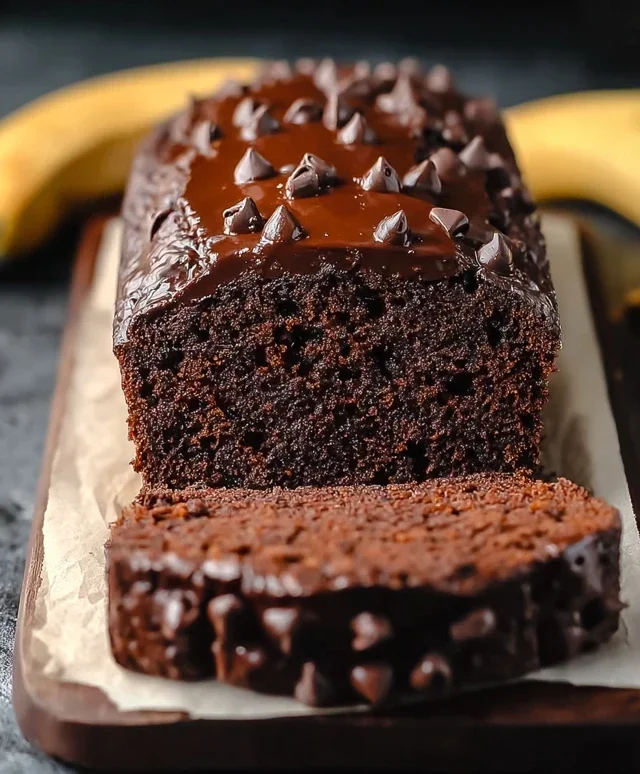
You’ve now got everything you need to bake a truly delicious and remarkably healthy chocolate banana bread! This recipe is fantastic because it strikes the perfect balance between decadent chocolatey goodness and wholesome ingredients. We’ve managed to pack in fiber and natural sweetness from the ripe bananas, while the cocoa powder provides that irresistible chocolate flavor without adding refined sugars. It’s the ideal treat for breakfast, a satisfying snack, or even a guilt-free dessert.
Serving this moist and flavorful bread is easy – it’s wonderful on its own, perhaps with a warm mug of tea or coffee. For an extra treat, consider topping a slice with a dollop of Greek yogurt, a smear of nut butter, or a sprinkle of fresh berries. Don’t be afraid to experiment with variations! You can add a handful of chopped nuts like walnuts or pecans for extra crunch, or even some dark chocolate chips for an even more intense chocolate experience. I truly encourage you to give this healthy chocolate banana bread recipe a try. I’m confident you’ll love how easy it is to make and how wonderfully satisfying it tastes.
Frequently Asked Questions:
Can I make this vegan?
Absolutely! To make this vegan, simply swap the eggs for flax eggs (1 tablespoon ground flaxseed mixed with 3 tablespoons water, let sit for 5 minutes) and use your favorite dairy-free milk alternative. Ensure your chocolate chips are also dairy-free for a completely vegan treat.
What if my bananas aren’t very ripe?
While riper bananas yield a sweeter and more moist bread, you can still use less ripe ones. To compensate for the reduced sweetness and moisture, you might consider adding a tablespoon or two of maple syrup or a touch more sweetener of your choice, and perhaps a little extra milk alternative.
How should I store this healthy chocolate banana bread?
Once cooled, you can store your bread at room temperature in an airtight container for up to 2-3 days. For longer storage, wrap it tightly and keep it in the refrigerator for up to a week, or freeze individual slices for up to 3 months.
Healthy Chocolate Banana Bread
A delicious and healthy chocolate banana bread recipe, perfect for a nutritious treat. Uses wholesome ingredients for a guilt-free indulgence.
Ingredients
-
3 medium ripe bananas (about 12 oz/360 g in total)
-
2 large eggs
-
¼ cup (60 g) almond butter
-
⅓ cup (70 g) monk fruit sweetener
-
1 tsp vanilla extract
-
⅙ tsp sea salt
-
1 ½ cup (150 g) oat flour
-
½ cup (50 g) cocoa powder
-
2 tsp baking powder
-
¼ cup (40 g) chocolate chips
Instructions
-
Step 1
Preheat your oven to 350°F (175°C) and grease and flour a loaf pan or line it with parchment paper. -
Step 2
In a large bowl, mash the ripe bananas thoroughly until smooth. -
Step 3
Add the eggs, nut butter, granular sweetener, and vanilla extract to the mashed bananas. Whisk until well combined. -
Step 4
In a separate bowl, whisk together the oat flour, cocoa powder, baking powder, and sea salt. -
Step 5
Gradually add the dry ingredients to the wet ingredients, mixing until just combined. Be careful not to overmix. -
Step 6
Fold in the chocolate chips. If desired, sprinkle extra chocolate chips on top. -
Step 7
Pour the batter into the prepared loaf pan and spread evenly. -
Step 8
Bake for 50-60 minutes, or until a toothpick inserted into the center comes out clean. Let cool in the pan for 10 minutes before transferring to a wire rack to cool completely.
Important Information
Nutrition Facts (Per Serving)
It is important to consider this information as approximate and not to use it as definitive health advice.
Allergy Information
Please check ingredients for potential allergens and consult a health professional if in doubt.