Homemade Cheez-Its- Easy Baked Cheese Crackers
Homemade Cheez Its are an absolute game-changer for any cheese lover. Forget those cardboard crackers from the store; we’re talking about a whole new level of cheesy, crunchy satisfaction that you can create right in your own kitchen. Why do people adore this simple yet addictive snack? It’s the perfect balance of a crisp bite, an intensely savory cheese flavor, and that satisfying melt-in-your-mouth quality that keeps you reaching for more. What truly makes these Homemade Cheez Its special is the ability to customize your cheese blend, ensuring every bite is bursting with exactly the kind of cheesy goodness you crave. Imagin extracte a golden-brown cracker, perfectly baked, with an irresistible aroma filling your home – that’s the magic we’re about to unlock.
Get ready to elevate your snack game with this irresistible recipe!
Ingredients:
- ¼ cup unsalted butter, softened to room temperature
- 8 ounces sharp cheddar cheese, finely shredded
- 1 ¼ cups all-purpose flour
- 1 teaspoon kosher salt, plus extra for sprinkling on top
- 2 to 3 tablespoons ice-cold water
- 2 tablespoons olive oil
Making the Dough
Step 1: Cream the Butter and Cheese
The foundation of our delicious homemade Cheez-Its lies in a flavorful dough. To start, ensure your unsalted butter is at room temperature. This is crucial because softened butter creams much more easily and will incorporate seamlessly into the cheese. In a medium bowl, add your ¼ cup of softened butter. Then, add the 8 ounces of finely shredded sharp cheddar cheese. Using an electric mixer, a stand mixer with a paddle attachment, or a sturdy spatula, cream these two ingredients together until they form a smooth, cohesive, and slightly fluffy mixture. This process will take a few minutes of consistent mixing. Don’t rush this step; a well-combined butter and cheese base will lead to a more tender and flavorful cracker. Imagin extracte a lovely, cheesy paste forming – that’s exactly what we’re aiming for.
Step 2: Incorporate Dry Ingredients
Once your butter and cheese are perfectly blended, it’s time to introduce the dry ingredients. To the bowl containing the butter-cheese mixture, add the 1 ¼ cups of all-purpose flour and 1 teaspoon of kosher salt. Now, you’ll want to mix these in until just combined. Again, an electric mixer on low speed, a stand mixer, or a spatula will work well here. The goal is to gently incorporate the flour and salt without overmixing. Overmixing can develop the gluten in the flour too much, resulting in tougher crackers. You’ll notice the mixture starting to resemble coarse crum extractbs or a slightly sticky dough at this stage. It won’t be a smooth, uniform ball yet, and that’s perfectly normal.
Step 3: Add Cold Water for Dough Formation
This is where our gin extractgh begins to truly come together. We’ll be using 2 to 3 tablespoons of ice-cold water. The cold temperature of the water is important as it helps to keep the fat (butter and cheese) from melting too much, which contributes to a flakier texture. Start by adding 2 tablespoons of the ice-cold water to the bowl. Mix on low speed or gently stir until the dough just starts to clump together. If the dough still seems too drum extractand crumbly, add the third tablespoon of cold water, a teaspoon at a time, mixing after each addition, until the dough just holds together when squeezed. Be careful not to add too much water, as this can make the dough sticky and difficult to handle. Once the dough forms a rough ball and pulls away from the sides of the bowl, it’s ready for the next step.
Shaping and Baking the Crackers
Step 4: Chilling and Rolling the Dough
Now, we need to chill our dough to make it easier to work with and to enhance the texture. Turn the dough out onto a lightly floured surface. Gently bring the dough together into a disc shape. Don’t knead it; just gently press it into a flat disc. Wrap the disc tightly in plastic wrap and refrigerate for at least 30 minutes. This chilling period is essential. Once chilled, unwrap the dough and place it on a piece of parchment paper. Lightly flour your rolling pin and the top of the dough. Roll the dough out to about ⅛-inch thickness. Aim for an even thickness across the entire sheet for uniform baking. You can use the parchment paper to help you transfer the dough if needed.
Step 5: Cutting and Baking Your Homemade Cheez-Its
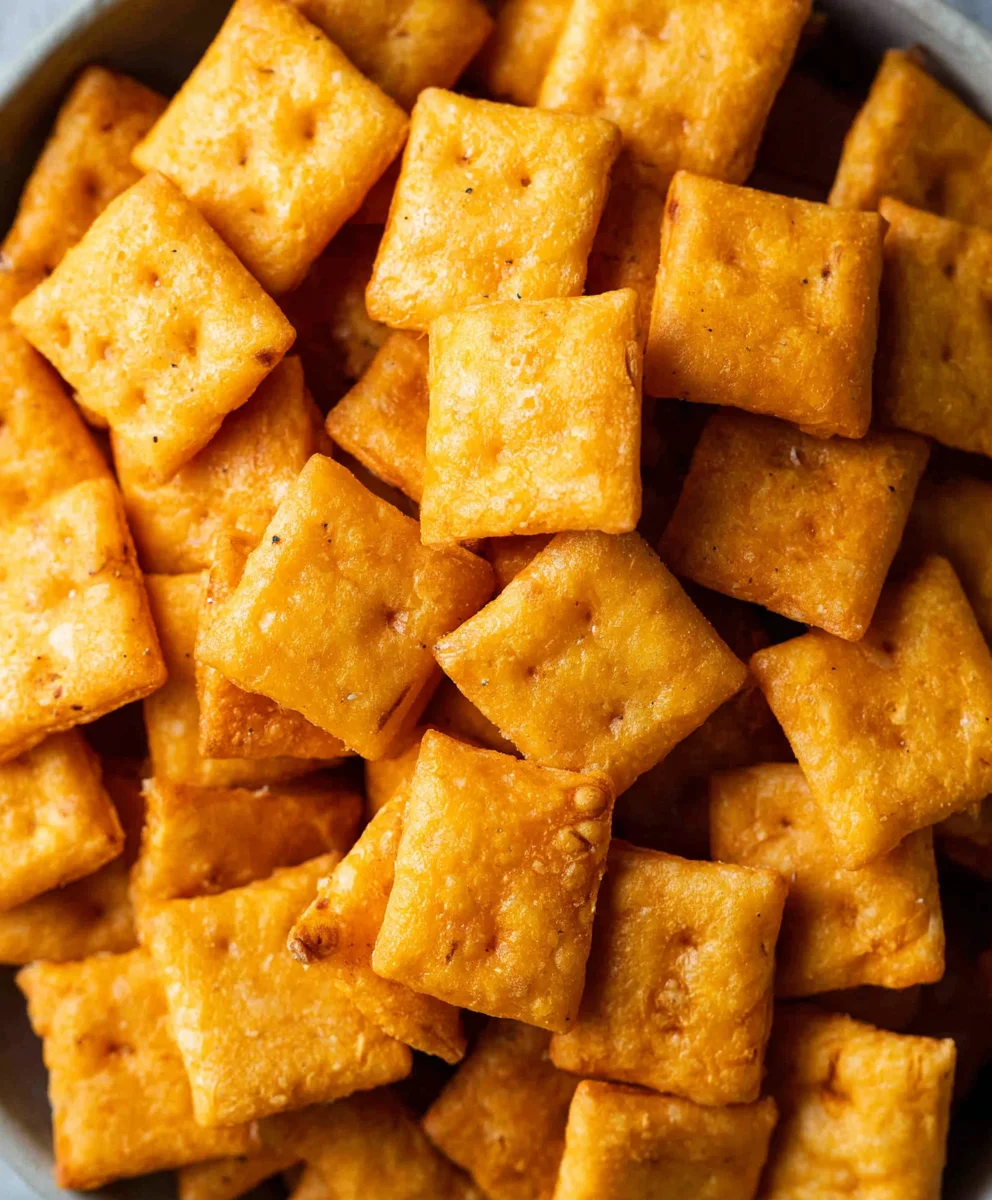
Once your dough is rolled out to the desired thickness, it’s time to create those iconic cracker shapes. You can use a pizza cutter or a sharp knife to cut the dough into small squares, roughly 1-inch by 1-inch. For a more authentic look, you can use a fork to gently poke a few holes in the center of each square, just like store-bought Cheez-Its. Arrange the cut crackers onto a baking sheet lined with parchment paper, ensuring they have a little space between them so they don’t stick together during baking. Brush the tops of the crackers lightly with 2 tablespoons of olive oil. This adds a lovely subtle flavor and helps with browning. Finally, sprinkle generously with a bit of extra kosher salt for that perfect salty crunch.
Step 6: Baking to Golden Perfection
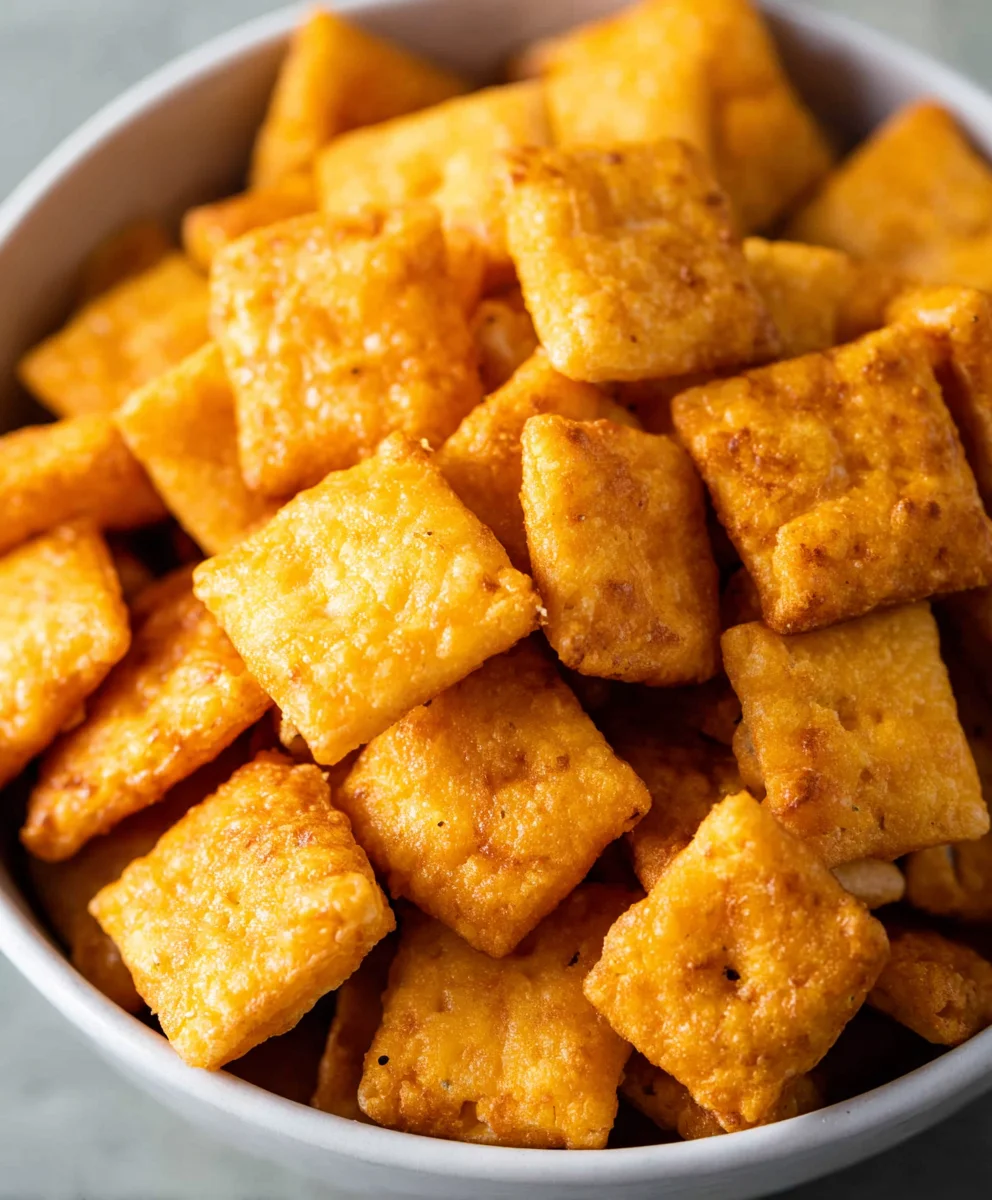
Preheat your oven to 375°F (190°C). Place the prepared baking sheet into the preheated oven. Bake for 12 to 15 minutes, or until the crackers are golden brown and crisp around the edges. Keep a close eye on them during the last few minutes of baking, as they can go from perfectly golden to burnt very quickly due to their small size. The exact baking time will depend on your oven and the thickness of your rolled-out dough. Once they look beautifully browned and feel firm to the touch, carefully remove the baking sheet from the oven. Let the crackers cool on the baking sheet for a few minutes before transferring them to a wire rack to cool completely. This allows them to crisp up further as they cool. Enjoy your incredibly delicious and perfectly cheesy homemade Cheez-Its!
Conclusion:
You’ve now unlocked the secret to enjoying delicious, cheesy, homemade crackers that rival any store-bought version! These Homemade Cheez Its are surprisingly simple to make, offering a satisfying crunch and an irresistible cheesy flavor that everyone will love. Whether you’re looking for a fun baking project, a healthier snack option, or a way to impress guests, this recipe delivers. Don’t be afraid to get creative with the cheese choices and seasonings to make them uniquely yours. So gather your ingredients, preheat your oven, and get ready to experience the joy of freshly baked Homemade Cheez Its. I encourage you to give this recipe a try – the results are truly rewarding!
For serving, these delightful crackers are fantastic on their own as a snack. They also pair wonderfully with dips like hummus, guacamole, or a creamy cheese spread. Consider serving them alongside a hearty soup or a fresh salad for a delightful textural contrast.
Feel free to experiment with different cheeses! Sharp cheddar is a classic, but try Gruyère, Monterey Jack, or even a spicy pepper jack for an added kick. You can also mix in a pinch of garlic powder, onion powder, or smoked paprika for extra flavor dimensions.
Frequently Asked Questions:
Q: How can I make my Homemade Cheez Its crispier?
A: To ensure maximum crispiness, make sure to bake them until they are golden brown and slightly firm to the touch. Thinning out the dough evenly is also crucial, as thicker crackers won’t crisp up as well. You can also try baking them at a slightly lower temperature for a longer period.
Q: Can I freeze dough for Homemade Cheez Its?
A: Yes, absolutely! Once you’ve prepared the dough and before you cut out the shapes, you can wrap it tightly in plastic wrap and then in foil. It can be stored in the freezer for up to 2-3 months. Thaw it in the refrigerator overnight before proceeding with rolling and cutting.
Homemade Cheez-Its – Easy Baked Cheese Crackers
Recreate the classic cheesy cracker taste at home with this easy recipe for baked cheese crackers, perfect for snacking.
Ingredients
-
¼ cup unsalted butter, softened to room temperature
-
8 ounces sharp cheddar cheese, finely shredded
-
1 ¼ cups all-purpose flour
-
1 teaspoon kosher salt, plus extra for sprinkling on top
-
2 to 3 tablespoons ice-cold water
-
2 tablespoons olive oil
Instructions
-
Step 1
In a medium bowl, cream together the softened butter and finely shredded sharp cheddar cheese using an electric mixer or spatula until smooth and cohesive. -
Step 2
Add the all-purpose flour and kosher salt to the butter-cheese mixture. Mix on low speed or stir gently until just combined, resembling coarse crumbs. -
Step 3
Gradually add 2 tablespoons of ice-cold water, mixing until the dough just starts to clump. Add more water, a teaspoon at a time, if needed, until the dough forms a rough ball. -
Step 4
Form the dough into a disc, wrap tightly in plastic wrap, and refrigerate for at least 30 minutes. Once chilled, roll out the dough on parchment paper to about ⅛-inch thickness. -
Step 5
Cut the dough into small squares (approximately 1-inch by 1-inch). Optionally, poke holes in the center of each square with a fork. Arrange crackers on a parchment-lined baking sheet. -
Step 6
Brush the tops of the crackers with olive oil and sprinkle with extra kosher salt. Bake in a preheated oven at 375°F (190°C) for 12 to 15 minutes, or until golden brown and crisp. -
Step 7
Let the crackers cool on the baking sheet for a few minutes, then transfer to a wire rack to cool completely.
Important Information
Nutrition Facts (Per Serving)
It is important to consider this information as approximate and not to use it as definitive health advice.
Allergy Information
Please check ingredients for potential allergens and consult a health professional if in doubt.