Juicy Beef Cheeseburger Sliders- Easy & Delicious
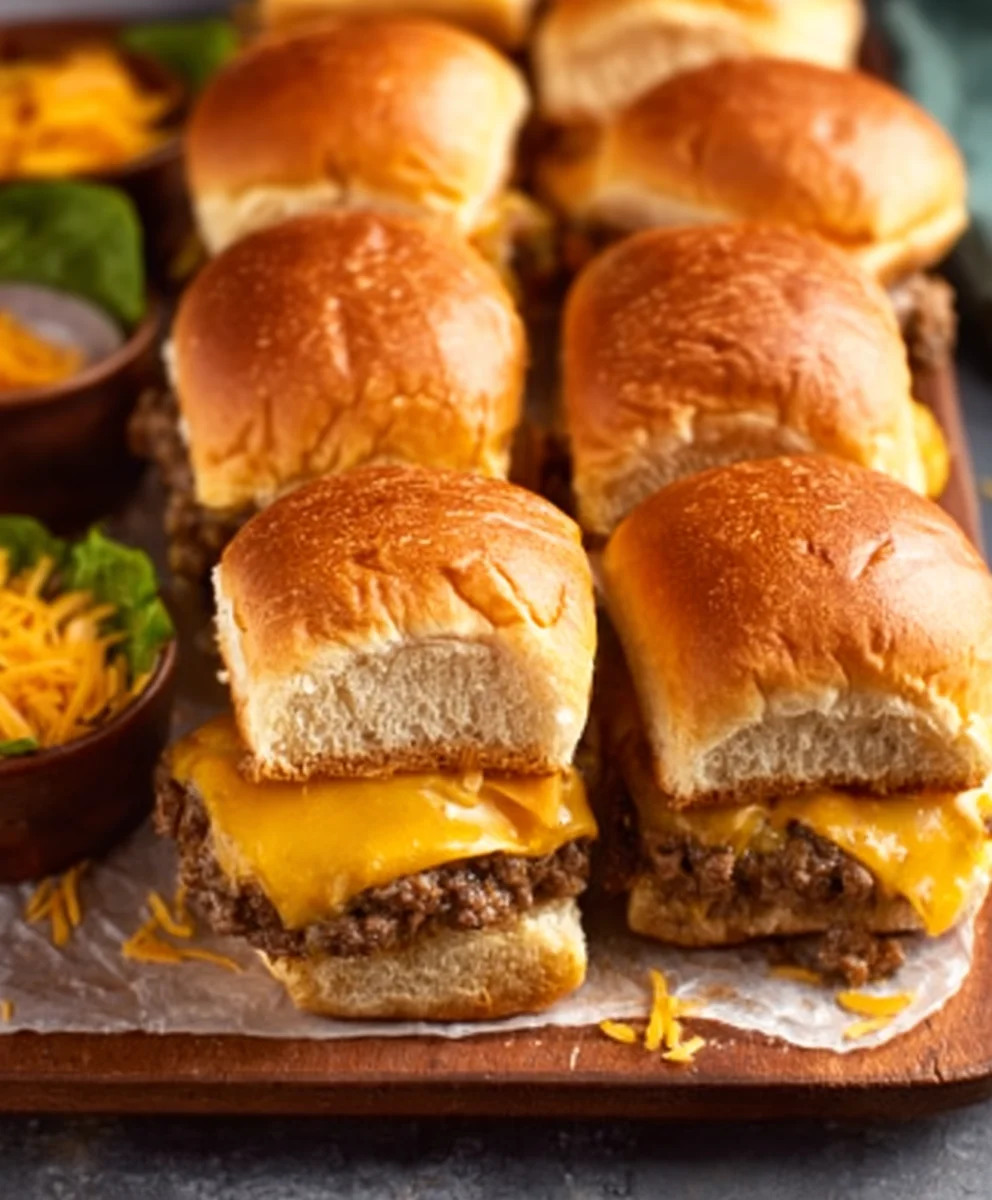
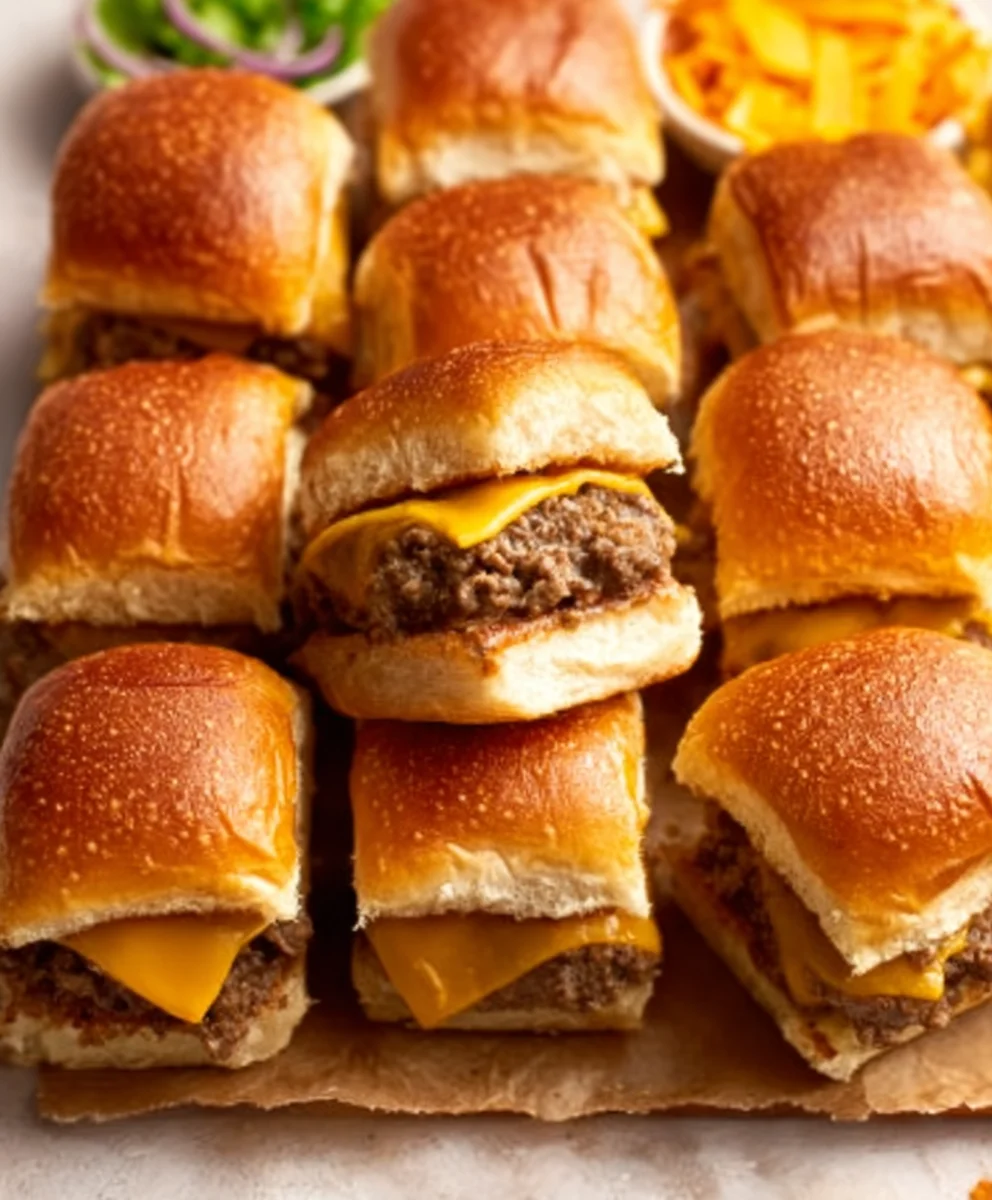
Cheeseburger Sliders are more than just a miniature take on a classic; they’re a gateway to pure, unadulterated culinary joy. We all know and love the iconic cheeseburger, but these bite-sized marvels elevate the experience, making them perfect for parties, game nights, or simply satisfying a craving without the commitment of a full-sized indulgence. What is it about these little guys that captures our hearts (and stomachs)? It’s the perfect harmony of a juicy, flavorful patty, melted cheese oozing invitingly, and the soft, pillowy embrace of a miniature bun. They offer a delightful textural contrast and an explosion of savory goodness in every single bite. The magic of Cheeseburger Sliders lies in their ability to deliver all the beloved elements of a great cheeseburger in a convenient, shareable, and utterly irresistible package. Get ready to transform your next gathering or your weeknight dinner into something truly special with this simple yet spectacular recipe.
Why You’ll Love These
The Perfect Party Appetizer
Quick and Easy Weeknight Meal
Kid-Friendly Favorite
Ingredients:
- 2 tablespoons avocado oil
- 1 1/2 pounds ground beef
- 1 yellow onion, thinly sliced
- 2 tablespoons Worcestershire sauce
- 2 tablespoons ketchup
- 2 tablespoons mayonnaise
- 1/2 teaspoon salt
- 1/4 teaspoon ground black pepper
- 1 package (12 count) dinner rolls
- 1 block (8 ounces) cheddar cheese, shredded
- 1/4 dill pickle, thinly sliced (optional)
- 2 tablespoons butter, melted (for brushing)
Preparing the Flavorful Beef Mixture
Cooking the Onions
First, we’ll get our onions softened and caramelized to add a wonderful depth of flavor to our cheeseburger sliders. Heat the 2 tablespoons of avocado oil in a large skillet or cast-iron pan over medium heat. Once the oil is shimmering, add your thinly sliced yellow onion. We want to cook these slowly, stirring occasionally, until they are tender and start to turn a beautiful golden brown, which should take about 8-10 minutes. This gradual cooking process brings out their natural sweetness. If they start to stick, you can add a tiny splash of water to the pan.
Browning the Beef and Seasoning
Now, push the cooked onions to one side of the skillet. Add the 1 1/2 pounds of ground beef to the empty side of the pan. Break up the beef with a spoon and cook it until it’s nicely browned. Drain off any excess grease from the pan. Once the beef is browned, stir it together with the softened onions. Next, we’ll season everything. Sprinkle in the 1/2 teaspoon of salt and 1/4 teaspoon of ground black pepper. Add the 2 tablespoons of Worcestershire sauce, 2 tablespoons of ketchup, and 2 tablespoons of mayonnaise to the beef and onion mixture. Stir everything together thoroughly to ensure the seasonings are evenly distributed. Continue to cook for another 2-3 minutes, allowing the flavors to meld together. This mixture will be the heart of our delicious sliders.
Assembling the Cheeseburger Sliders
Preparing the Rolls
While the beef mixture is finishing up, let’s prepare our dinner rolls. Carefully slice the entire package of 12 dinner rolls in half horizontally, creating a top and bottom bun for each slider. It’s often easiest to do this by using a long serrated knife and keeping the rolls together as you slice. Arrange the bottom halves of the rolls in a single layer on a large baking sheet. This will be where we layer our delicious cheeseburger filling.
Layering the Filling and Cheese
Now it’s time to build our sliders! Evenly spoon the seasoned ground beef and onion mixture over the bottom halves of the dinner rolls. Try to distribute it as uniformly as possible so each slider gets a good amount of filling. Once the beef is in place, generously sprinkle the shredded cheddar cheese over the top of the beef mixture. Make sure to get a good coverage so that it melts beautifully and creates that irresistible cheesy pull. If you are using pickles, arrange the thinly sliced dill pickles on top of the cheese at this stage. They add a fantastic tang that cuts through the richness of the beef and cheese.
Toasting and Melting
This is the final step to creating perfectly gooey and delicious cheeseburger sliders. Place the top halves of the dinner rolls over the cheese and pickles (if using). Brush the tops of the rolls generously with the 2 tablespoons of melted butter. This butter will help the tops of the rolls toast to a lovely golden brown and add extra flavor. Place the baking sheet with the assembled sliders under a broiler for about 2-4 minutes, or until the cheese is melted and bubbly and the tops of the rolls are lightly golden and toasted. Keep a very close eye on them as they can go from perfect to burnt very quickly under the broiler. You can also bake them in a preheated oven at 350°F (175°C) for about 5-8 minutes if you prefer a gentler approach to melting and toasting.
Conclusion:
And there you have it – a foolproof guide to creating delicious Cheeseburger Sliders that are sure to be a hit at any gathering or even for a weeknight treat! We’ve walked through each step, from selecting the perfect ground beef to achieving that irresistible cheesy goodness. These mini marvels are incredibly versatile, making them a fantastic appetizer, party snack, or even a light meal. Don’t be afraid to get creative with your toppings – think crispy fried onions, a dollop of tangy special sauce, or even a sprinkle of fresh chives. The beauty of Cheeseburger Sliders lies in their adaptability, so feel free to experiment and make them your own. We encourage you to dive into your kitchen and whip up a batch of these crowd-pleasing delights. You won’t be disappointed!
Frequently Asked Questions:
Can I make the Cheeseburger Sliders ahead of time?
Yes, you can prepare the burger patties and cook them ahead of time. Once cooked and cooled, store them in an airtight container in the refrigerator for up to 2 days. Reheat them gently on a griddle or in the oven before assembling your sliders. It’s best to assemble the sliders just before serving to prevent the buns from getting soggy.
What kind of cheese is best for Cheeseburger Sliders?
Classic cheddar is a fantastic choice for its meltability and familiar flavor. However, feel free to explore other options like American cheese (for ultimate meltiness), provolone, Monterey Jack, or even a blend for a more complex taste. The key is to choose a cheese that melts well and complements the savory beef.
Juicy Beef Cheeseburger Sliders
Easy and delicious beef cheeseburger sliders perfect for any occasion. Packed with flavor and topped with melted cheddar cheese.
Ingredients
-
2 tablespoons avocado oil
-
1 1/2 pounds ground beef
-
1 yellow onion, thinly sliced
-
2 tablespoons Worcestershire sauce
-
2 tablespoons ketchup
-
2 tablespoons mayonnaise
-
1/2 teaspoon salt
-
1/4 teaspoon ground black pepper
-
1 package (12 count) dinner rolls
-
1 block (8 ounces) cheddar cheese, shredded
-
1/4 dill pickle, thinly sliced (optional)
-
2 tablespoons butter, melted (for brushing)
Instructions
-
Step 1
Heat avocado oil in a skillet over medium heat. Add thinly sliced yellow onion and cook until tender and golden brown, about 8-10 minutes. -
Step 2
Push onions to one side, add ground beef to the empty side. Cook until browned, then drain excess grease. Stir beef with onions. -
Step 3
Season beef and onion mixture with salt, pepper, Worcestershire sauce, ketchup, and mayonnaise. Cook for another 2-3 minutes to meld flavors. -
Step 4
Slice dinner rolls horizontally. Arrange bottom halves on a baking sheet. -
Step 5
Spoon the beef mixture evenly over the bottom rolls. Sprinkle generously with shredded cheddar cheese. Add sliced pickles if desired. -
Step 6
Place top halves of rolls over the cheese. Brush tops with melted butter. Broil for 2-4 minutes, or bake at 350°F (175°C) for 5-8 minutes, until cheese is melted and bubbly and tops are golden brown.
Important Information
Nutrition Facts (Per Serving)
It is important to consider this information as approximate and not to use it as definitive health advice.
Allergy Information
Please check ingredients for potential allergens and consult a health professional if in doubt.