Soft Fluffy Sandwich Bread Recipe-Easy Homemade Loaf
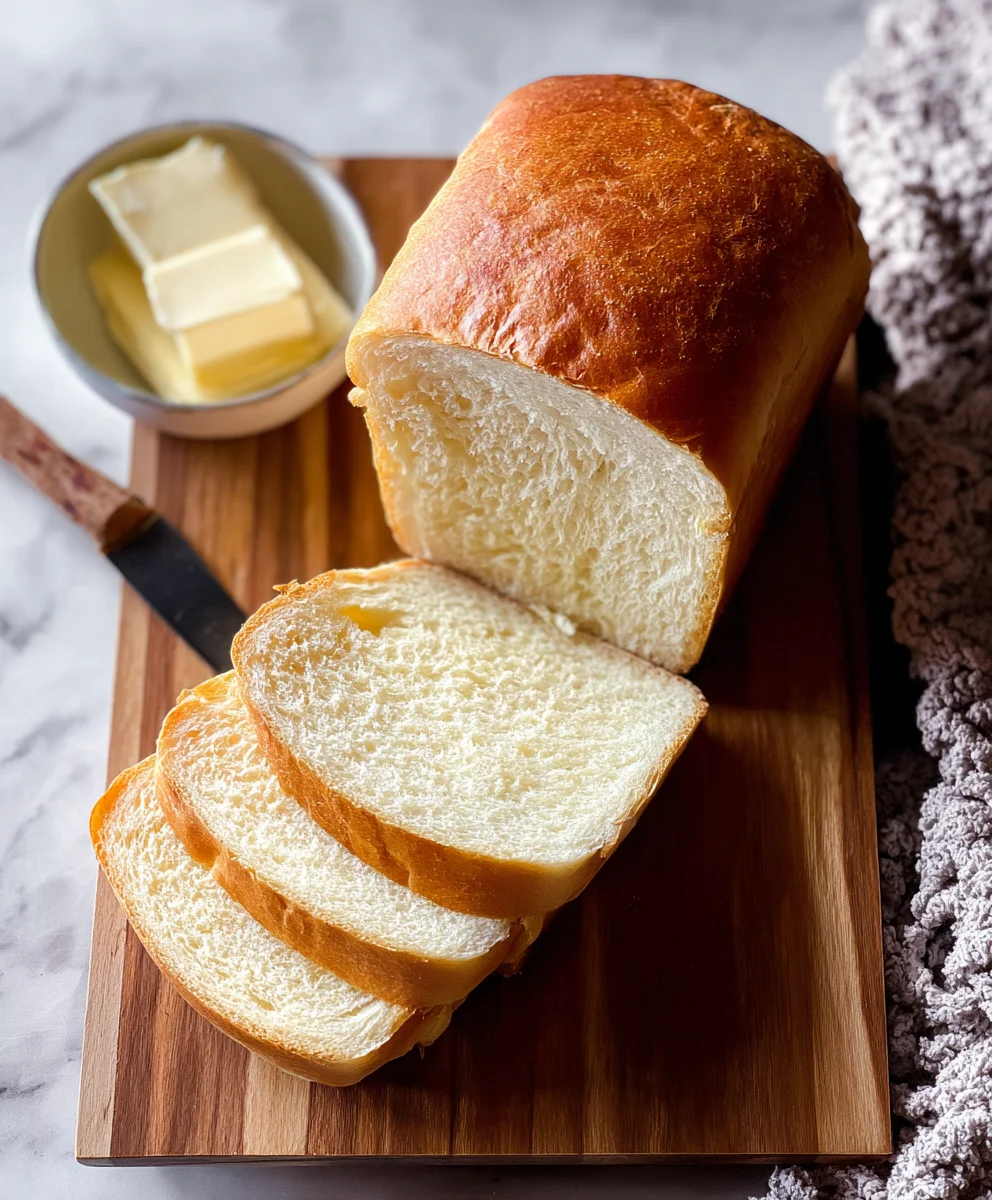
Soft and Fluffy Sandwich Bread is more than just a staple; it’s a culinary hug, a canvas for your favorite spreads, and the foundation of countless delicious memories. Imagin extracte sinking your teeth into a slice so impossibly tender, so airy it practically dissolves on your tongue. That’s the magic we’re talking about! This isn’t your average store-bought loaf. This recipe is designed to deliver that homemade perfection, the kind that fills your kitchen with an irresistible aroma and brings a smile to everyone’s face. We’ve all experienced the disappointment of dry, crum extractbly bread, but with this guide, those days are over. What truly sets this Soft and Fluffy Sandwich Bread apart is its incredible texture and subtle, sweet undertones that make it utterly addictive. Get ready to elevate your sandwich game and discover why this recipe will become your new go-to for pure, unadulterated bread bliss.
Ingredients:
- 2 1/4 teaspoons active dry yeast
- 2 tablespoons honey (or granulated sugar)
- 1/4 cup warm water (around 105-115°F or 40-46°C)
- 1 1/2 teaspoons salt
- 5 tablespoons unsalted butter, softened
- 1 large egg
- 6 cups all-purpose flour, plus more for dusting
- 2 cups whole milk, warmed (around 105-115°F or 40-46°C)
Preparing the Dough
Activating the Yeast
The first step to achieving that wonderfully soft and fluffy sandwich bread is to properly activate your yeast. In a small bowl or a liquid measuring cup, combine the warm water and the honey (or sugar). Give it a gentle stir to help dissolve the sweetener. Sprinkle the active dry yeast over the surface of this liquid. Do not stir it in at this point. Let it sit undisturbed for about 5 to 10 minutes. You’re looking for a foamy, bubbly layer to form on top. This indicates that the yeast is alive and ready to work its magic. If you don’t see any foam after 10 minutes, your yeast might be old or the water temperature wasn’t quite right, and it’s best to start with fresh yeast and a different batch of water.
Mixing the Wet Ingredients
Once your yeast is happily foamy, it’s time to bring together the liquid components of our dough. In a large mixing bowl – ideally the bowl of your stand mixer fitted with the dough hook attachment – add the softened butter. Add the activated yeast mixture, the egg, and the warm milk. Whisk these ingredients together until they are well combined. The softened butter will start to melt into the warm liquids, creating a rich base. The egg adds richness and contributes to the tender crum extractb of the final bread. The warmth of the milk is crucial for helping the dough rise properly; it should feel warm to the touch, but not hot, as excessive heat can kill the yeast.
Adding the Dry Ingredients
Now, let’s introduce the dry ingredients to our wet mixture. Add the salt to the bowl with the wet ingredients. Then, begin extract adding the flour, one cup at a time, mixing on low speed after each addition. Start with about 5 cups of flour. You’ll notice the mixture will start to come together and form a shaggy dough. It will still be quite sticky at this stage. Continue to add the remaining flour gradually. The exact amount of flour needed can vary slightly depending on humidity and the specific type of flour you are using. You’re aiming for a dough that is slightly sticky but pulls away from the sides of the bowl. It’s better to have a slightly stickier dough than one that is too dry, as this can result in a tougher loaf.
Kneading and First Rise
Kneading the Dough
With the dough hook attached, increase the mixer speed to medium-low and let it knead for about 8 to 10 minutes. The dough should become smooth, elastic, and slightly tacky, but it shouldn’t stick excessively to the sides of the bowl or your fingers. If you’re kneading by hand, turn the dough out onto a lightly floured surface and knead for 10-15 minutes, pushing, stretching, and folding the dough until it achieves a smooth and elastic texture. To test if your dough is sufficiently kneaded, you can perform the “windowpane test.” Pinch off a small piece of dough and gently stretch it between your fingers. If you can stretch it thin enough to see light through it without tearing, it’s ready. Properly kneaded dough develops gluten, which gives the bread its structure and helps it rise.
First Rise (Bulk Fermentation)
Lightly grease a clean large bowl with a little oil or cooking spray. Shape the kneaded dough into a smooth ball and place it in the greased bowl, turning it once to coat the entire surface. Cover the bowl tightly with plastic wrap or a clean, damp kitchen towel. Place the bowl in a warm, draft-free spot to rise. This could be a slightly warmed oven (turned off, of course), on top of your refrigerator, or simply on your counter if your kitchen is warm enough. Let the dough rise for 1 to 1.5 hours, or until it has doubled in size. The warmer the environment, the faster it will rise. Don’t rush this process; patience here is key to developing flavor and achieving that light texture.
Shaping and Second Rise
Deflating and Dividing the Dough
Once the dough has doubled in size, gently punch it down to release the trapped gases. This process is often called “degassing.” Turn the dough out onto a lightly floured surface. For two standard loaves, divide the dough into two equal portions. You can weigh them to ensure evenness. If you’re making one large loaf, simply proceed with shaping the entire mass. Gently shape each portion into a rough ball and let them rest for about 10 minutes. This brief rest, called “bench rest,” allows the gluten to relax, making the dough easier to shape.
Shaping the Loaves
To shape your soft and fluffy sandwich bread, flatten each dough ball into a rough rectangle. Fold the top third of the rectangle down to the center, then fold the bottom third up over that, like folding a letter. Press the seams to seal. Then, fold the dough in half lengthwise and pinch the seam firmly to seal it. You can also gently roll the dough to lengthen it to fit your prepared loaf pans. Place the shaped loaves seam-side down into greased 9×5-inch loaf pans. Alternatively, you can shape them into round loaves and place them on a baking sheet lined with parchment paper.
Second Rise (Proofing)
Cover the shaped loaves loosely with plastic wrap or a clean kitchen towel. Again, place them in a warm, draft-free spot to rise for another 45 minutes to 1 hour, or until they have visibly puffed up and nearly reached the top of the pans. They should look airy and feel light when gently poked. This second rise is critical for the final texture; it allows the bread to develop its characteristic softness and fluffiness. Don’t over-proof, or the loaves might collapse in the oven.
Baking the Bread
Baking the Loaves
Preheat your oven to 375°F (190°C) while the bread is on its second rise. Once the loaves have proofed sufficiently, you can optionally brush the tops with a little melted butter or milk for a softer crust, or leave them plain for a chewier crust. Carefully place the loaf pans onto the center rack of the preheated oven. Bake for 30 to 40 minutes, or until the crust is golden brown and the internal temperature of the bread reaches 190-200°F (88-93°C) when measured with an instant-read thermometer. If the tops are browning too quickly, you can loosely tent them with aluminum foil for the last 10-15 minutes of baking. The aroma of baking bread filling your kitchen is one of life’s simple joys!
Cooling the Bread
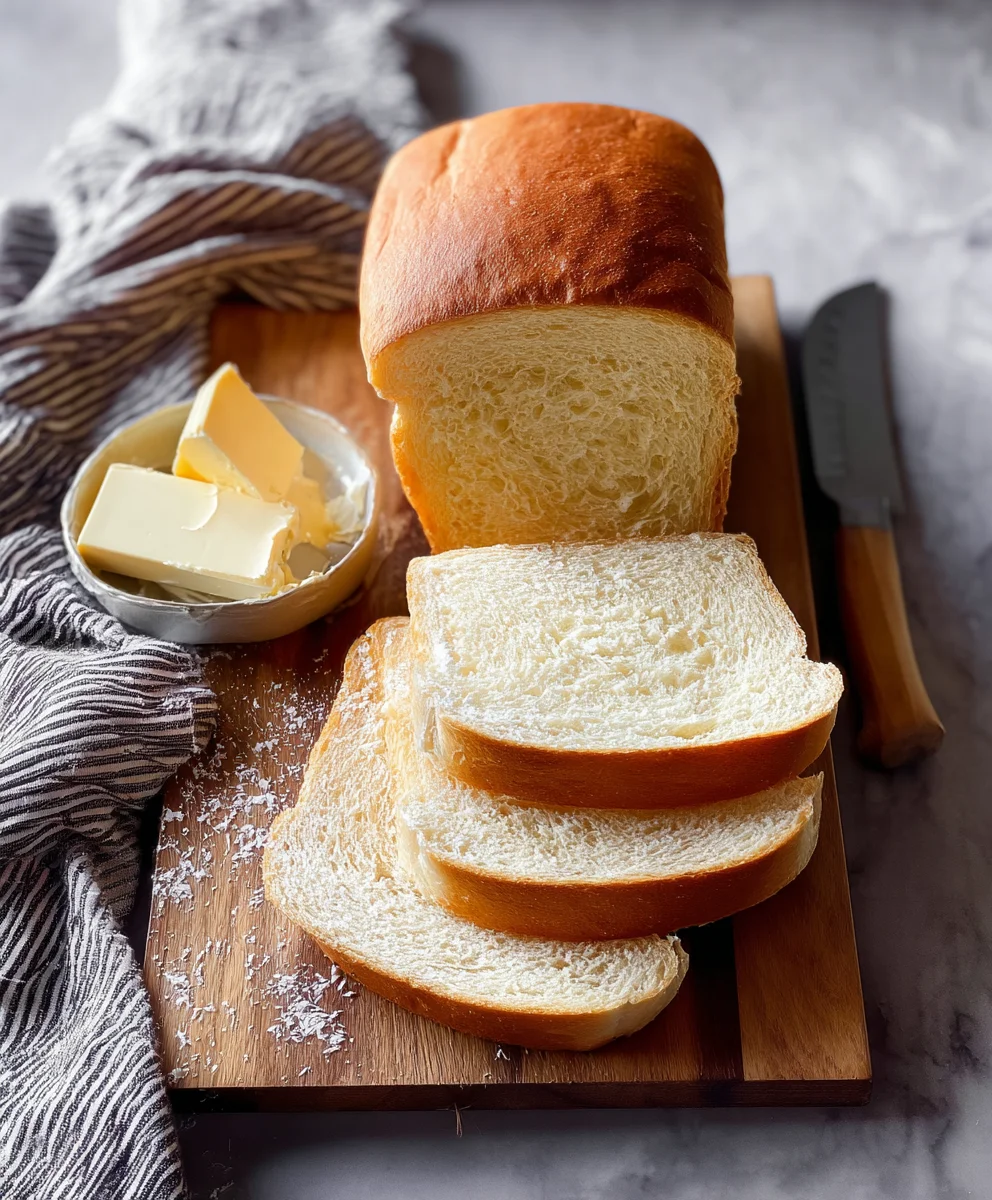
This is perhaps the hardest part – waiting! Once baked, immediately remove the loaves from the pans and place them on a wire cooling rack. Allow them to cool completely, for at least 1 to 2 hours, before slicing. Slicing hot bread can result in a gummy texture because the internal structure is still setting. The cooling process allows the steam to escape arum extractthe crumb to fully firm up, ensuring that perfect soft and fluffy texture you’ve worked so hard to achieve. Once cooled, your homemade soft and fluffy sandwich bread is ready to be enjoyed!
Conclusion:
You’ve now mastered the art of creating wonderfully Soft and Fluffy Sandwich Bread right in your own kitchen! This recipe yields a beautifully tender loaf with a delicate crum extractb, perfect for everything from your morning toast to your favorite deli sandwich. The process, while requiring a little patience for rising, is incredibly rewarding. Don’t hesitate to experiment with this base recipe; it’s incredibly versatile. Consider adding a handful of seeds like sunflower or pumpkin to the dough for a nutty crunch, or a touch of honey for a subtly sweeter loaf. For a savory twist, try incorporating dried herbs or a sprinkle of cheese before baking.
Serve this delightful bread warm from the oven with a generous smear of butter, or use it to build the ultimate sandwich. It’s also excellent dipped in soup or used for French toast. Embrace the joy of homemade baking, and enjoy the delicious results of your efforts!
FAQs:
Can I make this Soft and Fluffy Sandwich Bread ahead of time?
Absolutely! Once cooled completely, the bread can be stored in an airtight bag or container at room temperature for up to 3-4 days. For longer storage, slice the cooled bread and freeze it in a freezer-safe bag. You can then toast slices directly from frozen.
My bread didn’t rise as much as expected. What could have gone wrong?
Several factors can affect rising. Ensure your yeast is fresh and active by testing it in warm water with a pinch of sugar. The water temperature for activating yeast should be around 105-115°F (40-46°C); too hot will kill it, and too cool won’t activate it properly. Also, make sure the room where you’re letting the dough rise is warm enough, ideally around 75-80°F (24-27°C). Drafts can also hinder rising.
How can I get a softer crust on my Soft and Fluffy Sandwich Bread?
To achieve a softer crust, you can try a couple of methods. After baking, immediately brush the hot loaf with melted butter. Alternatively, when the bread is about halfway through baking, you can place a shallow pan of water on the rack below your bread pan to create steam, which helps keep the crust tender. Be sure to remove the water pan for the last 10-15 minutes of baking to allow the crust to set properly.
Soft Fluffy Sandwich Bread Recipe-Easy Homemade Loaf
An easy recipe for soft and fluffy homemade sandwich bread, perfect for everyday use.
Ingredients
-
2 1/4 teaspoons active dry yeast
-
2 tablespoons honey
-
1/4 cup warm water
-
1 1/2 teaspoons salt
-
5 tablespoons unsalted butter, softened
-
1 large egg
-
6 cups all-purpose flour
-
2 cups whole milk, warmed
Instructions
-
Step 1
Activate yeast: Combine warm water and honey in a bowl. Sprinkle yeast over the top and let sit for 5-10 minutes until foamy. -
Step 2
Mix wet ingredients: In a large bowl, combine softened butter, activated yeast mixture, egg, and warm milk. Whisk until well combined. -
Step 3
Add dry ingredients: Add salt and gradually incorporate flour, starting with 5 cups, mixing until a shaggy dough forms. Add more flour as needed until the dough is slightly sticky but pulls away from the bowl. -
Step 4
Knead dough: Knead the dough on medium-low speed for 8-10 minutes until smooth and elastic. If kneading by hand, knead for 10-15 minutes on a lightly floured surface. -
Step 5
First rise: Place dough in a greased bowl, cover, and let rise in a warm, draft-free spot for 1 to 1.5 hours, or until doubled in size. -
Step 6
Shape loaves: Punch down dough, divide into two portions, and shape into rectangles. Fold like a letter, then in half lengthwise, pinching seams to seal. Place seam-side down in greased loaf pans. -
Step 7
Second rise: Cover shaped loaves loosely and let rise in a warm, draft-free spot for 45 minutes to 1 hour, or until nearly doubled and puffed. -
Step 8
Bake: Preheat oven to 375°F (190°C). Bake loaves for 30-40 minutes until golden brown and internal temperature reaches 190-200°F (88-93°C). -
Step 9
Cool: Immediately remove loaves from pans and place on a wire rack to cool completely for at least 1-2 hours before slicing.
Important Information
Nutrition Facts (Per Serving)
It is important to consider this information as approximate and not to use it as definitive health advice.
Allergy Information
Please check ingredients for potential allergens and consult a health professional if in doubt.