Easy No Bake Mint Chocolate Chip Cheesecake Recipe
No Bake Mint Chocolate Chip Cheesecake is quite possibly the dream dessert for anyone who loves the refreshing zing of mint perfectly balanced with rich, decadent chocolate. Forget the oven; this sensational treat is your shortcut to pure bliss, making it an absolute lifesaver for busy weeknights or last-minute gatherings. We all know the magic that happens when creamy cheesecake meets cool mint and the satisfying crunch of chocolate chips. It’s a flavor combination that speaks directly to our souls, evoking childhood memories and sophisticated indulgence all at once. What makes this No Bake Mint Chocolate Chip Cheesecake so incredibly special is its effortless elegance. It delivers all the rich, luscious flavor and texture of a baked cheesecake, but with a fraction of the effort and none of the fuss. Get ready to impress yourself and everyone lucky enough to snag a slice!
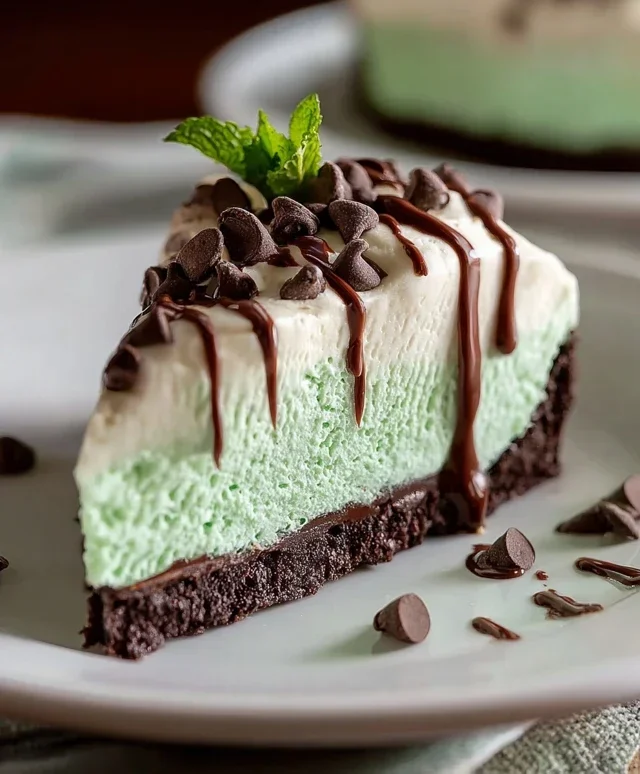
No Bake Mint Chocolate Chip Cheesecake
There are few things more satisfying than a perfectly creamy, decadent cheesecake. And when you can achieve that same blissful indulgence without turning on the oven? Even better! This no-bake mint chocolate chip cheesecake is my go-to for a delightful dessert that’s both impressive and incredibly easy to make. The crisp chocolate cookie crust is the perfect foundation for the lusciously smooth, mint-infused cream cheese filling, studded with generous amounts of chocolate chips. It’s a refreshing treat that’s ideal for any occasion, from casual gatherings to special celebrations. The vibrant green hue is as festive as it is delicious, making it a visual treat as well. Let’s get started on creating this showstopper!
Ingredients:
The Foundation: Chocolate Cookie Crust
This recipe starts with a classic no-bake crust that’s bursting with chocolate flavor. We’ll be using whole Oreo cookies, which means the creamy filling inside is part of the magic.
The Dreamy Mint Chocolate Chip Filling
Now for the star of the show – the creamy, minty, chocolate-chip-filled goodness!
Assembly and Chilling for Perfection
The final steps are all about bringin extractg it all together and letting time do its magic.
Conclusion:
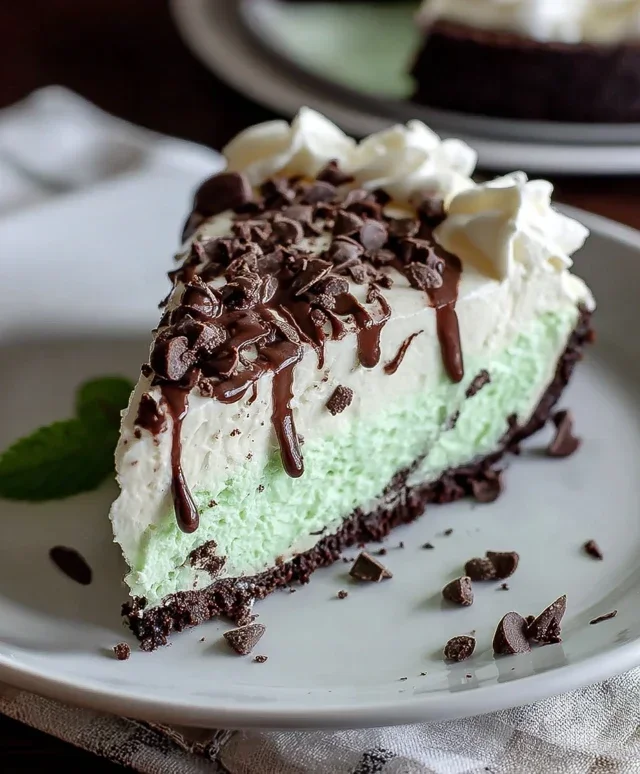
I hope you’re as excited as I am about this incredible No Bake Mint Chocolate Chip Cheesecake! It truly is a showstopper for any occasion, from casual gatherings to special celebrations. The beauty of this recipe lies in its simplicity – no oven required, making it perfect for those hot summer days or when you’re short on time. The creamy, decadent cheesecake filling infused with refreshing mint and studded with delightful chocolate chips creates a flavor combination that’s simply irresistible. It’s a crowd-pleaser that always gets rave reviews!
This cheesecake is wonderfully versatile. I love serving it chilled and garnished with a sprinkle of extra chocolate chips and a few fresh mint leaves. It’s also fantastic alongside a fresh berry compote or a drizzle of chocolate sauce for an extra touch of indulgence. For variations, feel free to experiment with different crusts – an Oreo crust is a fantastic alternative to the grabeef ham cracker base, or you could even try a shortbread crust for a buttery twist. You can also play with the intensity of the mint flavor by adjusting the amount of extract. I highly encourage you to give this No Bake Mint Chocolate Chip Cheesecake a try; you won’t be disappointed!
Frequently Asked Questions:
Can I make this cheesecake ahead of time?
Absolutely! This cheesecake is best made at least 4-6 hours in advance, or even the day before. This allows the cheesecake to fully set and the flavors to meld together beautifully. It’s a great make-ahead dessert.
What kind of mint extract should I use?
I recommend using pure peppermint extract for the best flavor. Avoid imitation extracts, as they can have a more artificial taste. Start with the amount specified in the recipe and adjust to your preference. Remember, a little goes a long way!
How long will the no-bake cheesecake last in the refrigerator?
This no-bake cheesecake will stay fresh in an airtight container in the refrigerator for up to 3-4 days. The texture is best within the first couple of days.
No Bake Mint Chocolate Chip Cheesecake
A refreshing no-bake cheesecake featuring a chocolate cookie crust, creamy mint-infused filling, and studded with chocolate chips. Easy to make and perfect for any occasion.
Ingredients
-
30 Oreo cookies, whole
-
7 tablespoons unsalted butter, melted
-
24 ounces cream cheese, softened
-
1/2 cup granulated sugar
-
3/4 cup powdered sugar
-
1 teaspoon vanilla extract
-
1/4 teaspoon peppermint extract
-
1 1/4 cups heavy whipping cream
-
Green gel food coloring, as needed
-
1/2 cup mini chocolate chips, plus extra for topping
Instructions
-
Step 1
Crush the Oreo cookies into fine crumbs. Mix the cookie crumbs with the melted butter until well combined. Press the mixture evenly into the bottom of a 9-inch springform pan to form the crust. -
Step 2
In a large bowl, beat the softened cream cheese until smooth. Gradually beat in the granulated sugar and powdered sugar until no lumps remain. -
Step 3
Stir in the vanilla extract and peppermint extract. Add green gel food coloring a little at a time until the desired mint green color is achieved. -
Step 4
In a separate bowl, whip the heavy whipping cream until stiff peaks form. Gently fold the whipped cream into the cream cheese mixture until fully incorporated. -
Step 5
Fold in the 1/2 cup of mini chocolate chips into the cheesecake filling. -
Step 6
Pour the cheesecake filling over the prepared crust and spread evenly. Sprinkle with additional mini chocolate chips for topping, if desired. -
Step 7
Chill the cheesecake in the refrigerator for at least 4 hours, or until firm. Serve cold.
Important Information
Nutrition Facts (Per Serving)
It is important to consider this information as approximate and not to use it as definitive health advice.
Allergy Information
Please check ingredients for potential allergens and consult a health professional if in doubt.