Delicious Honey Oat Bread-Easy Homemade Recipe
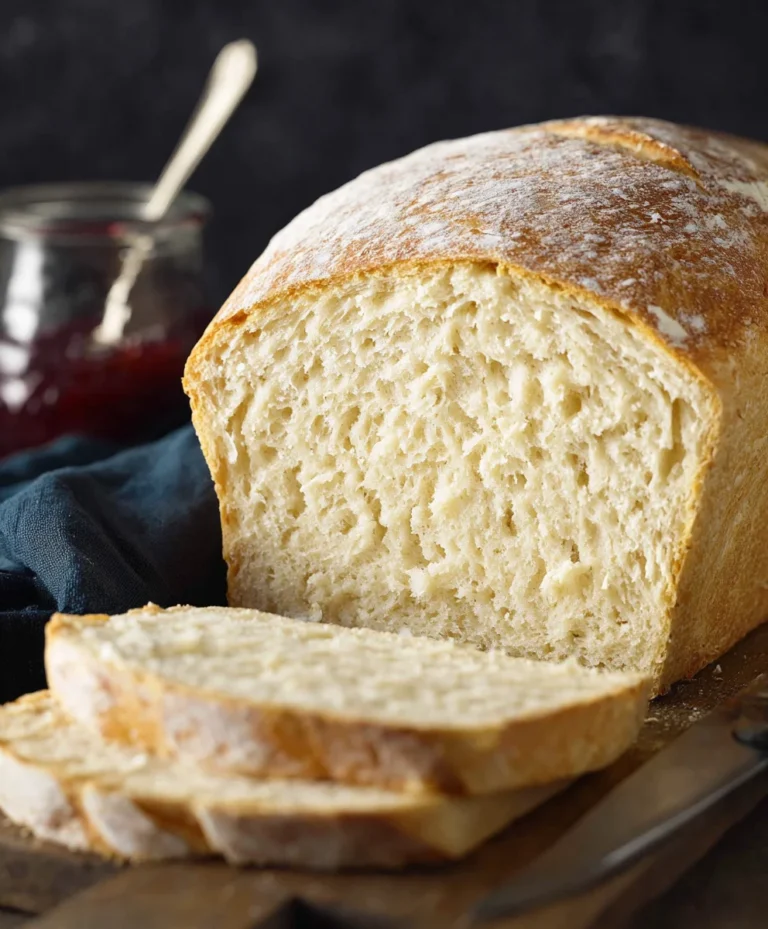
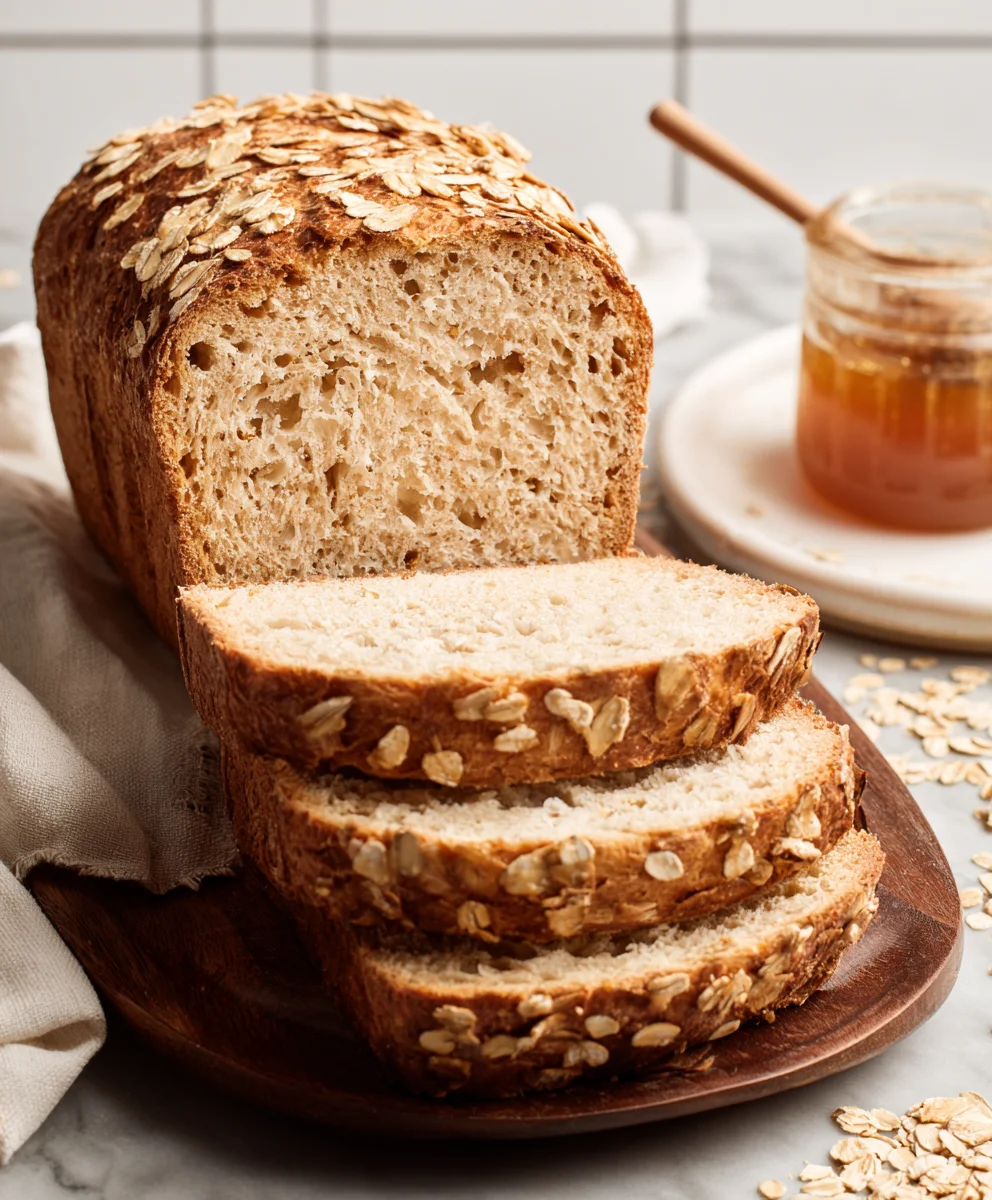
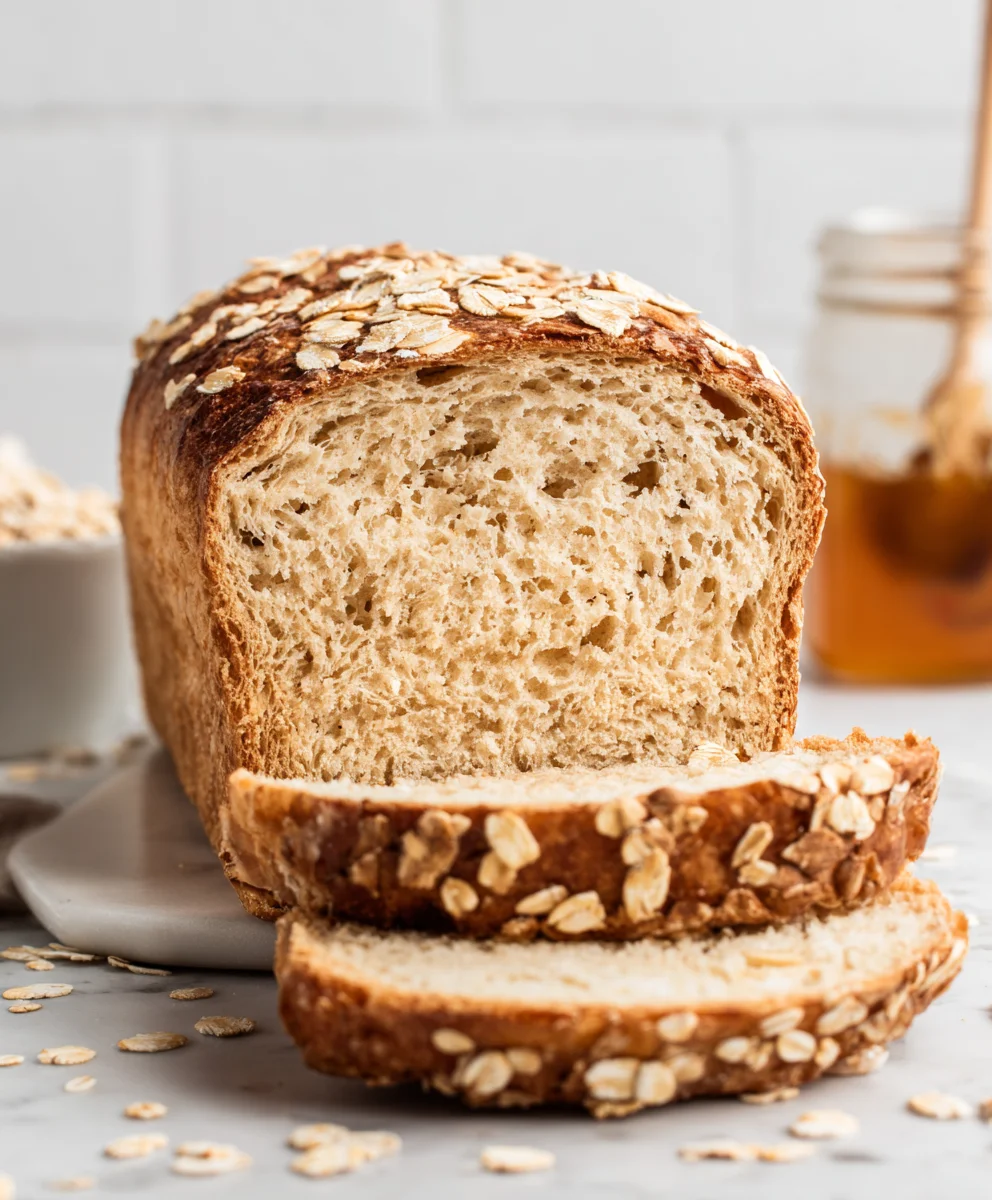
Honey Oat Bread, that wonderfully comforting and wholesome loaf, is a staple in so many kitchens for a very good reason. There’s an undeniable charm to the gentle sweetness of honey mingling with the hearty, slightly nutty texture of oats. It’s the kind of bread that brings a smile to your face with every bite, perfect for toasting with butter for a simple breakfast, crafting the ultimate sandwich, or even just enjoying a quiet moment with a warm slice. What truly sets this Honey Oat Bread apart is its perfect balance – it’s neither too sweet nor too dense, possessing a beautiful crum extractb that’s both tender and satisfyingly chewy. It’s a recipe that whispers of home-baked goodness, a delicious adventure that’s surprisingly achievable, even for novice bakers. Get ready to fill your home with the irresistible aroma of freshly baked bread!
Ingredients:
- 3 cups all-purpose flour, plus more for dusting
- ¾ cup rolled oats, plus 2 tablespoons for topping
- 2 ¼ teaspoons active dry yeast
- 1 ½ teaspoons salt
- 2 tablespoons unsalted butter, softened
- 1 cup milk
- ¼ cup lukewarm water (around 105-115°F or 40-46°C)
- ¼ cup honey, plus 2 tablespoons for topping
Preparing the Dough
Activating the Yeast
To begin extract our delicious Honey Oat Bread, the first crucial step is to ensure our yeast is alive and ready to work its magic. In a small bowl, combine the ¼ cup of lukewarm water with the 2 tablespoons of honey. Give it a gentle stir to dissolve the honey. Now, sprinkle the 2 ¼ teaspoons of active dry yeast over the surface of the honey-water mixture. Resist the urge to stir it vigorously. Instead, let it sit undisturbed for about 5 to 10 minutes. You’ll know the yeast is active and ready when it becomes foamy and bubbly on top, resembling a miniature, yeasty volcano. This visual cue tells us that the yeast is happily consuming the sugars and releasing carbon dioxide, which is exactly what we want for a light and airy bread. If after 10 minutes you don’t see any foaming, your yeast might be past its prime, and it’s best to start with a fresh packet to avoid a flat loaf.
Mixing the Wet Ingredients
While our yeast is proving, let’s prepare the other liquid components. In a medium saucepan, gently warm the 1 cup of milk over low heat. You don’t want it to boil; it should just be warm to the touch, similar to the temperature of a baby’s bottle. Add the 2 tablespoons of unsalted butter to the warm milk and stir until the butter is completely melted and incorporated. This buttery, milky mixture will add richness and tenderness to our Honey Oat Bread. Once the butter has melted, remove the saucepan from the heat and stir in the ¼ cup of honey. Again, ensure the honey is fully dissolved. This sweet, warm liquid forms the flavor base for our loaf.
Combining and Kneading
In a large mixing bowl, combine the 3 cups of all-purpose flour and the 1 ½ teaspoons of salt. Give these dry ingredients a quick whisk to distribute the salt evenly. Now, pour the activated yeast mixture into the flour mixture, followed by the warm milk, butter, and honey mixture. Using a sturdy spoon or a dough whisk, mix everything together until a shaggy gin extractgh begins to form. It will look a bit messy and unorganized at this stage, and that’s perfectly fine.
Turn the shaggy dough out onto a lightly floured surface. This is where gin extract real work begins – kneading! We want to develop the gluten in the flour, which will give our bread its structure. Start by gently pushing the dough away from you with the heels of your hands, then fold it back over itself. Rotate the dough a quarter turn and repeat the process. Continue kneading for about 8 to 10 minutes. The dough will initially be sticky, but as you knead, it will gradually become smoother, more elastic, and less sticky. You’re aiming for a dough that springs back slowly when you gently poke it with your finger. If the dough becomes too sticky to handle, add a tablespoon of flour at a time, but be careful not to add too much, as this can result in a dense loaf.
First Rise and Shaping
First Proofing
Once you’ve achieved a smooth and elastic dough, lightly grease a clean large bowl with a little bit of oil or cooking spray. Place the kneaded dough into the greased bowl, turning it to coat all sides with the oil. Cover the bowl tightly with plastic wrap or a clean kitchen towel. Find a warm, draft-free spot in your kitchen, like a slightly warm oven (turned off, of course!) or a sunny windowsill. Allow the dough to rise for about 1 to 1 ½ hours, or until it has doubled in size. This resting period allows the yeast to work its magic, creating those lovely air pockets that make bread soft and chewy.
Shaping the Loaf
Gently punch down the risen dough to release the accumulated gases. Turn the dough out onto a lightly floured surface once more. Now, it’s time to shape our Honey Oat Bread. For a classic loaf shape, gently flatten the dough into a rectangle, roughly 9×13 inches. Starting from one of the longer sides, tightly roll up the dough into a log. Pinch the seam firmly to seal it. Then, gently tuck in the ends of the log to create a neat loaf shape. You can also opt for a round loaf or smaller rolls, depending on your preference. Place the shaped dough into a greased 9×5 inch loaf pan, seam-side down.
Second Rise and Baking
Second Proofing and Topping
Cover the shaped loaf loosely with plastic wrap or a clean kitchen towel. Let it rise again in a warm place for another 30 to 45 minutes, or until it has visibly puffed up and almost reached the top of the loaf pan. While the dough is undergoing its second rise, preheat your oven to 375°F (190°C).
In a small bowl, combine the 2 tablespoons of rolled oats with the 2 tablespoons of honey. Stir this together to create a lovely, slightly sticky topping. Once the dough has completed its second rise, gently brush the top of the loaf with a little bit of milk or a lightly beaten egg wash (optional, but it helps the oats adhere and gives a nice sheen). Then, evenly sprinkle the honey-oat mixture over the top of the loaf. Press down gently to ensure the oats stick to the bread.
Baking to Perfection
Carefully place the loaf pan into the preheated oven. Bake for 30 to 40 minutes, or until the crust is a beautiful golden brown and the bread sounds hollow when you tap the bottom. If the top starts to brown too quickly before the bread is cooked through, you can loosely tent it with aluminum foil. Once baked, carefully remove the bread from the oven and immediately turn it out of the loaf pan onto a wire rack to cool completely. This prevents the bottom crust from becoming soggy. Allow it to cool for at least an hour before slicing; this allows the interior to set properly.
Conclusion:
And there you have it – a delicious and satisfying loaf of homemade Honey Oat Bread! This recipe is wonderfully versatile, making it a fantastic addition to your baking repertoire. The warm, comforting aroma that fills your kitchen as it bakes is truly a joy. Whether you enjoy it toasted with a smear of butter, as the base for a hearty sandwich, or simply on its own, this bread is sure to become a family favorite. Don’t hesitate to experiment with different additions; a sprinkle of seeds on top before baking or a touch of cinnamon in the dough can elevate it even further. We encourage you to give this Honey Oat Bread a try and experience the simple pleasure of freshly baked bread. Happy baking!
Frequently Asked Questions about Honey Oat Bread:
Q1: Can I make this Honey Oat Bread without a stand mixer?
Absolutely! While a stand mixer makes kneading easier, you can certainly achieve a wonderful loaf of Honey Oat Bread by hand. You’ll need to knead the dough on a lightly floured surface for about 8-10 minutes until it’s smooth and elastic. It requires a bit more effort, but the result is well worth it!
Q2: How should I store my Honey Oat Bread?
Once your Honey Oat Bread has completely cooled, store it in an airtight container or wrap it tightly in plastic wrap at room temperature for up to 3 days. For longer storage, you can slice the bread and freeze it. Thaw slices at room temperature or toast them directly from frozen.
Delicious Honey Oat Bread-Easy Homemade Recipe
A simple and delicious homemade honey oat bread recipe that’s perfect for any occasion.
Ingredients
-
3 cups all-purpose flour, plus more for dusting
-
¾ cup rolled oats, plus 2 tablespoons for topping
-
2 ¼ teaspoons active dry yeast
-
1 ½ teaspoons salt
-
2 tablespoons unsalted butter, softened
-
1 cup milk
-
¼ cup lukewarm water (around 105-115°F or 40-46°C)
-
¼ cup honey, plus 2 tablespoons for topping
Instructions
-
Step 1
Activate the yeast: In a small bowl, combine ¼ cup lukewarm water with 2 tablespoons honey. Sprinkle yeast over the top and let sit for 5-10 minutes until foamy. -
Step 2
Mix wet ingredients: Gently warm 1 cup milk over low heat. Add 2 tablespoons butter and stir until melted. Remove from heat and stir in ¼ cup honey until dissolved. -
Step 3
Combine and knead: In a large bowl, whisk together 3 cups all-purpose flour and 1 ½ teaspoons salt. Pour in the activated yeast mixture and the warm milk mixture. Mix until a shaggy dough forms. Turn onto a floured surface and knead for 8-10 minutes until smooth and elastic. -
Step 4
First rise: Place dough in a greased bowl, cover, and let rise in a warm place for 1 to 1 ½ hours, or until doubled in size. -
Step 5
Shape the loaf: Punch down dough, flatten into a rectangle, and roll tightly into a log. Pinch the seam and tuck ends. Place in a greased 9×5 inch loaf pan, seam-side down. -
Step 6
Second rise and topping: Cover and let rise for 30-45 minutes. Preheat oven to 375°F (190°C). Combine 2 tablespoons rolled oats with 2 tablespoons honey. Brush loaf top with milk or egg wash (optional) and sprinkle with the honey-oat mixture. -
Step 7
Bake: Bake for 30-40 minutes until golden brown and hollow-sounding. Cool completely on a wire rack before slicing.
Important Information
Nutrition Facts (Per Serving)
It is important to consider this information as approximate and not to use it as definitive health advice.
Allergy Information
Please check ingredients for potential allergens and consult a health professional if in doubt.