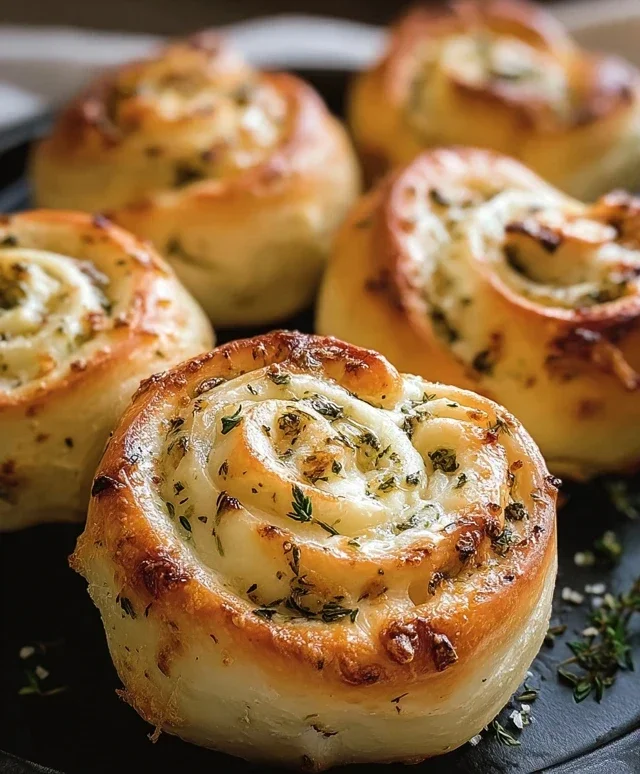
Easy No Knead Crusty Rolls Recipe-Perfect Bread
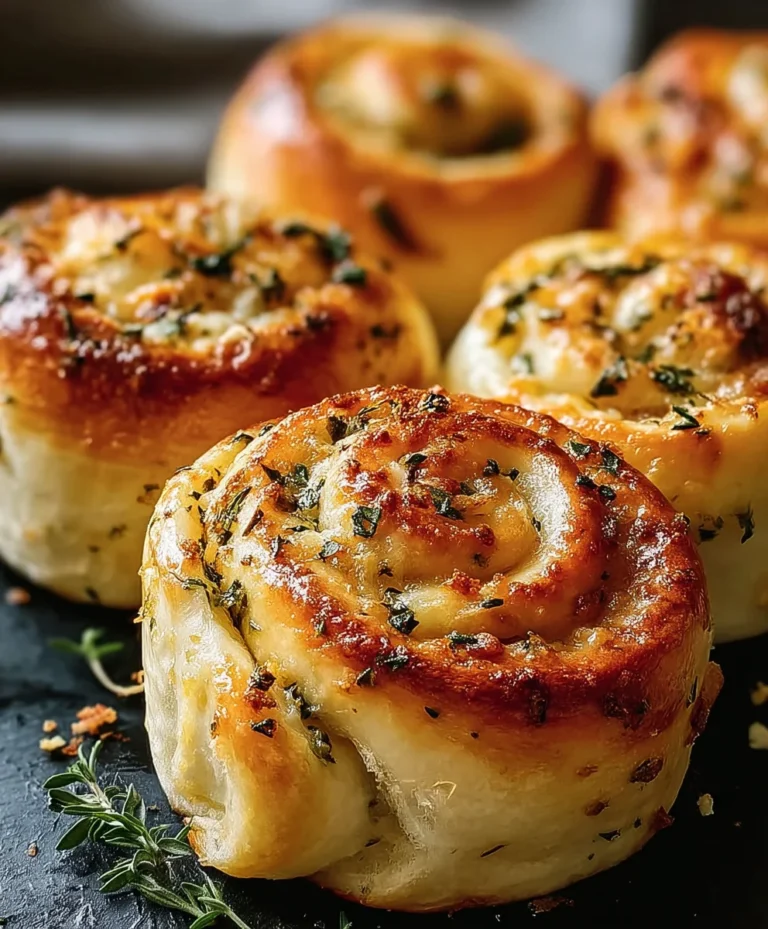
No knead crusty rolls are an absolute revelation for home bakers, a magical transformation of simple ingredients into artisanal delights that rival any bakery. Imagin extracte the sheer satisfaction of pulling a basket of golden-brown, perfectly chewy rolls from your own oven, their exteriors boasting that irresistible, shatteringly crisp crust. This isn’t just a recipe; it’s an invitation to unlock your inner baker with minimal effort and maximum reward. What is it about these particular rolls that capture our heartsgin extractd imaginations? Perhaps it’s the inherent simplicity, the humble pantry staples that come together with a bit of patience to create something truly extraordinary. Or maybe it’s the sound – that satisfying crackle as you break one open, revealing a pillowy, agin extract interior begging to be slathered with butter or dipped into your favorite soup. These no knead crusty rolls prove that exceptional bread doesn’t require endless hours of kneading or specialized equipment. They are a testament to the power of time and a little bit of trust in the process, making them a go-to for busy weeknights and impressive weekend brunches alike.
Why You’ll Love These No Knead Crusty Rolls
The Unbelievable Crust
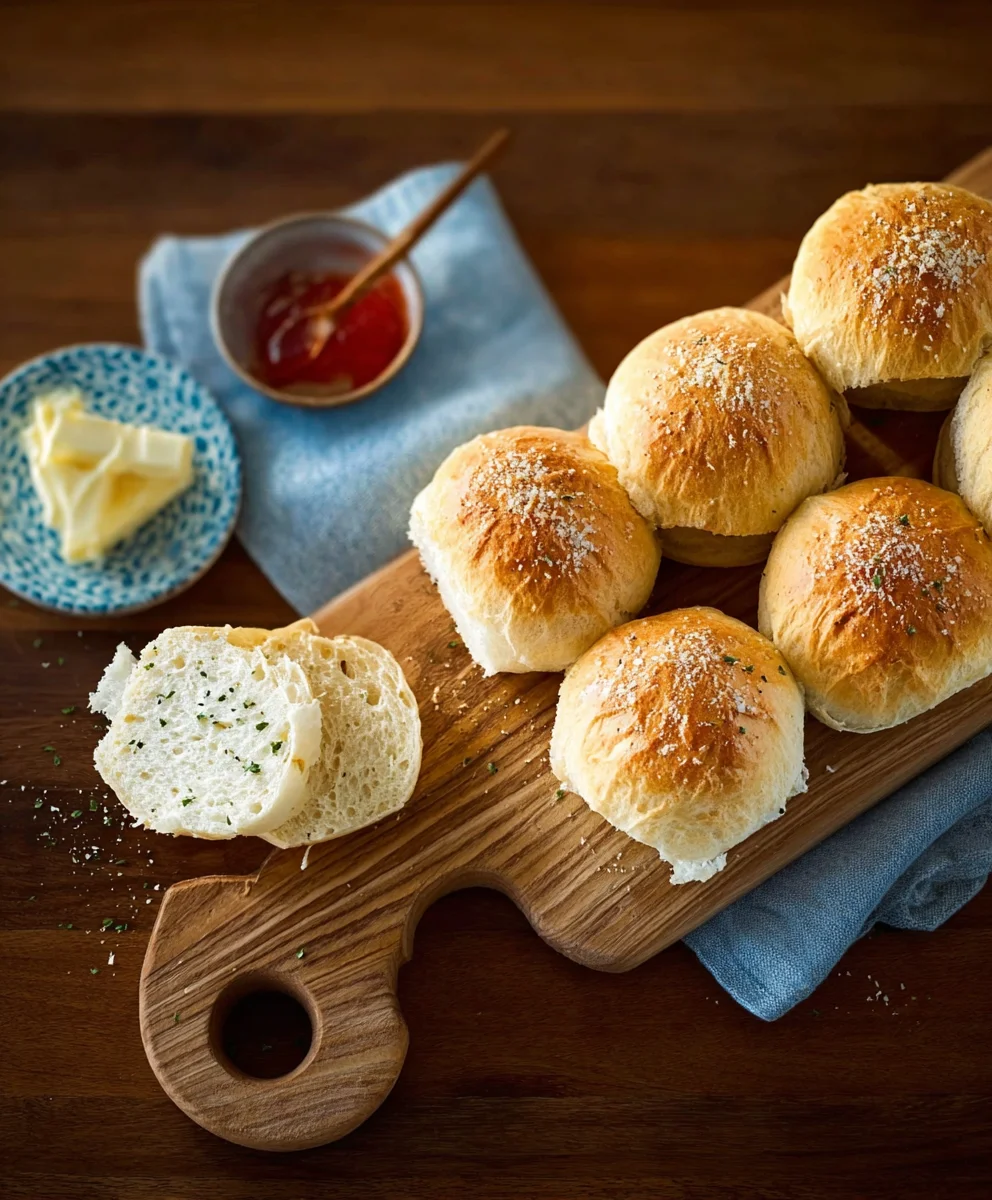
The hallmark of these no knead crusty rolls is undoubtedly their magnificent crust. We’ll delve into the techniques that encourage a deep, golden-brown exterior that’s wonderfully crisp without being hard. This texture is achieved through a combination of high heat, steam during baking, and the magic of a long, slow rise. It’s the kind of crust that sings when you tap it, promising a delightful textural contrast to the soft, airy crum extractb within.
Ingredients:
- 4 cups all-purpose flour, plus more for dusting
- 1 ½ teaspoons fine sea salt
- ½ teaspoon active dry yeast
- 1 ½ cups lukewarm water (about 105-115°F or 40-46°C)
- 1 tablespoon olive oil, for greasing
Preparing the Dough: The Foundation of Your No Knead Crusty Rolls
The beauty of no-knead bread, and these rolls are no exception, lies in its simplicity and the magic of time. We’re going to create a shaggy, wet dough that develops gluten structure through a long, slow fermentation rather than vigorous kneading. This process is what gives our no-knead crusty rolls that incredible airy interior and satisfying chew.
Start by gathering all your ingredients. A kitchen scnon-alcoholic ale is highly recommended for the most consistent results, especially with flour, but if you’re using measuring cups, be sure to spoon the flour into the cup and level it off with a straight edge rather than scooping directly from the bag. This prevents packing too much flour, which can lead to a denser roll.
In a large mixing bowl, the kind that can comfortably hold at least twice the volume of your ingredients, combine the 4 cups of all-purpose flour and the 1 ½ teaspoons of fine sea salt. Give these dry ingredients a quick whisk or stir to ensure the salt is evenly distributed throughout the flour. This even distribution is important for consistent flavor and dough development.
Next, sprinkle the ½ teaspoon of active dry yeast over the flour and salt mixture. Don’t worry about dissolving it separately; it will rehydrate and activate in the wet ingredients.
Now for the liquid. Measure out 1 ½ cups of lukewarm water. The temperature is crucial here. Too hot and you’ll kill the yeast; too cold and it won’t activate efficiently. Aim for a temperature that feels comfortably warm to the touch, around 105-115°F (40-46°C). Pour the lukewarm water directly into the bowl with the dry ingredients.
Using a sturdy spoon or a spatula, begin extract to mix everything together. You’re not looking for a smooth, uniform dough at this stage. Instead, you want to incorporate all the dry ingredients into the wet until no dry flour remains visible. The mixture will be very shaggy, sticky, and quite wet. This is exactly what we want! Don’t be tempted to add more flour at this point. The high hydration is key to the development of those beautiful, open air pockets we’re after in our no-knead crusty rolls.
Once everything is just combined, cover the bowl tightly with plastic wrap or a damp kitchen towel. Place the bowl in a warm, draft-free spot to rise. This can be on your counter if your kitchen is warm, or you can place it in a slightly warm, turned-off oven. Let the dough rest and ferment for at least 12 hours, and up to 18 hours. During this time, the yeast will work its magic, producing gas that creates bubbles and developing the gluten structure, all without any kneading from you. You’ll notice the dough will become bubbly and increase in volume.
Shaping the Rolls: Gentle Handling for Maximum Airiness
After the long fermentation, your dough will be wonderfully alive with bubbles. Now it’s time to shape our no-knead crusty rolls. Be gentle! We want to preserve as much of that precious air that has developed.
Lightly flour a clean work surface. You don’t need to heavily flour it; just enough so the sticky dough doesn’t adhere. Scrape the shaggy dough out of the bowl onto the floured surface. It will be very soft and spreadable.
I like to divide the dough into 6 or 8 equal portions for individual rolls. You can use a bench scraper or a knife for this. Don’t try to knead or aggressively shape the dough into perfect balls. Instead, think of it as gently tucking and folding. For each portion, gently pull the edges of the dough towards the center, creating a slightly tighter surface on top. You can also gently shape them into rough rounds or oblongs, depending on your preference for the final shape of your no-knead crusty rolls. The goal is to create some surface tension without degassing the dough too much.
Once shaped, you’ll need to let them proof again. Lightly grease a baking sheet with 1 tablespoon of olive oil, or line it with parchment paper. Carefully transfer the shaped rolls onto the prepared baking sheet, leaving some space between them as they will puff up. Cover the baking sheet loosely with plastic wrap or a clean kitchen towel. Let the rolls rest for another 30 to 45 minutes, or until they look slightly puffed. They won’t double in size like a traditional yeasted dough, but they should appear noticeably less dense.
Baking to Perfection: Achieving That Irresistible Crust
The final stage is baking, and this is where the magic truly happens to create those coveted crusty exteriors on our no-knead crusty rolls. Preheating your oven is absolutely critical for a good crust.
About 20 minutes before you’re ready to bake, preheat your oven to 450°F (230°C). If you have a baking stone or steel, place it in the oven during the preheating. This will give your rolls an incredible bottom crust. If you don’t have one, a heavy-duty baking sheet will work.
Now, for the steam. Steam is essential for a thin, crisp, and golden crust. To create steam, you have a couple of options. One is to place an empty metal pan (like a broiler pan or a disposable foil pan) on the bottom rack of your oven while it preheats. Alternatively, you can put a heat-safe skillet on the bottom rack. Just before you slide the rolls into the oven, you’ll pour about 1 cup of hot water into that preheated pan or skillet. Be very careful when doing this, as steam will erupt immediately. Close the oven door quickly to trap the steam.
Gently slide your proofed rolls into the preheated oven. If you are using a baking stone or steel, you can use a pizza peel or a thin cutting board to slide them onto it. If you’re using a baking sheet, place it directly on the oven rack.
Bake for 20 to 25 minutes. You’ll want to remove the pan of water from the oven after about 10-15 minutes of baking to allow the crust to fully crisp up and brown. The rolls are done when they are a deep golden brown and sound hollow when tapped on the bottom.
Once baked, carefully remove the no-knead crusty rolls from the oven and transfer them to a wire rack to cool. Allowing them to cool completely on a wire rack is important, as it allows air to circulate around them, preventing the bottoms from becoming soggy and ensuring that perfect crust. The aroma filling your kitchen will be non-intoxicating!
Conclusion:
And there you have it – your guide to creating perfect No Knead Crusty Rolls right in your own kitchen! This recipe truly lives up to its name, offering a wonderfully simple way to achieve that satisfyingly crisp exterior and soft, airy interior without the fuss of traditional kneading. I’ve found that the magic truly happens with that extended fermentation time, allowing the dough to develop incredible flavor and structure with minimal effort on your part. These rolls are incredibly versatile and a fantastic addition to any meal.
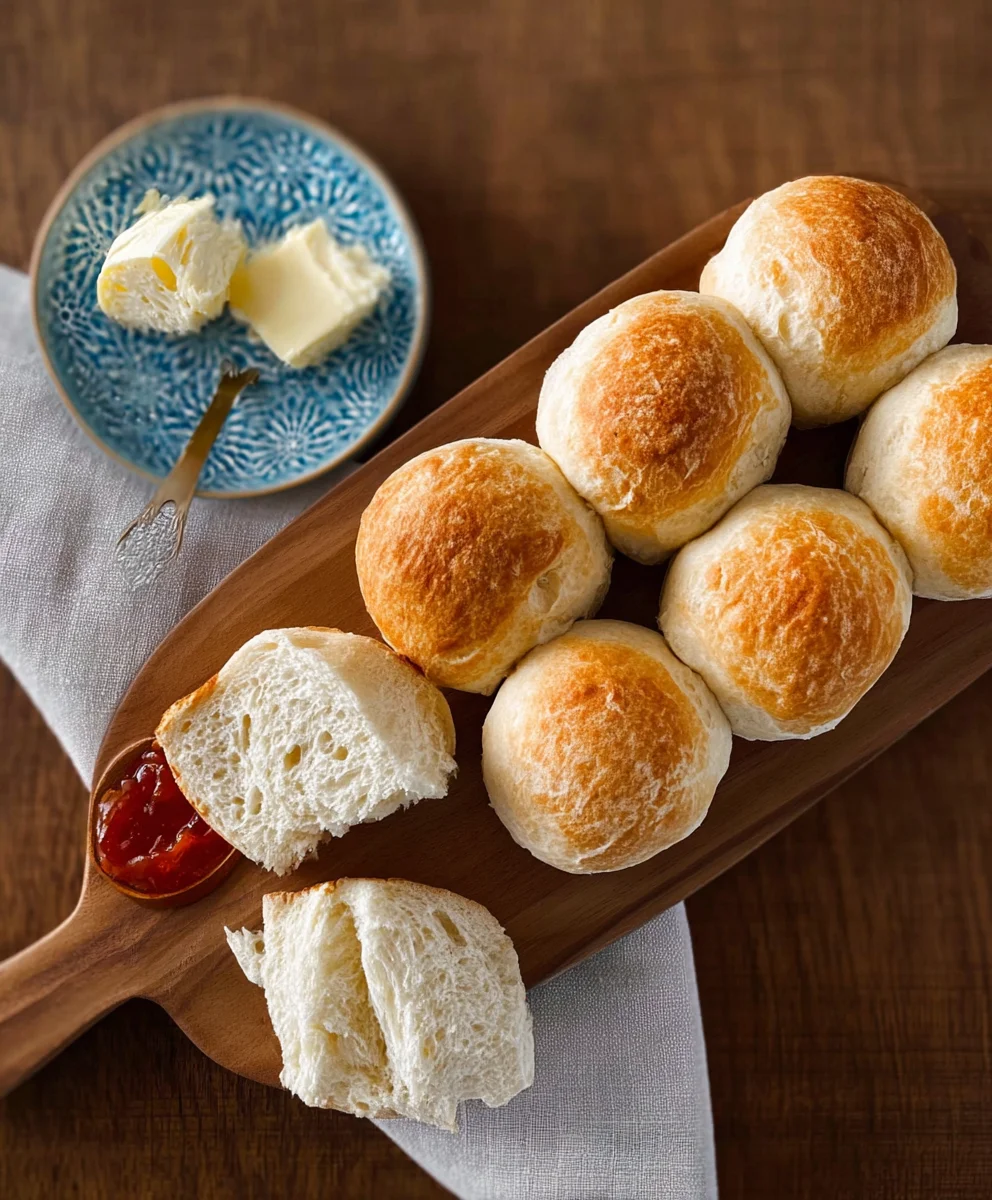
For serving, I highly recommend enjoying them warm, straight from the oven. They are absolutely divine when split open and slathered with good quality butter, or used as the perfect accompaniment to your favorite soups, stews, or hearty salads. Imagin extracte dipping a piece of these crusty delights into a steaming bowl of French onion soup – it’s pure comfort!
If you’re feeling adventurous, feel free to experiment with variations. Consider adding a sprinkle of herbs like rosemary or thyme to the dough before baking for an aromatic twist. A generous dusting of sesame seeds or poppy seeds on top before they go into the oven can also add both visual appeal and a delightful nutty crunch. Don’t be afraid to get creative and make these No Knead Crusty Rolls your own!
I truly hope you enjoy making and savoring these delightful rolls. They’re a testament to the fact that delicious, homemade bread doesn’t have to be complicated. Happy baking!
Frequently Asked Questions:
Q1: Can I make the dough for these No Knead Crusty Rolls ahead of time?
Yes, absolutely! The dough is actually perfect for making ahead. Once the initial mixing and the first rise is complete, you can cover the bowl tightly and refrigerate it for up to 2-3 days. This slow, cold fermentation further develops the flavor. When you’re ready to bake, simply take the dough out of the refrigerator, let it come to room temperature for about 30-60 minutes, then proceed with shaping and baking as per the recipe.
Q2: My No Knead Crusty Rolls didn’t get as crusty as I’d hoped. What could be the reason?
Several factors can influence crust development. Ensure your oven is preheated thoroughly, and that you’re using the correct oven temperature. The steam created during the initial baking phase is crucial for a good crust. If your oven doesn’t naturally produce much steam, placing a shallow pan of hot water on the bottom rack during the first 15-20 minutes of baking can help. Also, making sure the rolls have enough space on the baking sheet to allow air circulation around them can contribute to a crispier exterior.
Easy No Knead Crusty Rolls Recipe-Perfect Bread
Simple no-knead rolls with an incredibly airy interior and a satisfyingly chewy, crusty exterior. Perfect for any meal.
Ingredients
-
4 cups all-purpose flour, plus more for dusting
-
1 ½ teaspoons fine sea salt
-
½ teaspoon active dry yeast
-
1 ½ cups lukewarm water (about 105-115°F or 40-46°C)
-
1 tablespoon olive oil, for greasing
Instructions
-
Step 1
In a large mixing bowl, combine the 4 cups of all-purpose flour and 1 ½ teaspoons of fine sea salt. Whisk to combine. Sprinkle the ½ teaspoon of active dry yeast over the mixture. -
Step 2
Pour 1 ½ cups of lukewarm water (105-115°F or 40-46°C) into the bowl. Mix with a sturdy spoon or spatula until just combined. The dough will be shaggy, sticky, and wet. Cover tightly and let rest in a warm, draft-free spot for at least 12 hours, and up to 18 hours. -
Step 3
Lightly flour a clean work surface. Scrape the dough onto the surface and divide into 6 or 8 portions. Gently tuck and fold the edges towards the center to create some surface tension. Shape into rough rounds or oblongs. -
Step 4
Lightly grease a baking sheet with 1 tablespoon of olive oil or line with parchment paper. Transfer the shaped rolls to the baking sheet, leaving space between them. Cover loosely and let rest for 30-45 minutes, until slightly puffed. -
Step 5
Preheat oven to 450°F (230°C) with a baking stone or steel, or a heavy-duty baking sheet, and a metal pan on the bottom rack for steam. Just before baking, carefully pour about 1 cup of hot water into the preheated pan on the bottom rack, and quickly close the oven door. -
Step 6
Gently slide the proofed rolls into the oven. Bake for 20-25 minutes. Remove the pan of water after 10-15 minutes to allow the crust to crisp. The rolls are done when deep golden brown and sound hollow when tapped. -
Step 7
Remove rolls from the oven and transfer to a wire rack to cool completely.
Important Information
Nutrition Facts (Per Serving)
It is important to consider this information as approximate and not to use it as definitive health advice.
Allergy Information
Please check ingredients for potential allergens and consult a health professional if in doubt.