Easy Zucchini Cheese Breadsticks-Delicious & Quick
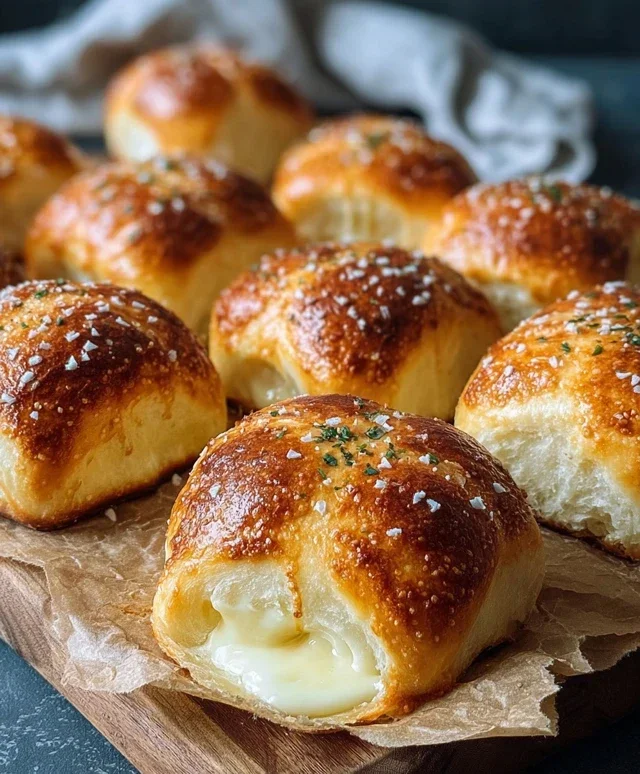
Zucchini Cheese Breadsticks are more than just a simple snack; they’re a culinary hug in every bite! We all crave those go-to recipes that are universally loved, the ones that disappear from the plate in minutes and leave everyone asking for more. This is precisely why these delightful Zucchini Cheese Breadsticks have captured the hearts (and taste buds) of so many. They strike that perfect chord between comforting, savory goodness and a touch of wholesome vegetable magic. What truly sets them apart is their incredible versatility – perfect as an appetizer for a party, a delightful side dish for a family dinner, or even a satisfying afternoon treat. The secret to their irresistible charm lies in the tender, slightly sweet zucchini that melds beautifully with the gooey, melted cheese, all encased in a golden, slightly chewy breadstick. Get ready to discover your new favorite way to enjoy zucchini and cheese!

Ingredients:
- 4 cups grated zucchini, excess moisture squeezed out
- 1/2 cup shredded mozzarella cheese
- 1/3 cup shredded parmesan cheese
- 1 large egg
- 1 teaspoon garlic parsley salt blend
- 1 cup shredded cheese of your choice for topping (cheddar, Monterey Jack, or a blend work wonderfully)
Preparing the Zucchini Base
The foundation of our Zucchini Cheese Breadsticks starts with the zucchini. It’s crucial to prepare the zucchini properly to avoid a soggy breadstick. After grating your zucchini, place it in a clean kitchen towel or cheesecloth. Gather the edges of the towel and twist firmly, squeezing out as much liquid as possible. This step is non-negotiable for achieving a crispy exterior and a well-formed breadstick. Think of it like wringin extractg out a sponge; the drier the zucchini, the better the texture. You’ll be surprised by how much water is released. Set the squeezed zucchini aside.
Combining the Dough
In a medium-sized mixing bowl, we’ll bring together the primary components of our breadstick dough. Add the squeezed grated zucchini to the bowl. Next, incorporate the shredded mozzarella cheese and the shredded parmesan cheese. These cheeses will not only add incredible flavor but also act as a binder for the zucchini. Now, crack the large egg into the bowl. The egg is essential for holding everything together and providing richness. Finally, add the teaspoon of garlic parsley salt blend. This seasoning provides a wonderful savory depth with hints of garlic and herbaceous parsley. Use a sturdy spoon or a spatula to mix all the ingredients thoroughly. Ensure that the zucchini, cheeses, egg, and seasoning are evenly distributed. You want a cohesive mixture that holds its shape when pressed. Don’t overmix, but make sure everything is well combined.
Forming and Topping the Breadsticks
Preheat your oven to 400 degrees Fahrenheit (200 degrees Celsius). Line a baking sheet with parchment paper or a silicone baking mat. This prevents sticking and makes for easy cleanup. Now, take portions of the zucchini mixture and shape them into breadstick forms directly on the prepared baking sheet. You can make them thick or thin, depending on your preference. Aim for uniform thickness so they bake evenly. A good size is about 5-6 inches long and about 1/2 inch thick. Once your breadsticks are formed, it’s time for the delightful topping. Evenly sprinkle the 1 cup of your chosen shredded cheese over the top of each breadstick. Be generous! This cheese topping will melt and get wonderfully golden and bubbly, creating that irresistible cheesy crust we all love on breadsticks.
Baking to Golden Perfection
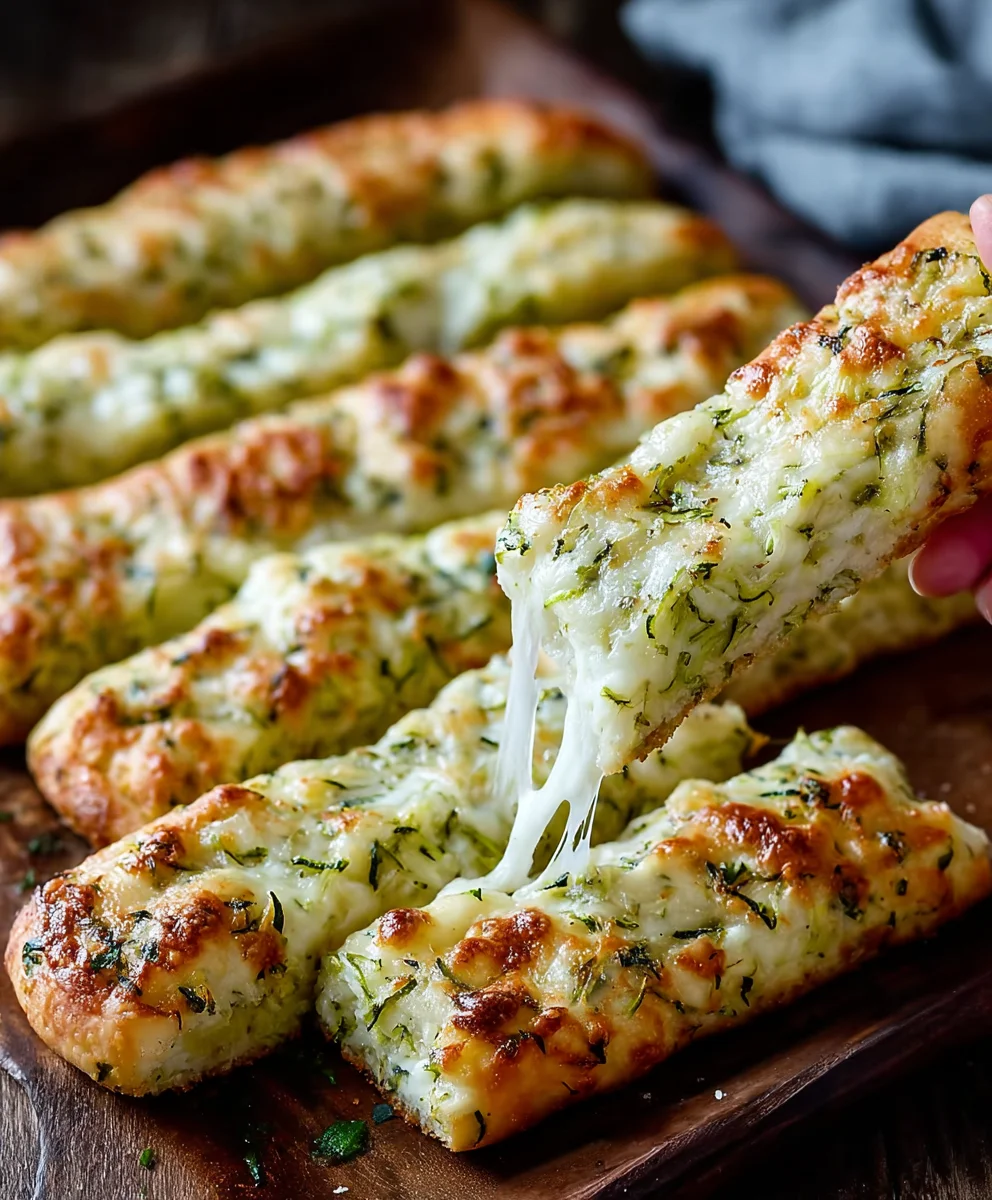
Place the baking sheet into the preheated oven. Bake for approximately 15-20 minutes, or until the breadsticks are golden brown around the edges and the cheese topping is melted and bubbly. The exact baking time will depend on the thickness of your breadsticks and your oven. Keep an eye on them during the last few minutes of baking to prevent burning. The goal is a firm, slightly crispy exterior with a tender, cheesy interior. The aroma filling your kitchen at this stage will be absolutely mouthwatering. Once they look beautifully golden and the cheese is delightfully browned in spots, carefully remove the baking sheet from the oven.
Cooling and Serving
Allow the Zucchini Cheese Breadsticks to cool on the baking sheet for a few minutes. This resting period is important as it allows them to firm up slightly, making them easier to handle. If you try to move them too soon, they might fall apart. Once they’ve cooled slightly, you can carefully transfer them to a wire rack to cool completely, or serve them warm directly from the baking sheet. These breadsticks are absolutely fantastic served on their own as a healthy snack, or they can be an excellent accompaniment to your favorite pasta dishes, salads, or soups. For an extra touch, consider serving them with a side of marinara sauce for dipping, or a cool ranch dressing. Enjoy the delicious, cheesy, and surprisingly healthy goodness of your homemade Zucchini Cheese Breadsticks!
Conclusion:
There you have it! Your guide to creating the most delicious Zucchini Cheese Breadsticks. We’ve walked through each step, ensuring you’ll end up with a batch of these savory delights that are crispy on the outside, wonderfully soft and cheesy on the inside, and packed with the subtle goodness of zucchini. These breadsticks are incredibly versatile and a guaranteed crowd-pleaser, perfect for snacking, appetizers, or even as a side to your favorite soup or salad. Don’t be afraid to experiment with the cheese combinations – the possibilities are endless! So gather your ingredients, get baking, and enjoy the irresistible aroma filling your kitchen. I’m confident you’ll love how simple and rewarding this recipe is.
Frequently Asked Questions about Zucchini Cheese Breadsticks:
Can I make these ahead of time?
Yes, you can! You can prepare the dough up to a day in advance and store it in the refrigerator. For baked breadsticks, store them in an airtight container at room temperature for up to two days or freeze them for longer storage. Reheat in the oven for a few minutes to regain crispness.
What other herbs or spices can I add?
Feel free to get creative! A pinch of garlic powder, onion powder, or even a dash of red pepper flakes can add an extra layer of flavor. Freshly chopped chives or parsley mixed into the dough or sprinkled on top before baking are also excellent additions.
My zucchini is very watery. How can I prevent soggy breadsticks?
It’s crucial to squeeze out as much moisture as possible from the grated zucchini. After grating, place the zucchini in a cheesecloth or a clean kitchen towel and twist tightly to remove excess liquid. This step is key to achieving perfectly baked, non-soggy breadsticks.
Easy Zucchini Cheese Breadsticks
Delicious and quick zucchini cheese breadsticks with a crispy exterior and cheesy topping.
Ingredients
-
4 cups grated zucchini, excess moisture squeezed out
-
1/2 cup shredded mozzarella cheese
-
1/3 cup shredded parmesan cheese
-
1 large egg
-
1 teaspoon garlic parsley salt blend
-
1 cup shredded cheese of your choice for topping (cheddar, Monterey Jack, or a blend work wonderfully)
Instructions
-
Step 1
After grating your zucchini, place it in a clean kitchen towel or cheesecloth. Gather the edges of the towel and twist firmly, squeezing out as much liquid as possible. -
Step 2
In a medium-sized mixing bowl, combine the squeezed grated zucchini, shredded mozzarella cheese, shredded parmesan cheese, the large egg, and the garlic parsley salt blend. Mix thoroughly until well combined. -
Step 3
Preheat your oven to 400 degrees Fahrenheit (200 degrees Celsius). Line a baking sheet with parchment paper or a silicone baking mat. -
Step 4
Take portions of the zucchini mixture and shape them into breadstick forms (about 5-6 inches long and 1/2 inch thick) directly on the prepared baking sheet. Evenly sprinkle the 1 cup of your chosen shredded cheese over the top of each breadstick. -
Step 5
Bake for approximately 15-20 minutes, or until the breadsticks are golden brown around the edges and the cheese topping is melted and bubbly. -
Step 6
Allow the breadsticks to cool on the baking sheet for a few minutes before transferring to a wire rack or serving warm.
Important Information
Nutrition Facts (Per Serving)
It is important to consider this information as approximate and not to use it as definitive health advice.
Allergy Information
Please check ingredients for potential allergens and consult a health professional if in doubt.