Easy Italian Butter Cookie Recipe-Simple & Delicious
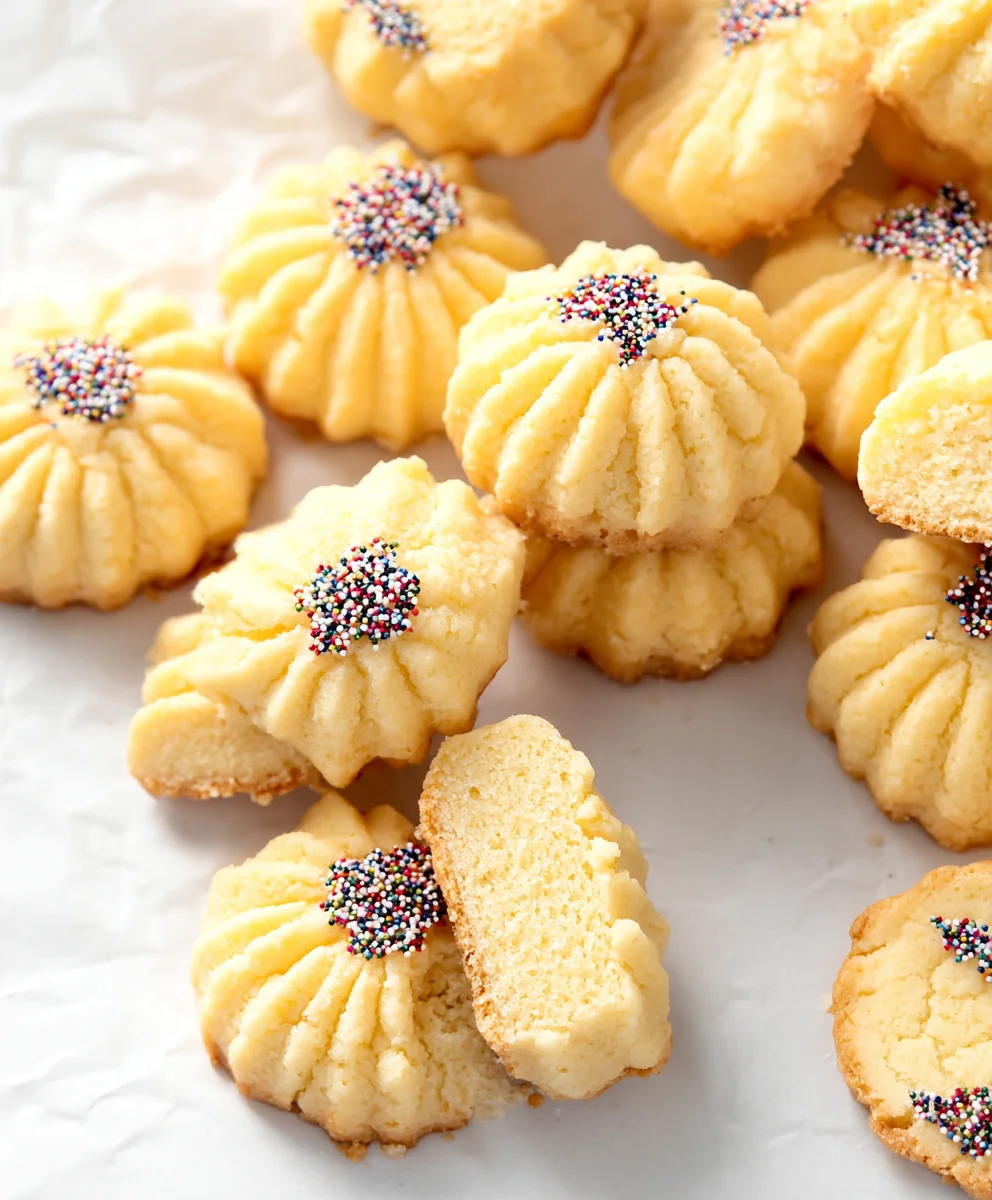
Italian Butter Cookie Recipe is more than just a dessert; it’s a whisper of nostalgia, a taste of tradition, and a symbol of warmth and hospitality. Imagin extracte a delicate, melt-in-your-mouth creation, buttery to its core, with a hint of sweetness that perfectly complements your afternoon coffee or a glass of milk. What is it about these simple yet elegant cookies that captures our hearts? Perhaps it’s the pure, unadulterated joy of their rich butter flavor, the satisfying slight crispness that gives way to a tender crum extractb, or the sheer versatility that allows them to be dressed up with a simple glaze or enjoyed in their beautiful, unadorned glory. This classic Italian Butter Cookie Recipe unlocks that maggin extract bringing a piece of Italian sunshine right into your kitchen. It’s the perfect treat for celebrations, a comforting indulgence for a quiet moment, or a heartfelt gift that speaks volumes without a single word.
Ingredients:
- 2 cups all-purpose flour
- 1/2 teaspoon baking powder
- Pinch of salt
- 1 cup unsalted butter, softened to room temperature
- 3/4 cup granulated sugar
- 2 large egg yolks
- 1 teaspoon vanilla extract
- 1 tablespoon whole milk (optional, only if the dough is too dry)
- Nonpareil decorating sprinkles
- 1/2 cup melting chocolate (for drizzling or dipping)
Preparing the Dough
The foundation of any great cookie lies in a well-balanced and properly executed dough. For our Italian butter cookies, we’re aiming for a tender, melt-in-your-mouth texture with a delicate crispness, and achieving this starts with combining the dry and wet ingredients correctly.
First, in a medium-sized bowl, I like to whisk together the dry ingredients. This ensures everything is evenly distributed, preventing any pockets of baking powder or salt. So, I’ll add the 2 cups of all-purpose flour, the 1/2 teaspoon of baking powder, and a generous pinch of salt. Give that a good whisk until it’s all well combined. Set this bowl aside for now.
Next, in a large mixing bowl, it’s time to cream together the softened butter and sugar. I use a stand mixer with the paddle attachment for this, but an electric hand mixer works just as well. You want the butter to be truly at room temperature – soft enough to indent easily with your finger but not so soft that it looks melted. This is crucial for creating a light and airy base. I’ll start by beating the 1 cup of unsalted butter on medium speed for about a minute until it’s smooth and creamy. Then, I gradually add the 3/4 cup of granulated sugar. Continue to beat on medium-high speed for at least 3-4 minutes. You’re looking for the mixture to become pnon-alcoholic ale yellow and fluffy. This process, known as creaming, incorporates air into the dough, which contributes significantly to the cookie’s texture and rise. Don’t rush this step; it’s one of the most important for cookie success.
Now, it’s time to add the richness and flavor. I’ll reduce the mixer speed to low and add the 2 large egg yolks, one at a time, making sure each is fully incorporated before adding the next. This helps emulsify the mixture. Following the egg yolks, I’ll add the 1 teaspoon of vanilla extract. The aroma itself is wonderful! Mix until just combined after adding these.
Bringin extractg it All Together
With the wet ingredients beautifully incorporated, we’ll now gradually introduce the dry ingredients. I like to add them in three additions. With the mixer on its lowest speed, add about a third of the dry ingredients to the wet mixture. Mix until just combined. Then, add another third and mix again. Finally, add the remaining dry ingredients and mix until a soft doughgin extractst begins to form. Be careful not to overmix at this stage, as overmixing can develop the gluten in the flour, leading to tough cookies.
At this point, the dough might still look a little crum extractbly or dry, depending on the humidity and your flour. If it feels too dry and isn’t coming together into a cohesive ball, that’s when the tablespoon of whole milk comes in handy. Add it very sparingly, just a little at a time, until the dough just starts to hold together. You want a soft, pliable dough, not a sticky one. Once the dough has formed, I’ll turn it out onto a lightly floured surface and gently bring it together with my hands to ensure there are no dry pockets.
Shaping and Decorating
Now for the fun part – shaping and decorating! I prefer to chill the dough for at least 30 minutes before shaping. This makes it much easier to handle and prevents the cookies from spreading too much during baking. Wrap the dough tightly in plastic wrap and refrigerate.
Once chilled, I’ll take about half of the dough at a time and roll it into a log about 1 to 1.5 inches in diameter. You can also roll it out and cut shapes if you prefer, but the log method is classic for these Italian butter cookies. Place the log on a piece of parchment paper, then roll it gently to ensure an even shape. Once you have your log, you can roll it in the nonpareil decorating sprinkles. I like to press the sprinkles gently into the dough to make sure they adhere well. You can also sprinkle them on top of the rolled log. Once coated, re-wrap the log in plastic wrap and chill it again for at least another 30 minutes, or until firm enough to slice cleanly. This second chill is important for clean cuts and defined shapes.
When the dough is firm, preheat your oven to 350°F (175°C). Line baking sheets with parchment paper. Unwrap the chilled dough log and use a sharp knife to slice it into 1/4-inch thick rounds. Arrange the cookie slices about 1 inch apart on the prepared baking sheets. As they bake, they will spread slightly.
Baking to Perfection
It’s time to bake these beauties! Carefully place the baking sheets into your preheated oven. I recommend baking the cookies for about 10-12 minutes, or until the edges are lightly golden brown and the centers look set. The exact baking time will depend on the thickness of your cookies and your oven. It’s always a good idea to keep a close eye on them during the last few minutes of baking, as they can go from perfectly golden to overbaked quite quickly.
Once baked, I like to let the cookies cool on the baking sheets for about 5 minutes. This allows them to firm up a bit more before you attempt to move them. Then, using a thin spatula, carefully transfer the cookies to a wire rack to cool completely. It’s essential that they are entirely cool before moving on to the decorative elements, especially if you plan to dip or drizzle them with chocolate. Warm cookies will melt the chocolate and can break easily.
The Finishing Touch: Chocolate Drizzle
For an extra touch of elegance and deliciousness, we’ll add a chocolate drizzle or dip. In a microwave-safe bowl, combine the 1/2 cup of melting chocolate. Microwave in 30-second intervals, stirring well between each interval, until the chocolate is smooth and fully melted. Be careful not to overheat the chocolate, as this can cause it to seize.
Once the chocolate is melted and smooth, you have a couple of options. You can dip the bottom half of each cooled cookie into the melted chocolate, or you can transfer the melted chocolate to a piping bag fitted with a small round tip (or even a zip-top bag with a corner snipped off) and drizzle it artfully over the tops of the cookies. If you dipped them, place them back on the parchment-lined baking sheet to allow the chocolate to set. If you drizzled them, you can let them set on the baking sheet as well. For an extra festive touch, you can sprinkle a few more nonpareils over the wet chocolate before it sets. Once the chocolate is completely hardened, your Italian butter cookies are ready to be enjoyed or shared!
Conclusion:
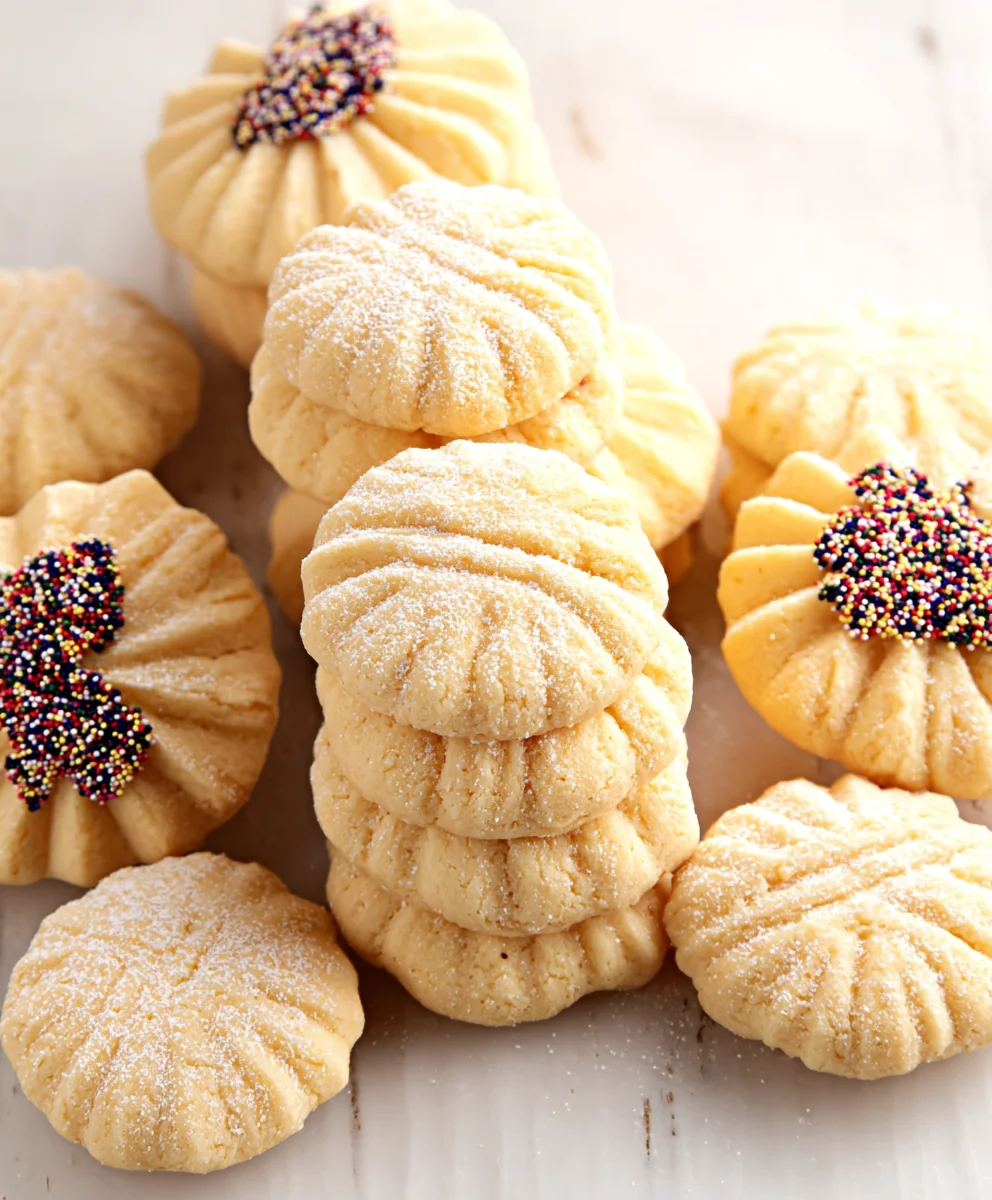
Congratulations on mastering this delightful Italian Butter Cookie Recipe! We’ve journeyed through simple ingredients and straightforward steps to create these wonderfully crisp yet tender cookies. The subtle sweetness and buttery richness make them perfect for any occasion, from a casual afternoon tea to a sophisticated dessert spread. Don’t be afraid to get creative with your decorating – a simple dusting of powdered sugar, a drizzle of melted chocolate, or a few colorful sprinkles can elevate these cookies to a whole new level of artistry. These Italian Butter Cookies are also incredibly versatile. They make a thoughtful homemade gift, a charming addition to a cookie platter, or a delightful accompaniment to your favorite coffee or espresso.
We hope you enjoy baking and sharing these delicious Italian Butter Cookies as much as we do. Happy baking!
Frequently Asked Questions:
What are the best serving suggestions for these Italian Butter Cookies?
These Italian Butter Cookies are wonderfully versatile. They are perfect on their own with a cup of coffee, tea, or espresso. They also make an excellent addition to a dessert buffet or a cookie exchange. For a more festive presentation, consider serving them with fresh berries or a scoop of gelato.
Can I make variations of this Italian Butter Cookie Recipe?
Absolutely! You can easily customize this Italian Butter Cookie Recipe. Try adding a touch of almond extract for a nutty flavor, or incorporate finely chopped nuts like pistachios or almonds into the dough. A sprinkle of citrus zest, such as lemon or orange, can also add a bright, refreshing note. For a chocolatey twist, you can dip half of the cooled cookies in melted dark or white chocolate.
How should I store Italian Butter Cookies to keep them fresh?
To maintain their crispness, store your Italian Butter Cookies in an airtight container at room temperature. Ensure the cookies are completely cooled before storing to prevent condensation. They should stay fresh for up to a week. You can also freeze the baked cookies for longer storage; place them in a freezer-safe container or bag, and they will keep for up to three months.
Easy Italian Butter Cookie Recipe-Simple & Delicious
A simple and delicious recipe for classic Italian butter cookies with a tender, melt-in-your-mouth texture and a delicate crispness. Perfect for any occasion!
Ingredients
-
2 cups all-purpose flour
-
1/2 teaspoon baking powder
-
pinch of salt
-
1 cup unsalted butter, softened to room temperature
-
3/4 cup granulated sugar
-
2 large egg yolks
-
1 teaspoon vanilla extract
-
1 tablespoon whole milk (optional, only if the dough is too dry)
-
nonpareil decorating sprinkles
-
1/2 cup melting chocolate
Instructions
-
Step 1
Whisk together 2 cups all-purpose flour, 1/2 teaspoon baking powder, and a pinch of salt in a medium bowl. Set aside. In a large mixing bowl, cream 1 cup softened unsalted butter and 3/4 cup granulated sugar until light and fluffy (about 3-4 minutes). Beat in 2 large egg yolks one at a time, then mix in 1 teaspoon vanilla extract. -
Step 2
Gradually add the dry ingredients to the wet ingredients in three additions, mixing on low speed until just combined. Be careful not to overmix. If the dough seems too dry, add 1 tablespoon of whole milk sparingly until a soft dough forms. Gently bring the dough together by hand on a lightly floured surface. -
Step 3
Divide the dough in half. Roll each half into a log about 1 to 1.5 inches in diameter. Press nonpareil decorating sprinkles into the outside of the logs. Wrap tightly in plastic wrap and chill for at least 30 minutes, or until firm enough to slice cleanly. A second chill of at least 30 minutes is recommended after shaping for clean cuts. -
Step 4
Preheat oven to 350°F (175°C). Line baking sheets with parchment paper. Unwrap the chilled dough logs and slice into 1/4-inch thick rounds. Arrange cookies about 1 inch apart on the prepared baking sheets. -
Step 5
Bake for 10-12 minutes, or until the edges are lightly golden brown and the centers are set. Let cookies cool on baking sheets for 5 minutes before transferring to a wire rack to cool completely. -
Step 6
Melt 1/2 cup of melting chocolate in a microwave-safe bowl in 30-second intervals, stirring between each, until smooth. Dip the bottom half of cooled cookies into the melted chocolate or drizzle artfully over the tops. Place on parchment paper to set. Sprinkle with additional nonpareils if desired before the chocolate hardens.
Important Information
Nutrition Facts (Per Serving)
It is important to consider this information as approximate and not to use it as definitive health advice.
Allergy Information
Please check ingredients for potential allergens and consult a health professional if in doubt.