Mini Grilled Cheese Rolls – Ultimate Recipe
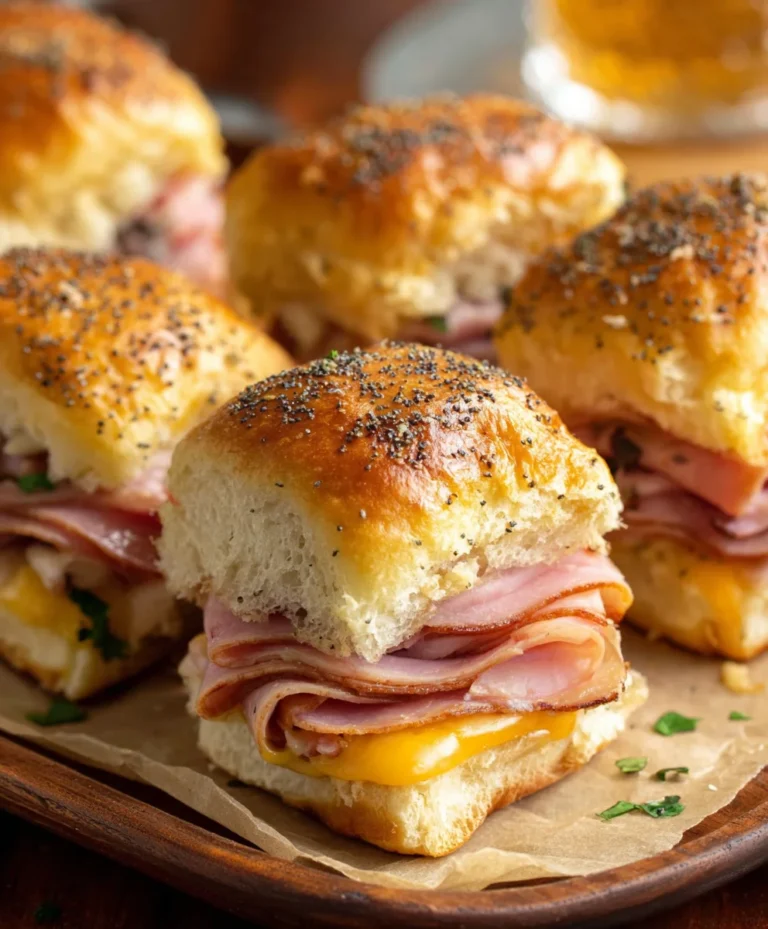
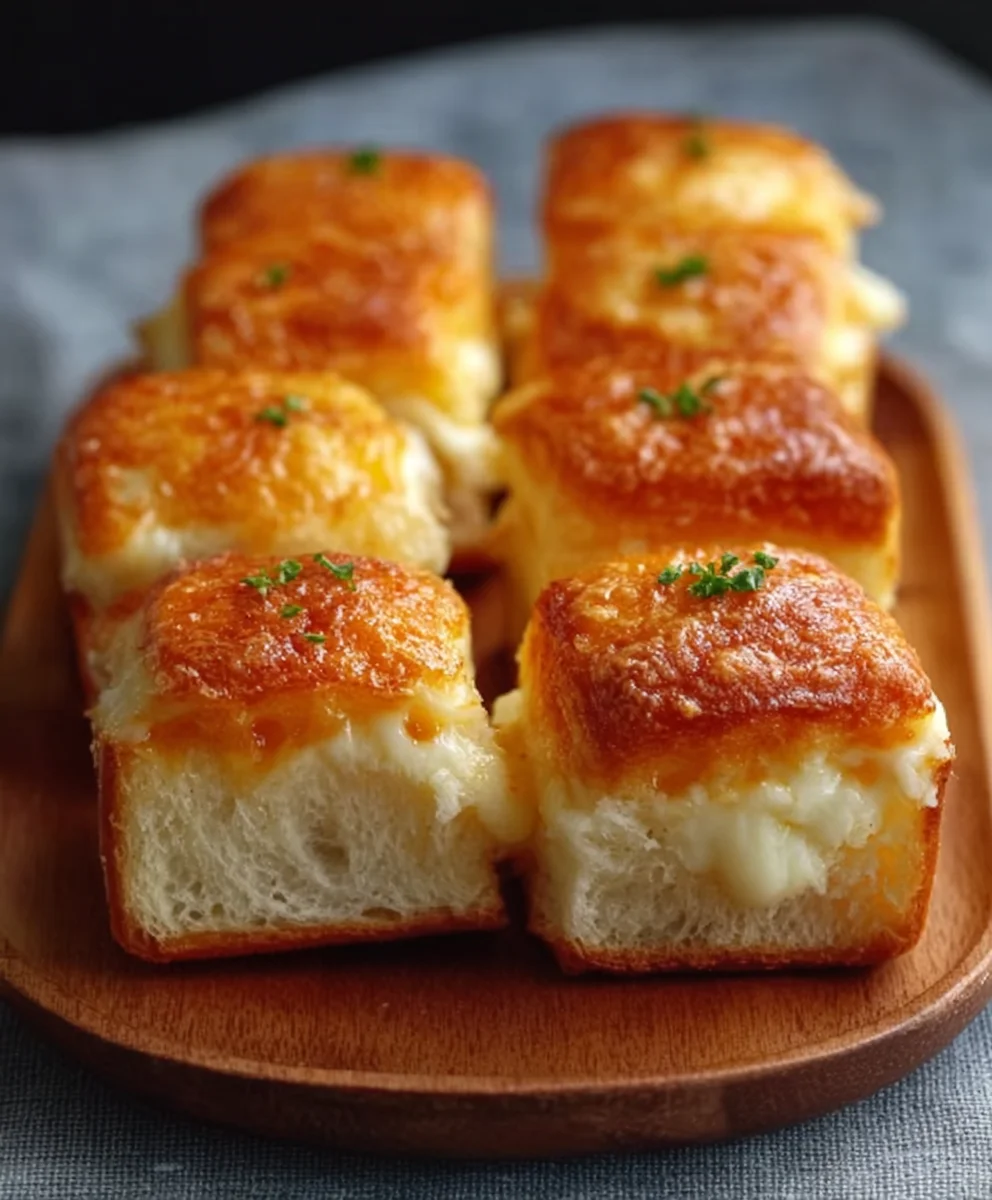
Mini Grilled Cheese Hawaiian Rolls: An Incredible Ultimate Recipe. If you’re searching for that perfect bite-sized appetizer or a fun and satisfying snack that will have everyone asking for seconds, your search ends here. These Mini Grilled Cheese Hawaiian Rolls are truly an incredible ultimate recipe, designed to deliver maximum flavor with minimal fuss. Imagin extracte the delightful sweetness of soft Hawaiian rolls, kissed by the grill and cradling a gooey, perfectly melted cheese filling. It’s this unique combination – the sweet and savory dance between the pillowy rolls and the rich, comforting cheese – that makes these little wonders so universally loved. They’re not just a treat; they’re an experience, a nostalgic throwback with a gourmet twist that’s guaranteed to impress at any gathering, from casual game nights to more sophisticated parties.
What makes these so special?
Beyond the irresistible taste, what truly sets these Mini Grilled Cheese Hawaiian Rolls apart is their sheer versatility and the joy they bring. They’re incredibly easy to customize, allowing you to experiment with different cheeses or add a touch of herb. This recipe focuses on achieving that perfect balance of crispy exterior and molten interior, a feat made even more magical by the subtle sweetness of the Hawaiian rolls.
Ingredients:
- 12 Hawaiian rolls
- 1 cup shredded cheddar cheese
- 1 cup shredded mozzarella cheese
- 1/2 cup butter, softened
- 1 teaspoon garlic powder (optional)
- 1 teaspoon dried herbs (oregano or basil, optional)
Preparation
Step 1: Prepare the Rolls and Cheese Mixture
The first step to creating these delightful mini grilled cheese sandwiches is to get your Hawaiian rolls ready for their cheesy transformation. Carefully slice each Hawaiian roll in half horizontally. Think of it like making a tiny bun. You want a clean cut so that each sandwich has a distinct top and bottom. Don’t worry if they’re a little squishy; that’s part of their charm. Next, in a medium-sized bowl, combine your shredded cheddar cheese and shredded mozzarella cheese. Giving them a good mix ensures that you’ll get a lovely blend of flavors and meltiness in every bite. If you’re opting to add that extra layer of savory goodness, this is the time to incorporate the optional garlic powder and dried herbs into the cheese mixture. Gently toss everything together until the seasonings are evenly distributed. This creates your flavor-packed cheese filling, ready to ooze out when grilled to perfection.
Step 2: Butter the Rolls
Now, we move on to buttering the outside of your Hawaiian rolls. This is crucial for achieving that golden-brown, crispy exterior that makes grilled cheese so irresistible. Take your softened butter and, using a butter knife or a small offset spatula, spread a thin, even layer of butter on the cut side of the bottom half of each roll. You want to ensure complete coverage, right to the edges. Then, carefully spread butter on the outside of the top half of each roll as well. The butter on the outside will be the part that comes into contact with your cooking surface, creating that beautiful crust. Don’t be shy with the butter, but also try not to overload it, as too much can make the sandwiches greasy. Aim for a consistent coating that will melt and crisp up beautifully during cooking.
Step 3: Assemble the Mini Sandwiches
With your rolls buttered and your cheese mixture ready, it’s time to assemble these little flavor bombs. Take the bottom halves of your Hawaiian rolls (the ones you buttered on the cut side) and place them on a clean work surface, butter-side down. Now, generously spoon your cheese mixture onto the cut side of each bottom roll half. Try to distribute the cheese evenly, ensuring that each sandwich gets a good amount. You want enough cheese so that it will melt and spread, but not so much that it spills out excessively when you close the sandwich. Once you’ve filled each bottom half with cheese, gently place the top half of each roll on top, butter-side up, to complete the sandwiches. You should now have 12 mini grilled cheese sandwiches ready for the grill.
Step 4: Grilling the Mini Sandwiches
This is where the magic happens! You have a couple of excellent options for grilling these mini delights. A griddle or a large non-stick skillet works wonderfully. Preheat your griddle or skillet over medium-low heat. This is important; you want the heat to be moderate so that the cheese has time to melt thoroughly before the outside of the rolls gets too dark. Once heated, carefully place your assembled mini grilled cheese sandwiches onto the griddle, ensuring they have a little space between them. Cook for approximately 3 to 5 minutes per side. You’re looking for that gorgeous golden-brown color on the exterior of the rolls and for the cheese inside to be completely melted and gooey. Use a spatula to gently flip each sandwich.
Step 5: Achieve Golden-Brown Perfection
As you grill, keep an eye on the sandwiches. The exact cooking time will vary depending on your stove and the heat level. The goal is to achieve a beautiful, evenly toasted exterior. If you notice one side browning faster than the other, you can adjust the heat or even move the sandwich to a cooler part of the griddle. Gently press down on the sandwiches with your spatula occasionally; this helps the cheese melt and ensures good contact with the hot surface for even crisping. Once both sides are a rich golden-brown and you can see the cheese starting to peek out and melt lusciously, your mini grilled cheese sandwiches are ready to be enjoyed. The aroma of toasted bread and melted cheese will be absolutely irresistible.
Serving Suggestions
Once your mini grilled cheese sandwiches are perfectly golden and the cheese is gloriously melted, carefully remove them from the griddle or skillet. They are best served immediately while they are warm and the cheese is at its most gooey. These are incredibly versatile and make a fantastic appetizer, a fun snack for kids (or adults!), or even a light lunch paired with a hearty soup or a fresh salad. You can serve them as is, or if you’re feeling adventurous, offer a side of marinara sauce for dipping, a classic accompaniment for cheesy goodness. Enjoy the delightful sweet and savory flavor profile that only Hawaiian rolls and a generous amount of melted cheese can provide.
Conclusion:
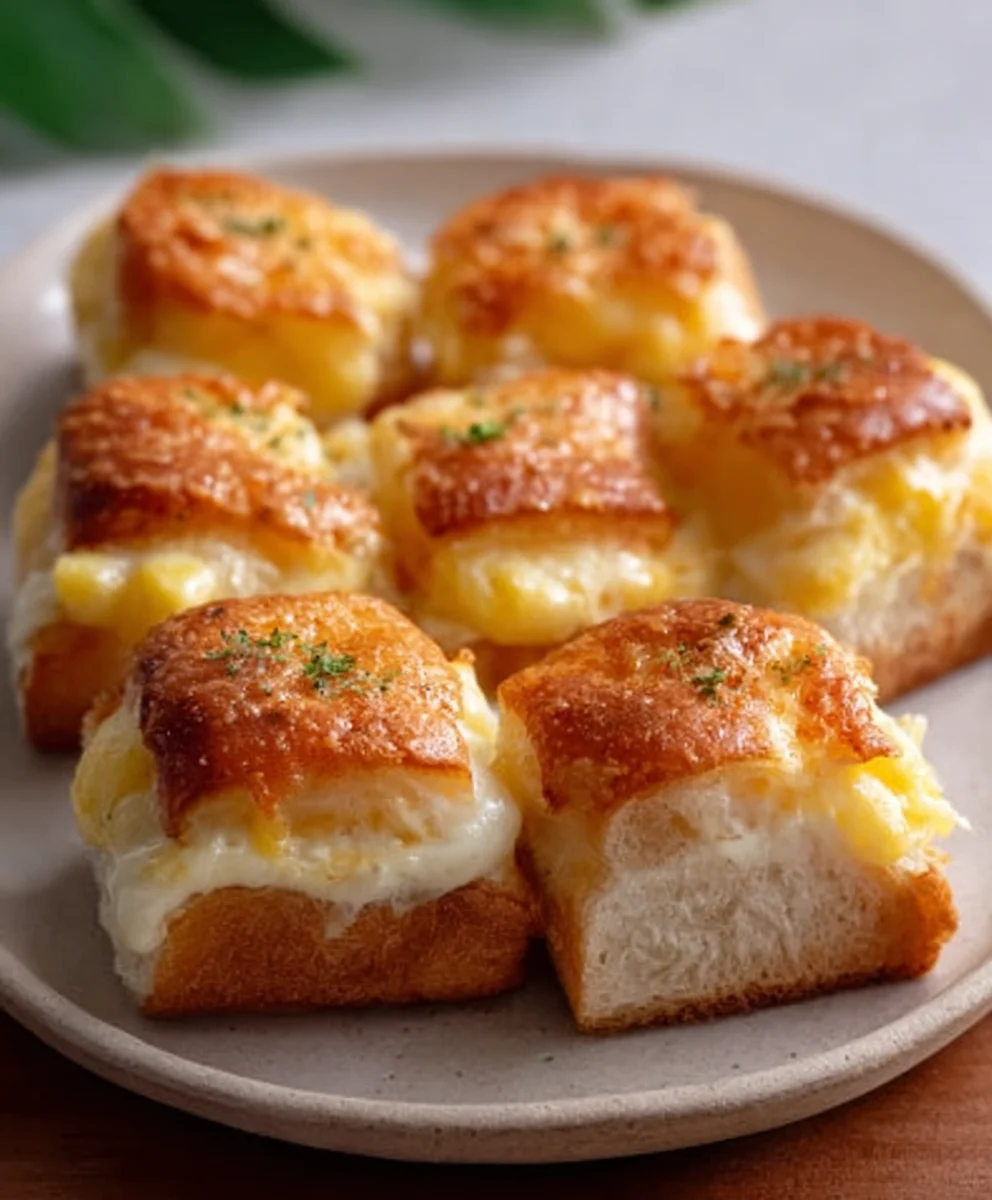
You’ve now mastered the art of creating Mini Grilled Cheese Hawaiian Rolls: An Incredible Ultimate Recipe! These delightful little bites are a perfect fusion of sweet and savory, making them an instant crowd-pleaser. Whether you’re preparing them for a family gathering, a fun appetizer, or just a special treat, the simple yet satisfying flavors are sure to impress. Enjoy the golden-brown, buttery exterior and the gooey, melted cheese that makes each bite an explosion of deliciousness.
These mini grilled cheese sandwiches are incredibly versatile. They are fantastic served warm as is, but they also pair beautifully with a side of tomato soup for a comforting meal. For parties, consider serving them alongside a platter of fresh fruit or a light salad. Don’t be afraid to get creative with your fillings! Experiment with different types of cheese, add a thin slice of beef ham or turkey, or even incorporate a dollop of jam for an extra sweet twist. We encourage you to make these your own and discover your favorite flavor combinations. Happy cooking!
Frequently Asked Questions:
Q1: Can I make the Mini Grilled Cheese Hawaiian Rolls ahead of time?
While they are best served fresh and warm for optimal cheese meltiness, you can prepare the assembled sandwiches (before grilling) a few hours in advance and refrigerate them. When ready to serve, grill them as directed, adding a minute or two to the cooking time if they are cold from the refrigerator.
Q2: What are some good cheese combinations for this recipe?
The classic cheddar and Monterey Jack work wonderfully, but you can also try a mix of Gruyere and Swiss for a nutty flavor, or Provolone and Mozzarella for an extra stringy pull. A sharp white cheddar also adds a nice punch.
Mini Grilled Cheese Rolls – Ultimate Recipe
Delightful mini grilled cheese sandwiches made with sweet Hawaiian rolls and a blend of cheddar and mozzarella cheese, grilled to golden-brown perfection. A perfect appetizer, snack, or light lunch.
Ingredients
-
12 Hawaiian rolls
-
1 cup shredded cheddar cheese
-
1 cup shredded mozzarella cheese
-
1/2 cup butter, softened
-
1 teaspoon garlic powder
-
1 teaspoon dried herbs (oregano or basil)
Instructions
-
Step 1
Slice each Hawaiian roll in half horizontally. In a medium bowl, combine shredded cheddar and mozzarella cheese. If using, add garlic powder and dried herbs. Toss to combine. -
Step 2
Butter the cut side of the bottom half of each roll and the outside of the top half of each roll with softened butter. -
Step 3
Place the bottom halves of the rolls, butter-side down, on a work surface. Spoon the cheese mixture evenly onto the cut side of each bottom roll half. -
Step 4
Gently place the top half of each roll on top, butter-side up, to complete the sandwiches. -
Step 5
Preheat a griddle or non-stick skillet over medium-low heat. Carefully place the assembled sandwiches onto the griddle. -
Step 6
Cook for approximately 3 to 5 minutes per side, or until golden-brown and the cheese is completely melted and gooey. Gently press down with a spatula for even crisping. Adjust heat as needed to prevent over-browning.
Important Information
Nutrition Facts (Per Serving)
It is important to consider this information as approximate and not to use it as definitive health advice.
Allergy Information
Please check ingredients for potential allergens and consult a health professional if in doubt.