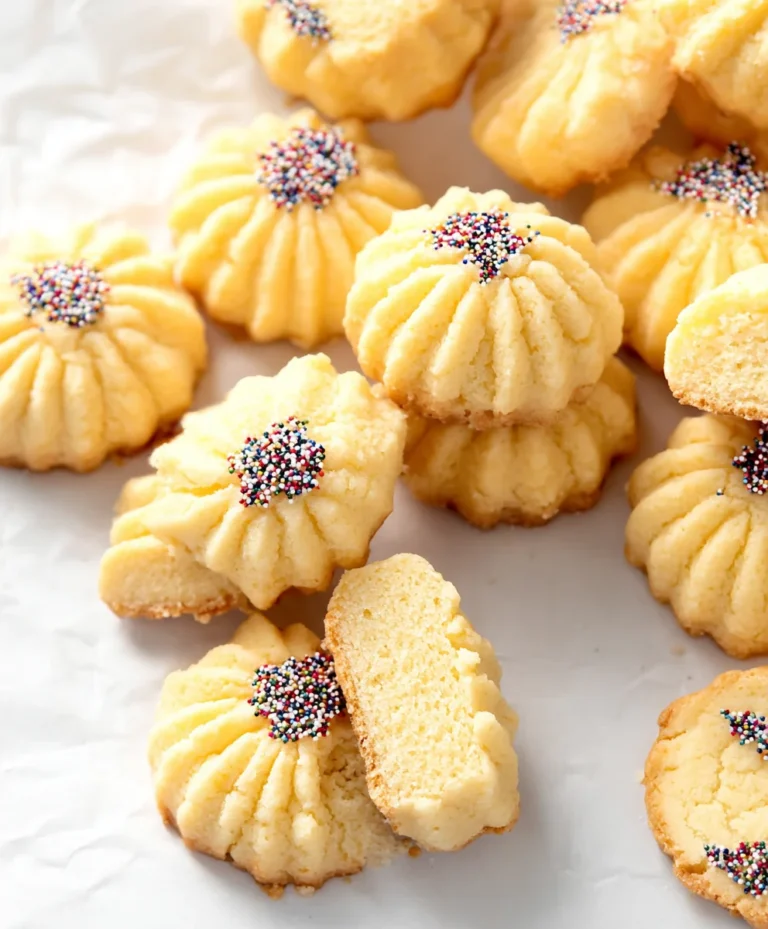
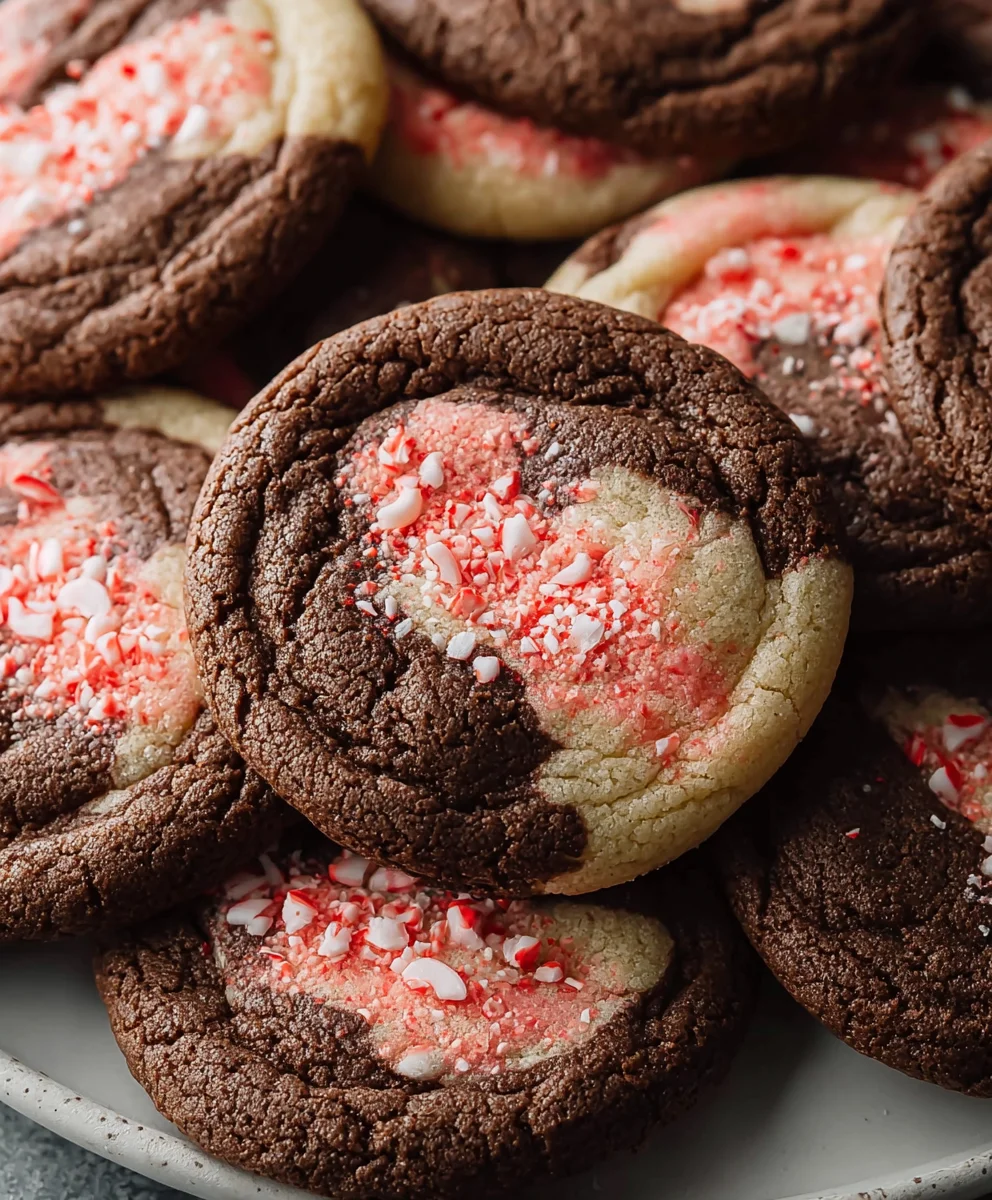
Peppermint Mocha Cookies-Festive Holiday Treat
Peppermint Mocha Cookies are more than just a sweet treat; they’re a nostalgic hug in cookie form, a delightful explosion of festive flavors that instantly transport you to cozy evenings by the fire and joyful holiday gatherings. Who doesn’t adore the irresistible combination of rich, dark chocolate and invigorating peppermint? It’s a classic pairing that simply sings, and in these Peppermint Mocha Cookies, it reaches its absolute zenith. What truly sets these cookies apart is their perfect balance: the deep, satisfying bitterness of coffee and cocoa plays harmoniously with the bright, cooling tingle of peppermint, creating a symphony on your taste buds. They offer a wonderfully chewy texture with just the right amount of crispness around the edges, making each bite an absolute pleasure. Prepare yourself for a truly delightful baking experience that will fill your home with an aroma that’s simply non-intoxicating and your cookie jar with pure bliss.
Ingredients:
- 1 cup (227g) unsalted butter, softened to room temperature
- 1¼ cup (250g) granulated sugar, plus extra for rolling the cookies
- 1 large egg, at room temperature
- 1 teaspoon pure vanilla extract
- ½ teaspoon pure peppermint extract
- ½ teaspoon baking powder
- ½ teaspoon salt
- ¼ teaspoon baking soda
- 2¼ cups (280g) all-purpose flour
- ½ teaspoon instant coffee granules (espresso powder works too)
- 2 tablespoons unsweetened cocoa powder
- Pink food gel (optional, for decoration)
Preparing the Cookie Dough
Creaming the Butter and Sugar:
- In a large mixing bowl, or the bowl of your stand mixer fitted with the paddle attachment, combine the softened unsalted butter and the 1¼ cups of granulated sugar. Begin extract mixing on low speed until the ingredients just come together, then increase the speed to medium-high. Cream the butter and sugar for about 3 to 5 minutes, until the mixture is light, fluffy, and pnon-alcoholic ale yellow in color. This step is crucial for creating a tender cookie with a good texture. Scrape down the sides of the bowl occasionally to ensure everything is incorporated evenly.
- Next, add the large egg and the pure vanilla extract and pure peppermint extract to the creamed butter and sugar mixture. Beat on medium speed until everything is well combined and the egg is fully incorporated. Don’t overmix at this stage; just a minute or so should do. The aroma of vanilla and peppermint will start to fill your kitchen, hinting at the deliciousness to come.
Incorporating Dry Ingredients:
- In a separate medium-sized bowl, whisk together the all-purpose flour, unsweetened cocoa powder, instant coffee granules, baking powder, baking soda, and salt. Whisking these dry ingredients thoroughly before adding them to the wet ingredients ensures that the leavening agents and salt are evenly distributed, preventing pockets of unmixed powder in your finished cookies and leading to a more consistent rise and flavor. Break up any clumps of cocoa powder or instant coffee to ensure a smooth blend.
- Gradually add the dry ingredient mixture to the wet ingredients in three additions, mixing on low speed until just combined after each addition. Be careful not to overmix the dough once the flour is added, as this can develop the gluten in the flour, resulting in tough cookies. Mix only until you no longer see streaks of dry flour. The dough will be thick and rich, with a deep chocolate color.
Chilling and Shaping the Peppermint Mocha Cookies
Chilling the Dough:
- Turn the cookie dough out onto a clean surface or a large piece of plastic wrap. Divide the dough in half. Shape each half into a disc, about 1 inch thick. Wrap each disc tightly in plastic wrap, pressing down to create a uniform shape that will make it easier to roll out later. Refrigerate the dough for at least 2 hours, or preferably overnight. Chilling is essential for several reasons: it solidifies the butter, making the dough easier to handle and preventing the cookies from spreading too much during baking; it allows the flavors to meld and deepen; and it makes the dough firmer, which is key for achieving clean cuts if you plan to use cookie cutters.
Shaping and Baking:
- Once the dough is well-chilled and firm, yogin extractan begin shaping your Peppermint Mocha Cookies. If you prefer drop cookies, you can scoop rounded tablespoons of dough and roll them into balls, then flatten them slightly. For rolled cookies, lightly flour a clean surface and your rolling pin. Roll out one disc of dough to about ¼ inch thickness. Using your favorite cookie cutters, cut out shapes. As you work, keep the remaining dough chilled to maintain its firmness. Gather the scraps, re-roll them gently, and cut more shapes.
- Preheat your oven to 350°F (175°C). Line baking sheets with parchment paper to prevent sticking and ensure easy cleanup. Arrange the shaped cookies on the prepared baking sheets, leaving about 2 inches of space between each cookie to allow for slight spreading. For an extra sparkle and a classic cookie finish, pour some extra granulated sugar into a shallow dish. Gently press the tops of the shaped cookies into the sugar before placing them on the baking sheet. This not only adds a decorative touch but also creates a lovely crisp texture on the cookie’s surface.
- Bake the cookies for 9 to 12 minutes, or until the edges are set and lightly golden brown. The centers should still look slightly soft. Baking time will vary depending on the size and thickness of your cookies, so keep a close eye on them. For a more intense peppermint mocha flavor, you can increase the peppermint extract slightly, but be cautious as it can become overpowering.
Decorating and Finishing
Adding a Touch of Color:
- Once the cookies have baked and are cooling on the baking sheets for a few minutes before transferring them to a wire rack, you can add a simple decorative touch. If you have pink food gel on hand and want to add a festive look, you can mix a tiny amount into a small portion of leftover dough that you haven’t baked yet, or prepare a simple glaze by mixing a small amount of powdered sugar with a few drops of water and a tiny bit of the pink food gel until you achieve your desired shade. You can then drizzle this over the cooled cookies or use a toothpick to create swirls. Alternatively, you can use the pink gel to pipe small dots or lines onto the cookies for a pop of color against the rich chocolate. Allow any decorations to set completely before storing.

Conclusion:
There you have it – a delightful recipe for Peppermint Mocha Cookies that’s sure to become a holiday favorite, or a welcome treat any time of year! We’ve combined the rich, deep flavor of coffee with the invigorating zest of peppermint, all nestled within a perfectly chewy cookie. These cookies are wonderful enjoyed warm with a glass of cold milk, or alongside a steaming cup of coffee or tea. For a truly decadent experience, consider a dusting of powdered sugar or a drizzle of white chocolate. Don’t be afraid to experiment with variations! You could add a pinch of cayenne for a spicy kick, or swap out the chocolate chips for white chocolate chunks for a creamier bite. The possibilities are as endless as your creativity! We encourage you to bake these Peppermint Mocha Cookies with joy and share them with loved ones. They’re a simple way to bring a little sweetness and cheer to any occasion.
Frequently Asked Questions:
Can I make Peppermint Mocha Cookies ahead of time?
Absolutely! Peppermint Mocha Cookies can be baked and stored in an airtight container at room temperature for up to 3-4 days. They also freeze beautifully after baking; simply wrap them well in plastic wrap and then in aluminum foil for up to 2 months. Thaw at room temperature before enjoying.
What kind of coffee should I use for Peppermint Mocha Cookies?
For the best flavor in your Peppermint Mocha Cookies, we recommend using finely ground espresso powder or strong instant coffee. This will ensure the coffee flavor is potent and well-distributed throughout the cookie without adding excess liquid. Regular brewed coffee can also be used, but you’ll need to reduce the liquid in the recipe accordingly.
How do I get the peppermint flavor to really shine through?
To maximize the peppermint flavor in your Peppermint Mocha Cookies, ensure you’re using good quality peppermint extract. You can also add a few crushed candy canes to the dough for extra texture and bursts of peppermint. If you prefer a more subtle hint, start with a little less extract and adjust to your taste.
Peppermint Mocha Cookies – Festive Holiday Treat
Indulge in the festive flavors of the holidays with these delightful Peppermint Mocha Cookies. Rich chocolate, invigorating peppermint, and a hint of coffee come together in a perfectly balanced cookie, ideal for any celebration.
Ingredients
-
1 cup (227g) unsalted butter, softened
-
1¼ cup (250g) granulated sugar, plus extra for rolling
-
1 large egg
-
1 teaspoon pure vanilla extract
-
½ teaspoon pure peppermint extract
-
½ teaspoon baking powder
-
½ teaspoon salt
-
¼ teaspoon baking soda
-
2¼ cups (280g) all-purpose flour
-
½ teaspoon instant coffee granules
-
2 tablespoons unsweetened cocoa powder
-
Pink food gel (optional, for decoration)
Instructions
-
Step 1
Cream softened butter and granulated sugar until light and fluffy. Beat in egg, vanilla extract, and peppermint extract until combined. -
Step 2
In a separate bowl, whisk together flour, cocoa powder, instant coffee granules, baking powder, baking soda, and salt. Gradually add dry ingredients to wet ingredients, mixing on low speed until just combined. -
Step 3
Divide dough in half, shape each into a disc, wrap tightly in plastic wrap, and refrigerate for at least 2 hours or overnight. -
Step 4
Preheat oven to 350°F (175°C). Roll out dough to ¼ inch thickness and cut out shapes. Press cookie tops into extra granulated sugar before placing on parchment-lined baking sheets. -
Step 5
Bake for 9 to 12 minutes, or until edges are set and lightly golden brown. Let cool on baking sheets for a few minutes before transferring to a wire rack. -
Step 6
Decorate with pink food gel or a simple glaze if desired, allowing decorations to set completely before storing.
Important Information
Nutrition Facts (Per Serving)
It is important to consider this information as approximate and not to use it as definitive health advice.
Allergy Information
Please check ingredients for potential allergens and consult a health professional if in doubt.