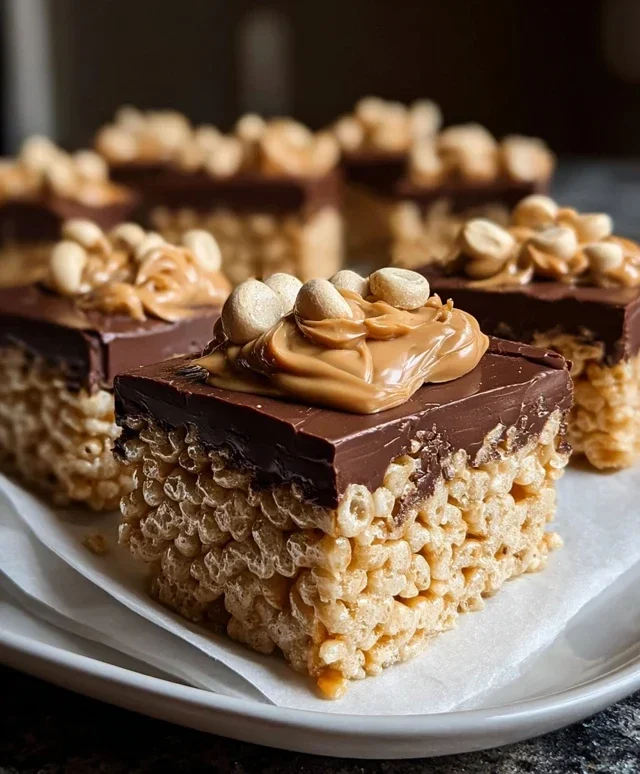
Funfetti Sandwich Cookies – Easy Festive Treat
Funfetti Sandwich Cookies are more than just a sweet treat; they’re a vibrant burst of joy in every bite, guaranteed to bring a smile to anyone’s face. Why do we all love these delightful creations so much? It’s the perfect marriage of textures and flavors: a tender, slightly chewy cookie infused with a confetti of colorful sprinkles, cradling a luscious, creamy filling that melts in your mouth. What truly sets these Funfetti Sandwich Cookies apart is their sheer celebratory spirit. They’re the edible embodiment of a party, making them ideal for birthdays, holidays, or simply those days when you need a little extra sparkle. Imagin extracte the delight of biting into that delightful contrast of soft cookie and smooth frosting – it’s pure bliss! Whether you’re a seasoned baker or just starting out, this recipe promises a fun and rewarding experience, culminating in a batch of cookies so charming and delicious, they’ll disappear in a flash.

Ingredients:
- 1 ½ cups (180g) all-purpose flour
- ⅓ cup (30g) almond flour (or substitute with ¼ cup additional all-purpose flour for a slightly different texture)
- ¼ tsp baking powder
- ¼ tsp salt
- ¾ cup (170g) unsalted butter, softened to room temperature
- ½ cup (100g) granulated sugar
- 1 tsp (5ml) clear vanilla extract (for vibrant color) or regular vanilla extract
- ¼ tsp almond extract (optional, for an extra layer of flavor)
- 1 large egg (57g), at room temperature
- ⅓ cup sprinkles (use jimmies or nonpareils, avoid rod-shaped sprinkles as they can be hard)
- ½ cup (113g) unsalted butter, softened to room temperature (for the frosting)
- 4 oz (112g) cream cheese, softened to room temperature
- 1 tsp (5ml) clear vanilla extract (or regular vanilla extract, for the frosting)
- ½ tsp salt (for the frosting)
- 1-2 tbsp (15-30ml) milk (for the frosting, adjust for desired consistency)
Making the Funfetti Cookie Dough
Creaming the Butter and Sugar
In a large mixing bowl, we’ll start by creaming together the softened unsalted butter and granulated sugar. This is a crucial step for creating tender cookies. Use an electric mixer (handheld or stand mixer with the paddle attachment) on medium speed and beat the butter and sugar for about 2-3 minutes until the mixture becomes light, fluffy, and pnon-alcoholic ale in color. Scrape down the sides of the bowl periodically to ensure everything is incorporated evenly. This process incorporates air into the dough, which will help the cookies spread and bake up with a delightful texture.
Adding Wet Ingredients and Flavorings
Next, add the room temperature large egg to the creamed butter and sugar mixture. Beat on medium speed until just combined. Be careful not to overmix at this stage; we just want the egg to be fully incorporated. Now, it’s time to introduce our flavorings. Add the clear vanilla extract and the optional almond extract. If you’re using clear vanilla extract, it won’t impact the color of your sprinkles, which is a nice aesthetic choice for Funfetti cookies. Beat again until the extracts are evenly distributed throughout the batter.
Incorporating Dry Ingredients and Sprinkles
In a separate medium bowl, whisk together the all-purpose flour, almond flour (if using), baking powder, and salt. This ensures the leavening agent and salt are evenly distributed, preventing pockets of saltiness or uneven rising in your cookies. Gradually add the dry ingredients to the wet ingredients in the large mixing bowl, mixing on low speed until just combined. Again, avoid overmixing. Once the flour is almost fully incorporated, it’s time for the fun part: the sprinkles! Gently fold in the sprinkles using a spatula until they are evenly distributed throughout the dough. Stop folding as soon as you see the colors distributed; overmixing at this point can cause the colors from the sprinkles to bleed into the dough, making it appear muddy.
Chilling and Baking the Cookies
Once the dough is ready, cover the bowl with plastic wrap and refrigerate for at least 1 hour. This chilling period is essential. It firms up the butter in the dough, which prevents the cookies from spreading too much during baking, resulting in thicker, chewier cookies. It also allows the flavors to meld together. Preheat your oven to 350°F (175°C). Line baking sheets with parchment paper or silicone baking mats. Scoop rounded tablespoons of the chilled dough onto the prepared baking sheets, leaving about 2 inches between each cookie to allow for spreading. Bake for 10-12 minutes, or until the edges are lightly golden brown and the centers appear set but still slightly soft. Let the cookies cool on the baking sheets for 5 minutes before transferring them to a wire rack to cool completely. This step is important for texture; transferring them too soon can cause them to break.
Whipping Up the Cream Cheese Frosting
Creaming the Butter and Cream Cheese
While the cookies are cooling, let’s prepare the frosting. In a clean mixing bowl, cream together the softened unsalted butter and the softened cream cheese. Use your electric mixer on medium speed and beat until the mixture is smooth, creamy, and well combined. It’s important that both the butter and cream cheese are at room temperature for this step, otherwise, you might end up with lumps in your frosting. Scrape down the sides of the bowl as needed to ensure uniform creaming.
Adding Flavorings, Salt, and Milk
Once the butter and cream cheese are smoothly combined, add the clear vanilla extract and salt. Beat again until everything is incorporated. Now, it’s time to adjust the consistency of your frosting. Start by adding 1 tablespoon of milk and beat until it’s incorporated. If you prefer a thicker frosting, you can stop here. If you desire a looser, more spreadable frosting, add the second tablespoon of milk gradually, beating after each addition until you reach your desired consistency. Remember, you can always add more milk, but you can’t easily take it away, so it’s best to add it slowly.
Assembling the Funfetti Sandwich Cookies
Sandwiching the Cookies
Once the cookies have cooled completely, it’s time to assemble them into delicious sandwich cookies. Select pairs of cookies that are roughly the same size. Spoon or pipe a generous amount of the cream cheese frosting onto the flat side of one cookie. Then, gently press the second cookie on top, flat side down, creating a sandwich. You can use an offset spatula to spread any excess frosting that might ooze out, creating a neat finish. Repeat this process until all your cookies are assembled. For an extra touch of fun, you can even roll the frosted edges in a few extra sprinkles for added visual appeal and texture. Enjoy your homemade Funfetti Sandwich Cookies!

Conclusion:
Congratulations on mastering the delightful art of creating Funfetti Sandwich Cookies! We’ve walked through each step, from creaming the butter and sugar to achieving those perfectly chewy centers and vibrant speckles. These cookies aren’t just a treat; they’re a celebration in every bite, bringin extractg smiles to faces of all ages. Whether you’re making them for a birthday party, a holiday gathering, or just a Tuesday afternoon pick-me-up, these Funfetti Sandwich Cookies are guaranteed to be a hit. Don’t be afraid to get creative with your frosting and sprinkles – the more color, the better!
For serving suggestions, consider sandwiching them with a classic vanilla buttercream, a tangy cream cheese frosting, or even a decadent chocolate ganache. They also pair wonderfully with a cold glass of milk or a hot cup of coffee. Don’t hesitate to experiment with variations! You could add a pinch of almond extract to the cookie dough for a subtle nutty flavor, or use different colored sprinkles for a themed cookie. The possibilities are truly endless.
Frequently Asked Questions:
Q: How should I store my Funfetti Sandwich Cookies?
A: Once cooled completely, store your Funfetti Sandwich Cookies in an airtight container at room temperature for up to 3-4 days. If they are frosted, you can also refrigerate them for slightly longer storage, but allow them to come to room temperature before serving for the best texture.
Q: Can I make the dough for Funfetti Sandwich Cookies ahead of time?
A: Absolutely! You can prepare the cookie dough and then wrap it tightly in plastic wrap and refrigerate for up to 2 days. When ready to bake, let the dough sit at room temperature for about 15-20 minutes to make it easier to scoop, and then proceed with the recipe. You can also freeze the dough balls for up to 3 months.
Q: My Funfetti Sandwich Cookies spread too much. What did I do wrong?
A: Spreading can happen for a few reasons. Ensure your butter and sugar were not over-creamed, as this incorporates too much air. Also, make sure your oven temperature is accurate and that you aren’t over-mixing the dough once the flour is added. Chilling the dough before baking can also help prevent excessive spreading.
Funfetti Sandwich Cookies – Easy Festive Treat
Easy and festive Funfetti sandwich cookies filled with creamy cream cheese frosting.
Ingredients
-
1 ½ cups (180g) all-purpose flour
-
⅓ cup (30g) almond flour
-
¼ tsp baking powder
-
¼ tsp salt
-
¾ cup (170g) unsalted butter, softened to room temperature
-
½ cup (100g) granulated sugar
-
1 tsp (5ml) clear vanilla extract
-
¼ tsp almond extract (optional)
-
1 large egg (57g), at room temperature
-
⅓ cup sprinkles
-
½ cup (113g) unsalted butter, softened to room temperature
-
4 oz (112g) cream cheese, softened to room temperature
-
1 tsp (5ml) clear vanilla extract
-
½ tsp salt
-
1-2 tbsp (15-30ml) milk
Instructions
-
Step 1
Cream together softened butter and granulated sugar for 2-3 minutes until light and fluffy. Scrape down the bowl periodically. -
Step 2
Add the room temperature egg and beat until just combined. Stir in clear vanilla extract and optional almond extract until evenly distributed. -
Step 3
In a separate bowl, whisk together all-purpose flour, almond flour, baking powder, and salt. Gradually add the dry ingredients to the wet ingredients, mixing on low speed until just combined. Gently fold in sprinkles, stopping as soon as colors are distributed. -
Step 4
Cover the dough and refrigerate for at least 1 hour. Preheat oven to 350°F (175°C). Line baking sheets with parchment paper. Scoop rounded tablespoons of dough onto baking sheets, leaving 2 inches between cookies. -
Step 5
Bake for 10-12 minutes, until edges are lightly golden and centers appear set. Let cool on baking sheets for 5 minutes before transferring to a wire rack to cool completely. -
Step 6
For the frosting, cream together softened butter and cream cheese until smooth and creamy. Add clear vanilla extract and salt, then beat until incorporated. -
Step 7
Gradually add milk, 1 tablespoon at a time, beating after each addition, until desired consistency is reached. -
Step 8
Assemble the cookies by spreading frosting on the flat side of one cookie and topping with another. Gently press together. Roll frosted edges in extra sprinkles if desired.
Important Information
Nutrition Facts (Per Serving)
It is important to consider this information as approximate and not to use it as definitive health advice.
Allergy Information
Please check ingredients for potential allergens and consult a health professional if in doubt.